How To Paint MDF Kitchen Cabinets
Thinking about giving your kitchen a new look without breaking the bank? Painting MDF (medium-density fiberboard) kitchen cabinets is a cost-effective DIY project that can completely transform your space. Not only is MDF affordable, but its smooth surface makes it a dream to paint. But before you jump in, there are a few things you need to know to get a flawless, professional-looking finish.
Let’s explore everything from gathering the right materials to adding the final touches. Plus, we’ll sprinkle in some handy tips and personal anecdotes along the way to make sure you feel confident tackling this project. All set? Let’s get started.
What Is MDF?
MDF stands for Medium-Density Fiberboard. It is an engineered wood product made by breaking down hardwood or softwood residuals into wood fibers, combining it with wax and a resin binder, and forming panels by applying high temperature and pressure. The result is a dense, strong, and uniform panel that can be used for a variety of purposes in construction and furniture-making.
Benefits of Having MDF Kitchen Cabinets
In the world of kitchen design, MDF is a popular material choice for cabinets. Here are some of the benefits of using MDF for your kitchen cabinets:
- Durability: MDF is known for its durability and can withstand heavy use in a high-traffic area like the kitchen. It also has a smooth surface that is easy to clean, making it ideal for busy kitchens.
- Customizability: MDF can be easily cut, drilled, and shaped to create custom cabinets that fit perfectly in your space. This makes it a great option if you have an irregularly-shaped kitchen or want unique cabinet designs.
- Consistency: Unlike solid wood, which may have natural variations and imperfections, MDF is a consistent material. This means that every piece of cabinet made with MDF will have the same look and finish, creating a uniform aesthetic in your kitchen.
- Price: MDF is generally less expensive than solid wood, making it an affordable option for those on a budget. It also allows for a wider range of design options without breaking the bank.
Materials and Tools You’ll Need
Before picking up a brush, stock up on these must-have materials. Trust me, skipping a step here will only lead to frustration later (been there, done that)!
- Primer (preferably oil-based or shellac-based)—creates a solid base for the paint.
- Paint (acrylic latex or enamel)—choose a durable finish like satin or semi-gloss.
- Sandpaper (120-grit and 220-grit)—gets the surface smooth and ready to hold paint.
- Tack cloths—wipes away sanding dust for a perfect finish.
- Drywall compound (or wood filler)—fills in any scratches or dents.
- Paintbrushes and foam rollers—foam rollers are a lifesaver for smooth surfaces like MDF.
- Drop cloths or plastic sheeting—to protect your floors and counters.
- Screwdriver or drill (for removing cabinet doors and handles).
Quick tip? Don’t skimp on quality when it comes to tools like brushes and rollers. Cheap ones tend to shed bristles, and nobody wants those stuck in their paint.
Step-by-Step Guide to Painting MDF Cabinets
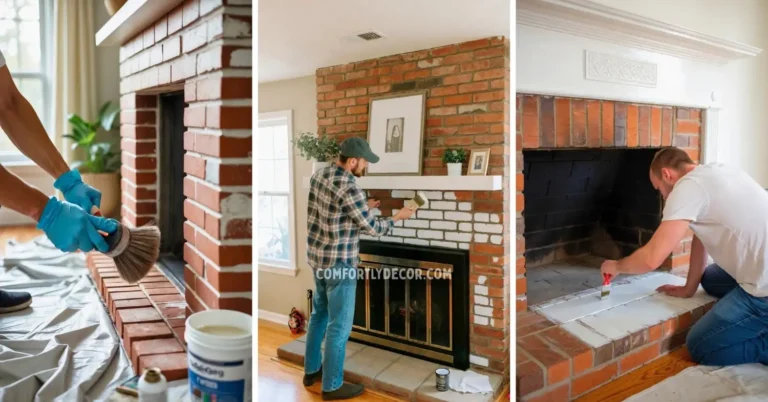
1. Cleaning the Cabinets
Start by wiping down ALL cabinet surfaces with a damp cloth and mild detergent. Over time, cabinets collect grease, dust, and mystery grime (especially near the stove). If you skip cleaning, your paint won’t stick well. Not a good look.
Once cleaned, dry the surfaces thoroughly.
2. Filling Imperfections
Have a few scratches or dings? No worries. Use either drywall compound or wood filler to smooth out any imperfections. Apply it with a putty knife, and once it dries (usually about 1-2 hours), sand it down using 220-grit sandpaper until it’s flush with the surface.
Pro tip? Don’t go overboard here. It’s easy to get carried away filling minor scratches, but tiny imperfections might not even be noticeable after priming and painting.
3. Sanding
This is where the magic begins. Lightly sand every surface with 120-grit sandpaper. This gives the primer something to “grab onto.”
After sanding, wipe down the surface with a tack cloth to remove all the dust. Don’t skip this step! Dust left behind will create a rough finish, and no one wants that.
4. Applying Primer
Primer is non-negotiable. MDF has a porous surface, and without primer, it will soak up your paint unevenly. This is especially true for the edges of MDF, which tend to be more porous.
- Use an oil-based or shellac primer. These seal the MDF and prevent any swelling or texture issues.
- Apply with a foam roller for flat areas and a brush for corners. Keep your strokes light and even.
- Allow the primer to dry completely (check the label, but 3-4 hours is standard).
Once dry, sand the surface again with 220-grit sandpaper. This step smooths out any little bumps or brush marks the primer leaves behind. Wipe off the dust with a tack cloth.
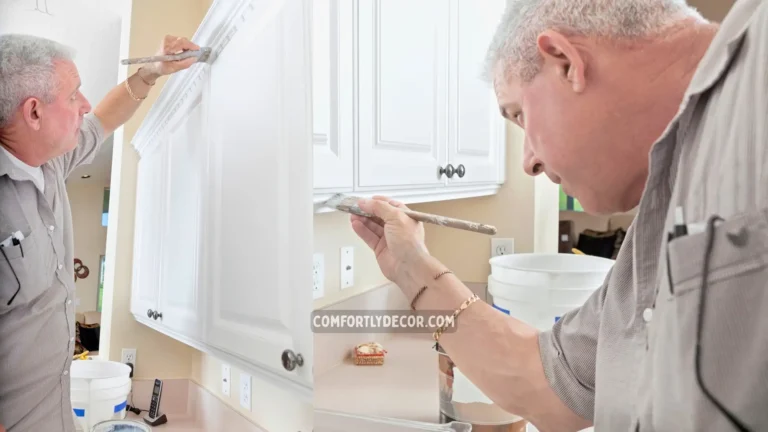
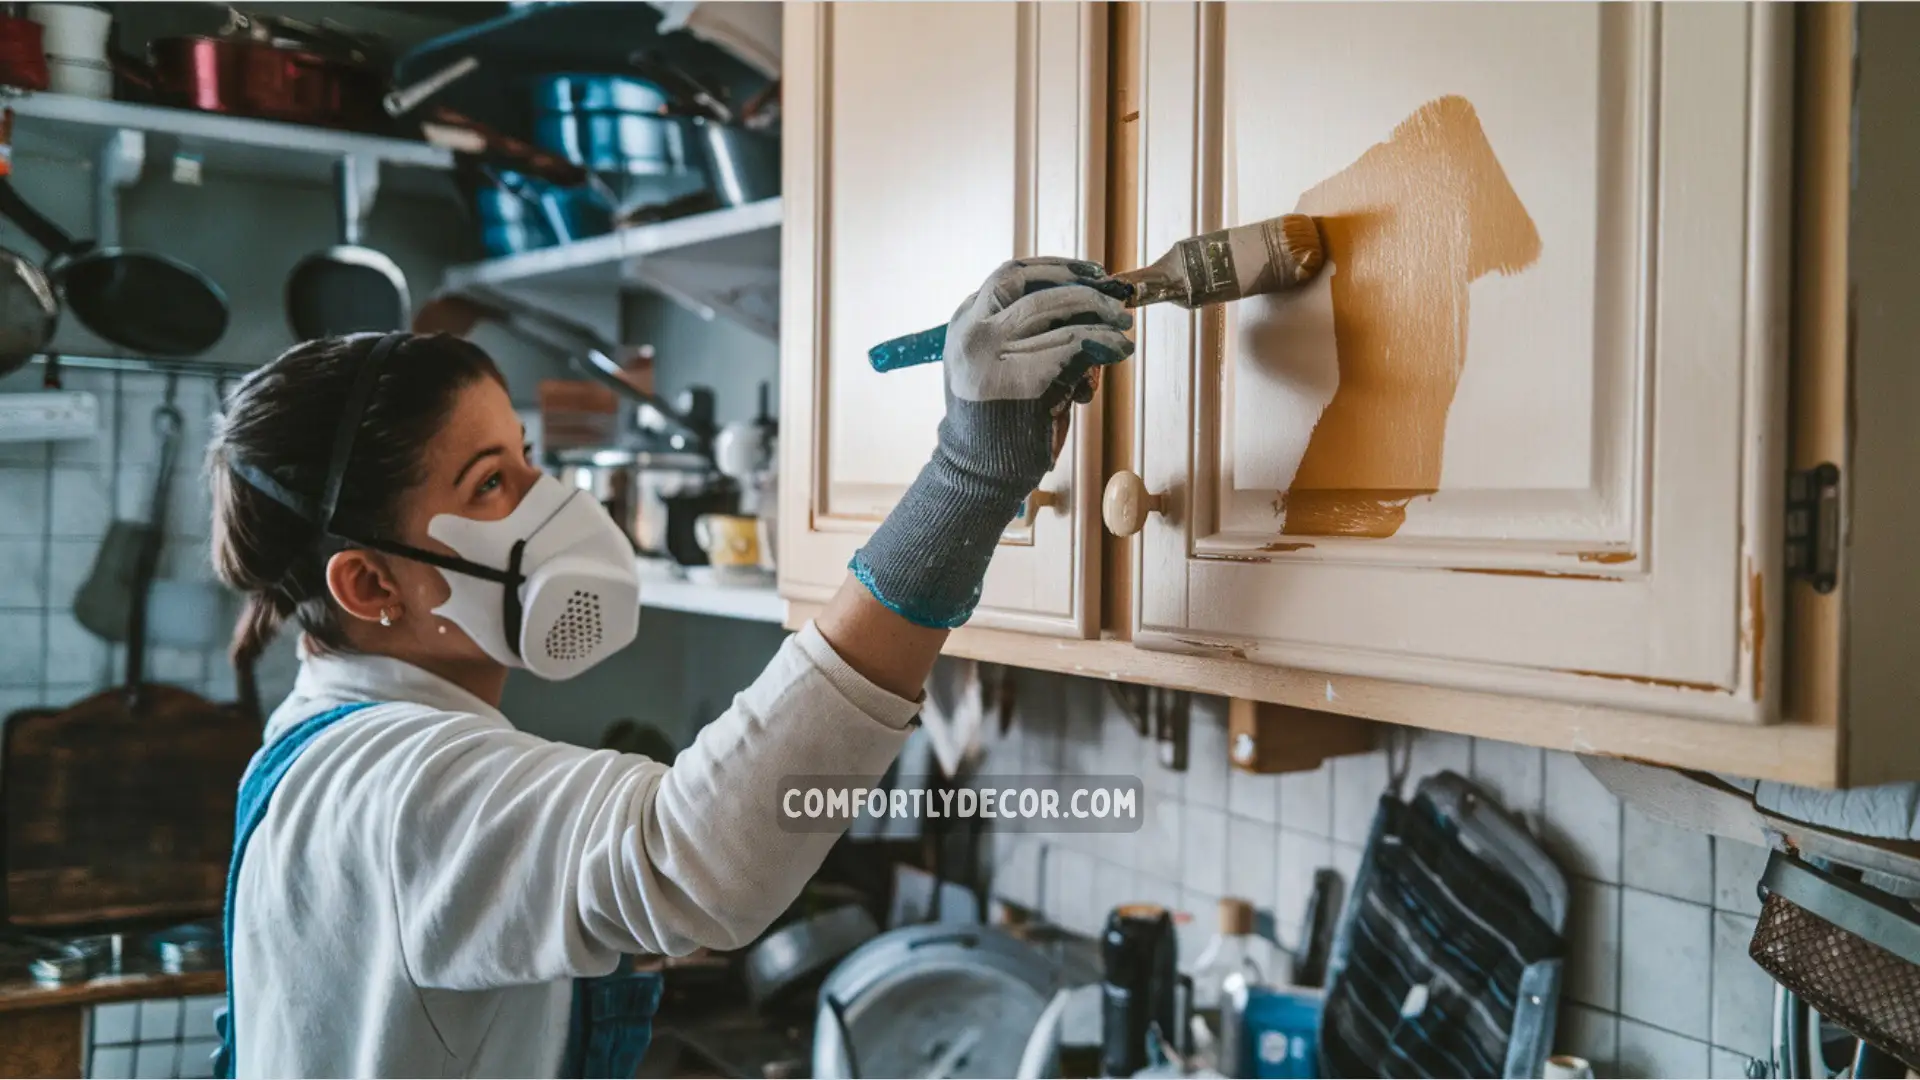
5. Painting
Ah, the fun part! Here’s how to get a flawless finish:
- First Coat: Apply a thin coat of paint. Use long, even strokes, and always follow the direction of any grain or lines. A foam roller works wonders on flat surfaces, while a high-quality brush is best for corners and edges.
- Drying Time: Patience is key. Wait for the first coat to dry completely (6–8 hours, or overnight if you’re in a humid area).
- Second Coat: Apply a second coat, and if necessary, a third. Thin coats are better than one thick coat; thick coats can drip and look messy.
Pro tip? If you spot brush strokes or roller marks after your first coat, lightly sand with 220-grit sandpaper and wipe clean before adding the next coat.
Personal Tips and Tricks
Here are some lessons I’ve learned (sometimes the hard way) so you don’t have to:
- Ventilation is your friend. Paint and primer fumes can knock you out faster than a Monday meeting. Set up fans or open all the windows to keep the air flowing.
- Label everything! Use painter’s tape to mark which cabinet doors belong where. Reassembling them at midnight without labels? Trust me, it’s not fun.
- Don’t cheap out on quality paint. Higher-quality paint may cost more upfront, but it gives a more durable, polished finish. Totally worth it!
How to Maintain Painted MDF Kitchen Cabinets
- Wipe cabinets regularly with a soft, damp cloth to remove dust and stains.
- Avoid harsh chemicals or abrasive cleaners that can damage the paint finish.
- Use mild soap mixed with water for tougher spots.
- Clean up spills immediately to prevent moisture from seeping into the MDF.
- Inspect cabinets periodically for chips or scratches and touch them up with matching paint.
- Practice consistent care to keep cabinets looking beautiful and long-lasting.
FAQs
Why You Should Try This DIY Project
Painting MDF kitchen cabinets is a budget-friendly way to transform your kitchen. By now, you’re a pro at the process—from cleaning and filling, to sanding and painting. Plus, think about all the money you just saved by avoiding a remodel!
Not only will your refreshed cabinets elevate the look of your space, but there’s satisfaction in knowing you did it yourself. Snap a picture of your finished project, sip some coffee (or wine), and celebrate your hard work!

I am Mindy Medford, a home décor, paint, and design specialist with over a decade of hands-on experience transforming ordinary spaces into cozy, personality-packed havens. Since 2013, I have been helping homeowners discover the art of beautiful yet practical design. I share my love for color, texture, and layout—making stylish interiors & exteriors feel achievable for everyone. Whether it’s picking the perfect paint shade or reimagining a small space, I’m here to guide and inspire.