How to Paint Crown Molding on Walls: A Comprehensive Guide
Crown molding is a classic feature that adds an elegant touch to any room, creating a seamless transition between walls and ceilings. While it’s a stunning decorative detail, painting crown molding can be a daunting task for homeowners and DIY enthusiasts alike. But don’t worry—with the right tools, preparation, and techniques, you can achieve a flawless, professional-looking finish in no time.
This guide breaks down everything you need to know about painting crown molding step-by-step. From preparing the molding and priming the surface, to applying the perfect finish, we’ll walk you through the process and offer tips to make your project a success.
Benefits of Painting Crown Molding Yourself
Before we jump into the steps, here are some reasons to take on this project yourself:
- Cost Savings: Hiring a professional can be expensive, but DIY painting significantly reduces expenses.
- Personalized Touch: By choosing your own colors and finishes, you create a look that matches your exact vision.
- Satisfaction: Few projects offer the rewarding feeling of admiring a task well done.
Let’s get started!
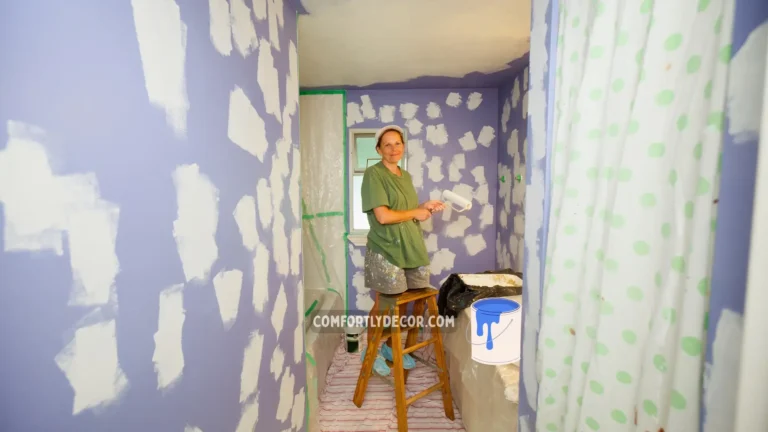
Preparation Setting the Stage for Success
Proper preparation is the foundation for a successful paint job. Skipping this step can lead to flaws and a finish you’re not happy with. Dedicate time upfront to ensure a smooth process.
Gathering Materials
Here’s what you’ll need to get started:
- Paint (latex or oil-based, depending on your preference)
- Primer (high-quality primer suitable for your molding material)
- Brushes (angled for details)
- Paint roller or foam brush
- Painter’s tape
- Drop cloths or plastic sheeting
- Sandpaper (medium-grit and fine-grit)
- Mild detergent or soap
- Putty knife and wood filler
- Damp cloth
Cleaning the Molding
Crown molding often accumulates dust, dirt, and even grease over time. A clean surface is crucial for proper paint adhesion.
- Wipe the molding with a soft cloth or sponge to remove loose dirt.
- Mix a solution of mild soap and warm water. Gently scrub the molding with a sponge or cloth.
- Rinse with clean water to remove soap residue.
- Allow the molding to dry completely before moving on.
Protecting Surfaces
To prevent accidental paint splatters, protect the surrounding areas with painter’s tape and drop cloths.
- Use painter’s tape to create sharp, clean edges between the molding, walls, and ceiling.
- Cover floors and furniture with drop cloths or plastic sheeting.
Inspecting for Imperfections
Before you paint, examine the molding for cracks, gaps, or dents that might distract from your finish.
- Use a flashlight to highlight flaws.
- Fill gaps or cracks with wood filler, smoothing it with a putty knife.
- Once dried, sand the repaired areas with fine-grit sandpaper to achieve a seamless surface.
Priming the Crown Molding
Priming ensures that your paint adheres evenly, enhances coverage, and creates a smooth base for your topcoat.
Why Prime First?
A good primer offers multiple benefits:
- Better Adhesion: Paint sticks well to primed surfaces, especially glossy moldings.
- Smooth Finish: Fills minor imperfections for a polished look.
- Longer Durability: Helps resist chipping and peeling.
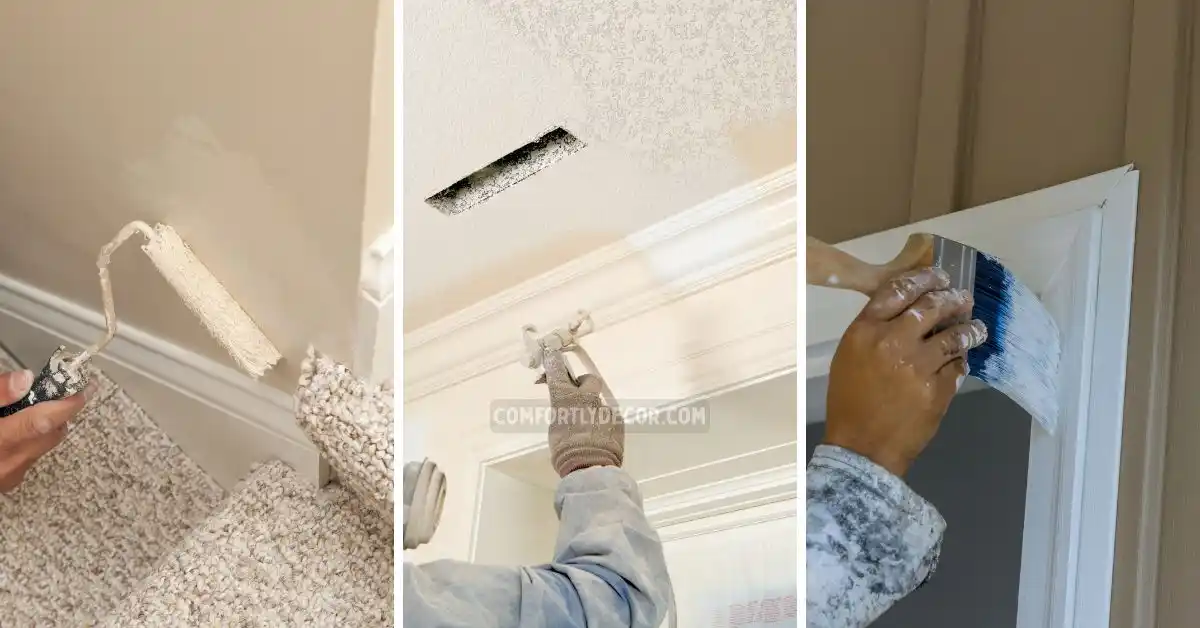
How to Apply Primer
- Use a brush to work the primer into the molding’s details. For flat sections, a foam roller works best.
- Apply the primer evenly, avoiding drips or streaks. Use long strokes and maintain light, even pressure.
- Allow the primer to dry completely according to the manufacturer’s instructions (typically 24 hours).
Painting the Crown Molding
Once primed, your molding is ready to transform with color. Careful painting techniques ensure a professional finish.
Applying the First Coat
- Stir your paint thoroughly to ensure consistent color.
- Dip an angled brush or roller into the paint and remove excess to avoid drips.
- Using light, even strokes, paint along the length of the molding. Work in small sections to maintain a wet edge.
- Allow the first coat to dry completely.
Inspecting the First Coat
After the initial coat dries, inspect the molding under good lighting to identify areas that may need touch-ups or additional coverage.
Adding the Second Coat
- Apply a second coat using the same technique for a rich, uniform finish.
- Feather the edges to blend strokes seamlessly.
- Allow the paint to dry completely before moving to the next step.
Tips for Clean Lines
To achieve perfect lines between the molding and surrounding surfaces:
- Use the cutting-in technique with an angled brush.
- Create neat, sharp edges by carefully painting along the taped areas.
Finishing Touches
The final steps bring everything together for a polished and satisfying result.
Removing the Tape
Peel painter’s tape carefully while the paint is slightly wet to avoid peeling or cracking. Pull it off at a 45-degree angle.
Final Inspection
Examine the painted molding for missed spots. If necessary, use a small brush to touch up blemishes.
Cleaning Up
- Clean brushes and rollers immediately with soap and water (or paint thinner for oil-based paints).
- Store leftover paint properly by sealing cans tightly to prevent drying.
- Dispose of drop cloths, tape, and other materials responsibly.
Bonus Tip!
Celebrate your accomplishment by taking before-and-after photos to admire and share your hard work!
FAQs
Why DIY Painting Pays Off
Painting crown molding yourself isn’t just a way to save money; it’s a chance to personalize your space and enhance your home’s aesthetic appeal. With patience and attention to detail, it’s easy to achieve a professional finish that rivals any contractor’s results.
If you’re ready to learn more about additional home improvement projects, check out other helpful resources on our site. You’ll find everything you need to continue elevating your space.
Happy painting!

I am Mindy Medford, a home décor, paint, and design specialist with over a decade of hands-on experience transforming ordinary spaces into cozy, personality-packed havens. Since 2013, I have been helping homeowners discover the art of beautiful yet practical design. I share my love for color, texture, and layout—making stylish interiors & exteriors feel achievable for everyone. Whether it’s picking the perfect paint shade or reimagining a small space, I’m here to guide and inspire.