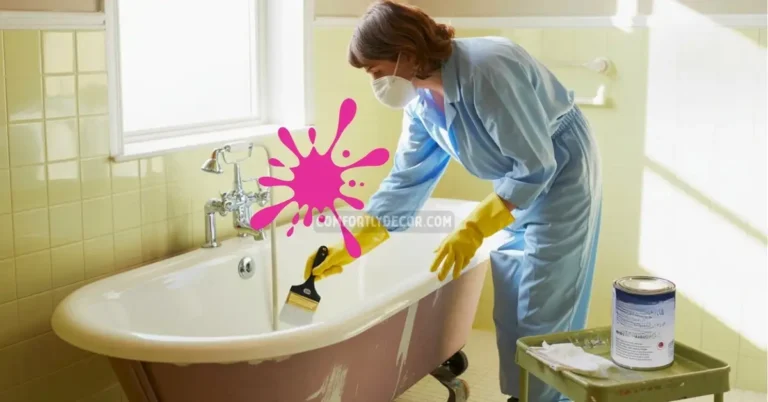
How To Paint A Kitchen Sink (And Why You Should Too!)
Thinking about revamping your kitchen but don’t want to shell out a fortune on shiny new fixtures? Well, here’s a fun and budget-friendly solution you might not have considered yet—painting your kitchen sink. Yes, you heard that right! Painting your sink can breathe new life into your space, offering customization, satisfaction, and a serious upgrade in style.
Why replace when you can repaint? Plus, this DIY project makes for a great conversation starter. (“No, it’s not a new sink. I painted it myself!”) If you’re ready to roll up your sleeves and transform your kitchen, keep reading. I’ll walk you through every step.
Why Should You Paint Your Kitchen Sink?
You might be wondering, “Why go through the trouble of painting a sink when I could just get a new one?” Well, here are a few excellent reasons:
- Budget-Friendly: Replacing a sink is expensive. Painting costs a fraction of the price.
- Customizable: Want a bold statement piece or a sleek modern look? Painting makes it possible to match your sink with your kitchen’s design.
- Satisfaction of DIY: There’s something incredibly rewarding about transforming old things into something shiny and new with your own two hands.
Still skeptical? Stick with me, and you’ll see why it’s worth it!
Types of Paint for Kitchen Sinks
Epoxy-Based Paints
Epoxy-based paints are a popular choice for painting kitchen sinks due to their durability and water resistance. These paints create a hard, glossy surface that can withstand daily wear and tear, making them ideal for sinks that see heavy use.
Acrylic Urethane Paints
Acrylic urethane paints offer a balance between durability and flexibility. They are easy to apply and provide a smooth finish, making them a great option for DIY enthusiasts. Plus, they are often available in a wider range of colors and finishes for a customized look.
Spray Paint Options
Spray paints designed for use on metal and ceramic surfaces can also be used to update kitchen sinks. They’re efficient for achieving an even, professional-looking coat without brush marks. Be sure to choose spray paints specifically labeled for use on high-moisture surfaces.
Color Selection and Finish
Tips for Choosing Colors
When selecting a color, consider the overall aesthetic of your kitchen. Neutral tones like white, black, or gray can offer a timeless look, while bold shades like teal or navy can make a statement. Pair the sink color with your countertops, cabinetry, and backsplash for a cohesive design.
Glossy vs. Matte Finishes
The finish you choose can drastically impact the sink’s appearance. Glossy finishes create a sleek, polished look and reflect more light, making smaller spaces feel bigger. Matte finishes, on the other hand, offer a modern, understated elegance and can help hide minor blemishes or water spots. Choose a finish that complements your kitchen’s style and meets your maintenance preferences.
Step 1: Assess Your Sink
Before you start painting, take a good, hard look at your sink. Is it covered in scratches, rust, or unidentified stains? (No judgment—we’ve all been there.) These issues need to be addressed before you can proceed.
- Rust: Use a rust remover or sandpaper to clear up these spots.
- Stains: Arm yourself with heavy-duty cleaners or a trusty blend of baking soda and vinegar.
- Cracks: No amount of paint will hide these! Consider filling them with an epoxy sealant.
Trust me, prepping your sink properly now will make all the difference in the final result.
Step 2: Gather Your Supplies
You want this to go as smoothly as possible, right? Having the right tools upfront will save you from mid-project frustrations (and multiple hardware store trips).
Here’s what you’ll need:
- Epoxy-Based Paint or Acrylic Urethane Paint
- Primer (Must be appropriate for metal, porcelain, or composite materials)
- Sandpaper (120-400 grit varieties)
- Degreaser (Or DIY with baking soda and vinegar)
- Painter’s tape
- Clear sealant for a durable finish
- Foam brushes, roller, and microfiber cloths
- Drop cloths or old newspapers to protect the surrounding area
Pro Tip: Spring for a good epoxy paint. Don’t cut corners here unless you love redoing DIY projects within a few months.
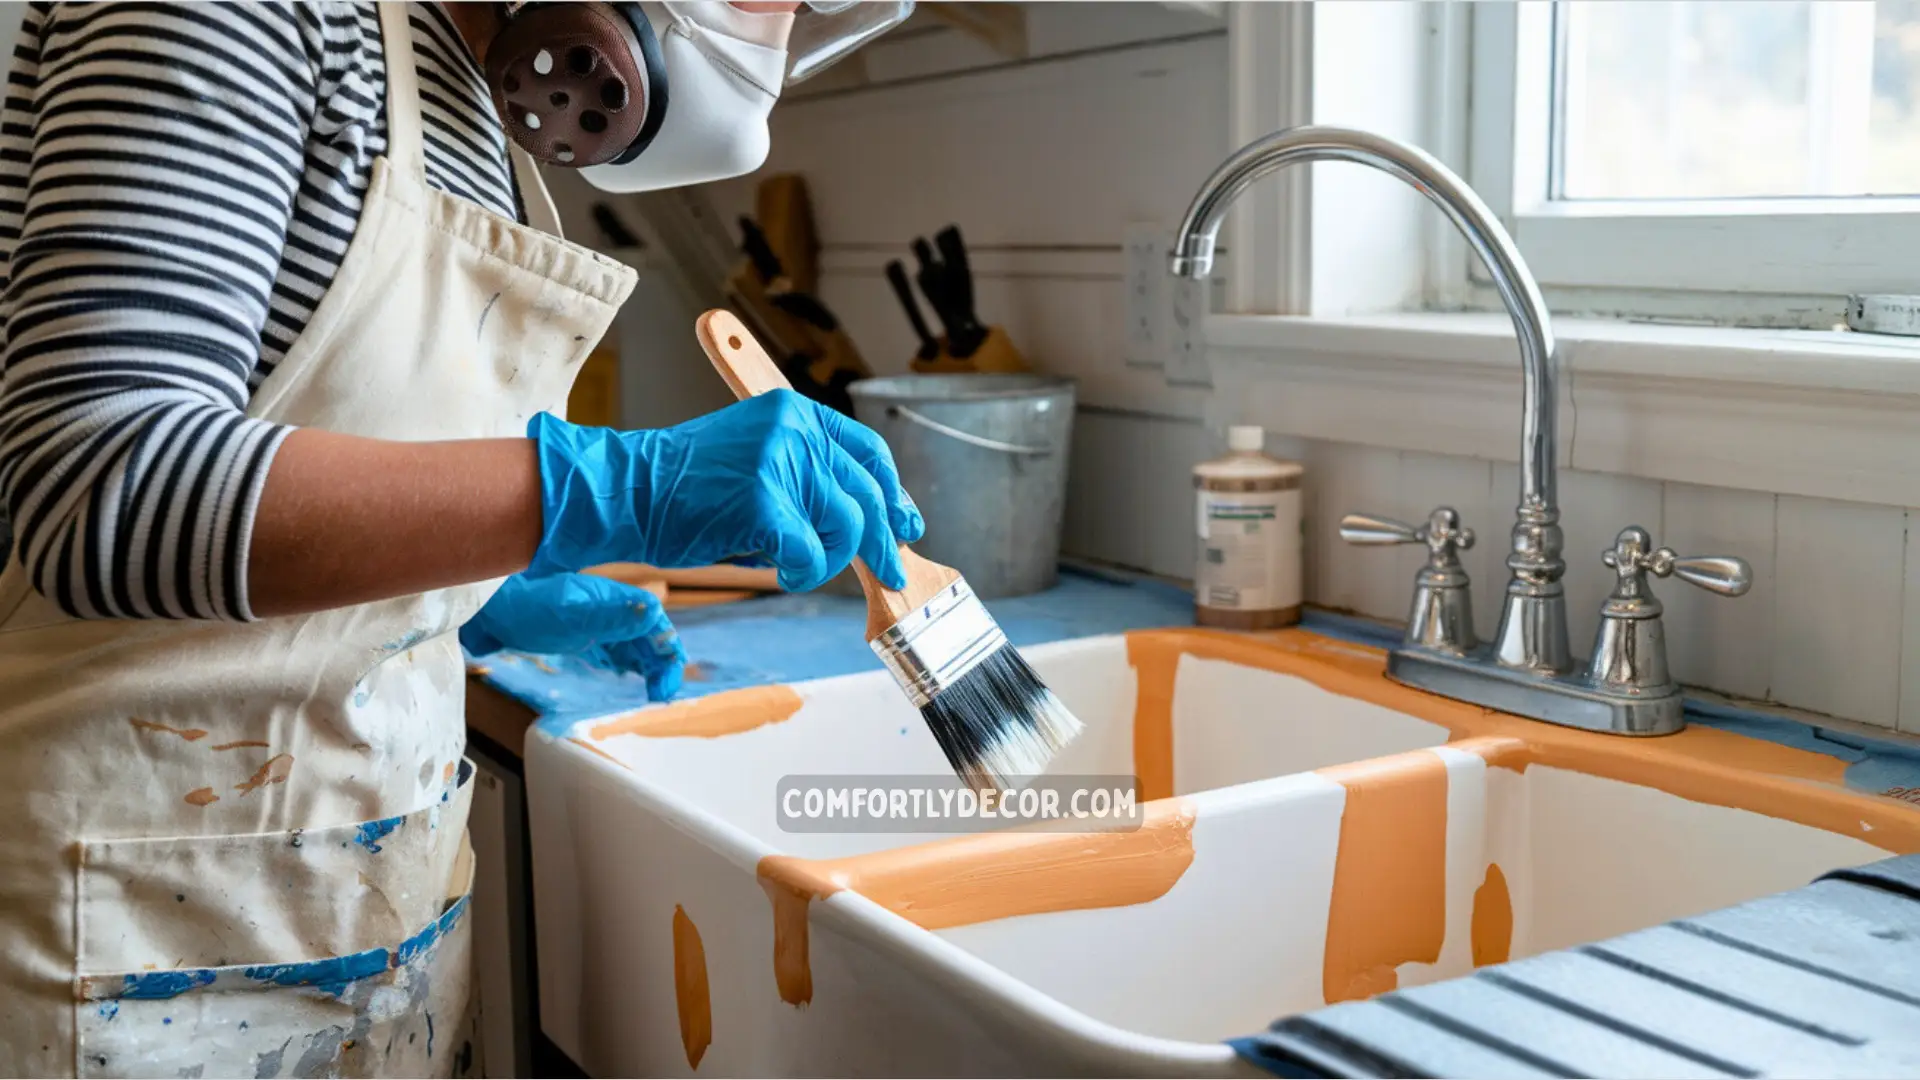
Step 3: Prep Like a Pro
1. Clean It Thoroughly
A clean sink is the holy grail of painting. Dirt, grease, or soap scum will mess with the paint’s ability to stick. Use a degreaser or a mixture of dish soap and warm water to scrub every inch. Rinse thoroughly and dry completely.
Bonus Hack: For tricky stains, sprinkle baking soda on a sponge and give it a gentle scrub.
2. Sand the Surface
Sanding might sound tedious, but it’s 100% worth it. It scuffs up the surface, creating something for the primer to cling to.
- Use 120-220 grit sandpaper for stainless steel sinks.
- For porcelain, go finer with a 220–400 grit to avoid damage.
After sanding, wipe away any dust with a damp microfiber cloth. Don’t skip this step unless you want patchy paint!
3. Mask and Protect
Grab your painter’s tape and carefully cover areas you don’t want painted, like sink drains, surrounding counters, and faucets. Then, spread out a drop cloth or newspaper to catch any stray paint drips. (Save your countertops before it’s too late!)
Step 4: Time to Paint!
Now to the fun part. Here’s how to apply paint for that durable, professional-looking finish you’re dreaming of.
1. Prime the Sink
Primer isn’t optional. It’s your secret weapon for paint that lasts.
- Apply a thin, even coat of a primer designed specifically for the material of your sink (e.g., epoxy primer for porcelain or metal primers for stainless steel).
- Wait for the primer to dry fully (usually 4–6 hours) before moving on. Don’t rush this step, no matter how excited you are.
2. Paint Like a Pro
Grab your foam roller or brush and get to work.
- Start with a thin coat of epoxy or acrylic urethane paint. Avoid thick layers as they lead to drips and uneven finishes.
- Allow each coat to dry completely before applying the next. Most projects require 2–3 coats for a flawless finish.
3. Add the Clear Coat
Protect your masterpiece with a high-quality clear coat. This step shields your sink from water damage, scratches, and everyday wear-and-tear.
- Apply 1–2 thin, even layers of epoxy or acrylic sealant.
- Allow it to cure for at least 24–48 hours before using your sink again.
Although patience may not be your strong suit, it’ll pay off with a finish that lasts!
Step 5: Choosing the Perfect Color and Finish
Here’s where you can get creative! What vibe are you going for?
- Classic and Sleek: Stick to neutral tones like white, gray, or black.
- Bold and Cool: Try a vibrant pop of color, like navy, emerald green, or even pink.
And don’t forget about the finish:
- Glossy: Easy to clean and adds a polished, modern look.
- Matte: Trendy but may require extra maintenance to keep clean.
Step 6: Maintain Your Painted Sink
Once your sink is entirely painted and cured, a little TLC will keep it looking fresh for years.
Here are some tips:
- Skip the Harsh Cleaners: Use mild dish soap and soft cloths only. Avoid abrasive sponges or bleach.
- Wipe Dry: After each use, wipe the sink dry to avoid water spots and mineral buildup.
- Touch-Up Chipped Areas: Got a scratch or chip? No worries. Sand it lightly, repaint it, and reseal.
FAQs
Wrapping It All Up
Congratulations! You just turned your boring, worn-out kitchen sink into a stunning piece of art. Painting a sink takes some effort, but the reward is a fresh, customized centerpiece for your kitchen that didn’t cost you an arm and a leg. How cool is that?
Now, what are you waiting for? Break out the brushes, put on your favorite playlist, and get to work creating a kitchen sink makeover you’ll brag about for years. (I mean, who doesn’t love showing off a killer DIY project?)

I am Mindy Medford, a home décor, paint, and design specialist with over a decade of hands-on experience transforming ordinary spaces into cozy, personality-packed havens. Since 2013, I have been helping homeowners discover the art of beautiful yet practical design. I share my love for color, texture, and layout—making stylish interiors & exteriors feel achievable for everyone. Whether it’s picking the perfect paint shade or reimagining a small space, I’m here to guide and inspire.