How to Measure Paint Viscosity: Easy Methods For Accurate Results
Ever had a painting project completely derailed because the paint just didn’t flow right? Whether it gummed up your spray gun, dripped everywhere, or refused to cover anything properly, you’ve likely encountered poor paint viscosity. And honestly? It’s not you. It’s the paint.
Understanding and measuring paint viscosity isn’t just for scientists in lab coats. It’s something every DIY painter, contractor, or manufacturer should know. After all, getting the right viscosity is the secret sauce for flawless application, consistent finishes, and budget-friendly paint use.
Stick with me, and we’ll break down how to measure paint viscosity step by step. You’ll be leaving those paint drama days behind for good.
What is Viscosity, and Why Does it Matter for Paint?
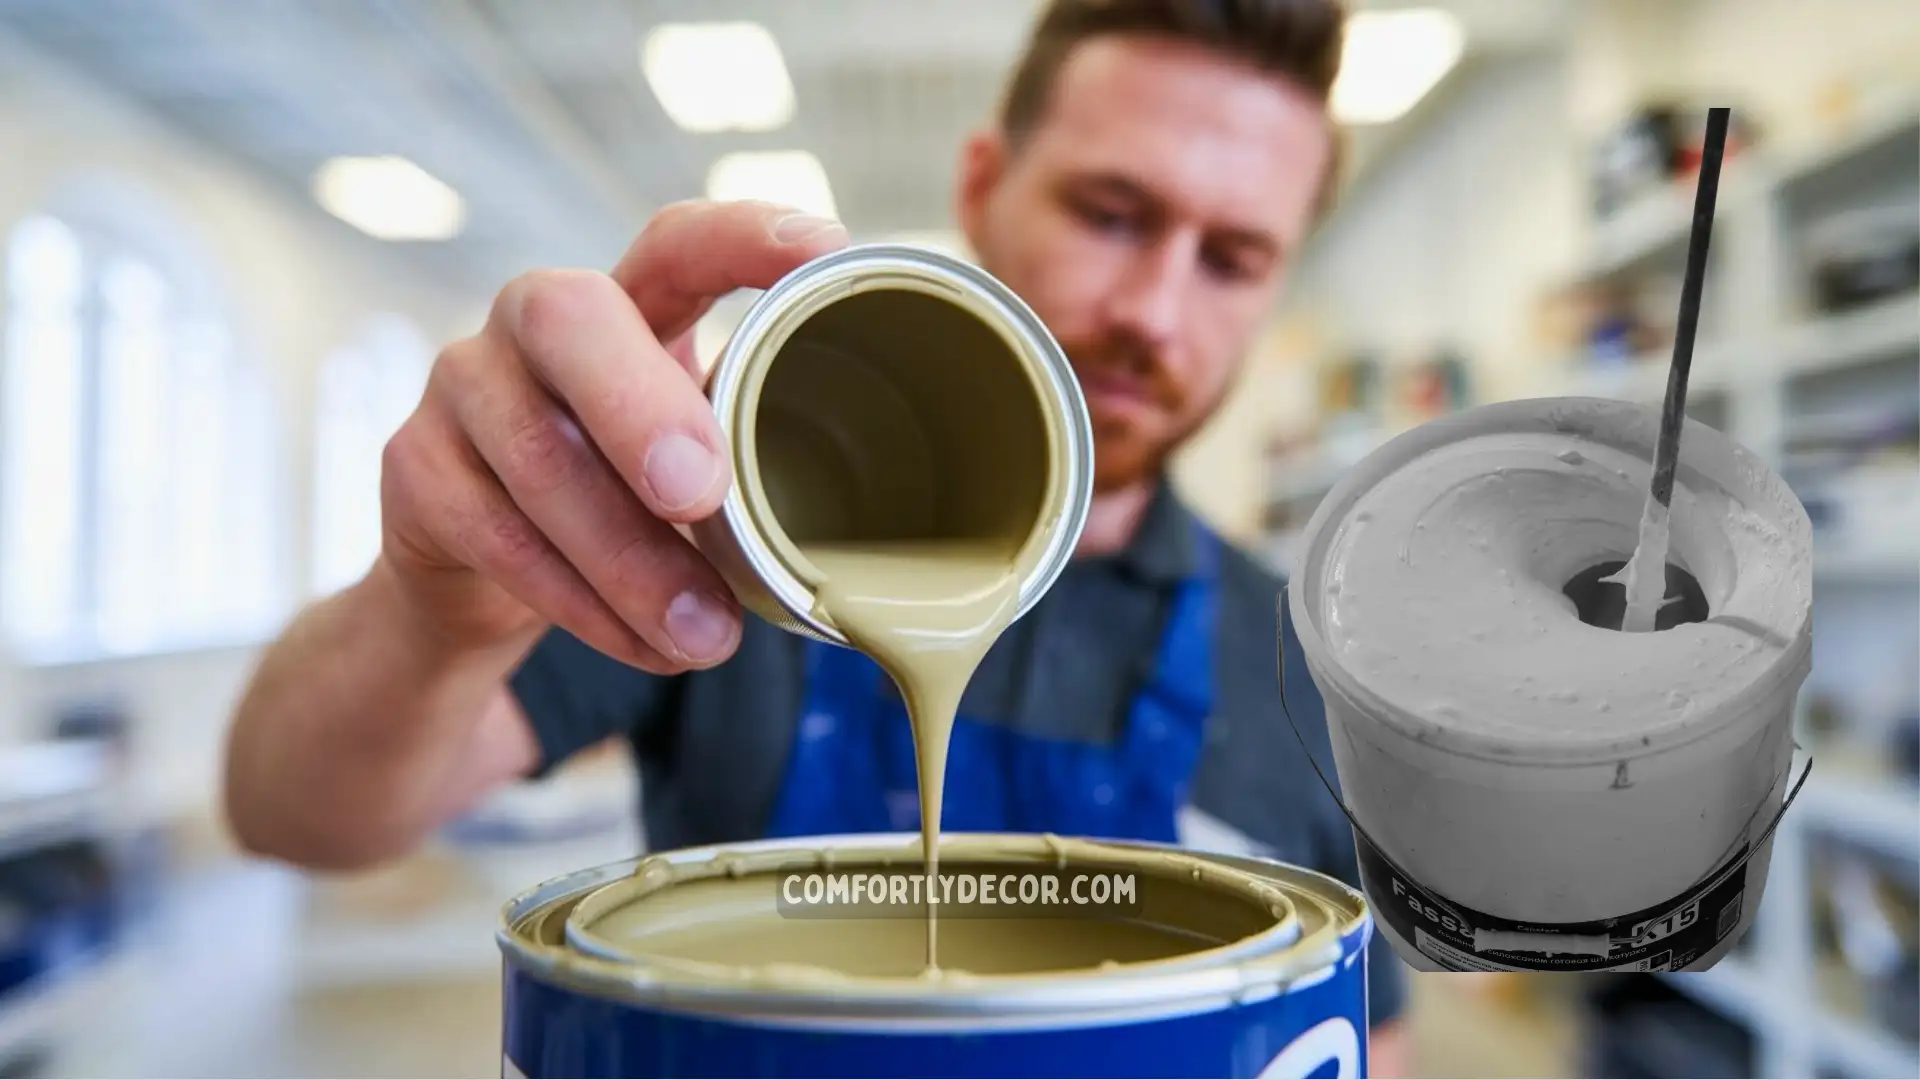
Viscosity is just a fancy term for a fluid’s resistance to the urge to flow. Think of honey dripping off a spoon versus water pouring from a bottle. Honey, with its slow, syrupy flow, has a much higher viscosity compared to water. Paint behaves the same way, and striking the perfect balance is key to how it performs.
Why Viscosity is Important
- Application Method: High-viscosity paint is better for brushing or rolling, while lower-viscosity paint is perfect for spraying.
- Finish Quality: Accurate viscosity prevents uneven coverage, drips, and splatters.
- Equipment Longevity: If your spray gun clogs, blame improper viscosity. Your tools will thank you for getting it right.
- Efficiency: Adjusting paint viscosity speeds up application and reduces wastage.
Still with me? Perfect, because we’re about to get hands-on with measuring viscosity.
Tools to Measure Paint Viscosity
Before we jump into the nitty-gritty of measurement, you’ll need to grab a tool. Surprisingly, you don’t need anything overly fancy.
Common Viscosity Measuring Tools
- Viscosity Cups:
- Zahn Cup or Ford #4 Cup are super popular in the paint world.
- These cups have a tiny hole at the base that lets paint flow through. Your job? Time how long it takes for the paint to empty the cup. Easy, right?
- Rotational Viscometer:
- A high-tech option that measures torque as it rotates a spindle in the paint. It’s accurate but pricey and usually used in professional settings.
- DIY Methods:
- Got no viscosity tools handy? Use the “drip test.” Dip a stick in the paint, lift it out, and watch the drip behavior.
- Thick paints will sit heavy on the stick, while thinner ones will drip freely.
If you’re a DIY enthusiast, a simple viscosity cup will do just fine. Trust me, no need for a NASA-level setup.
Preparing to Measure Paint Viscosity
Step one for any viscosity check? Prep your paint. You wouldn’t test a cake batter without mixing it, right? Same rules apply here.
Prepping Your Paint
- Mix Thoroughly: Use a stir stick to combine pigments, binders, and solvents evenly. Pro tip? Electric mixers save time and your arm.
- Strain the Paint: If there are dried bits or gunk in your paint, strain it with a fine mesh screen.
- Add Solvents: If you’re planning to thin or adjust your paint, do so before measuring.
Once your paint is smooth and ready, you’re set to measure!
How to Measure Paint Viscosity Step by Step
Here’s how to check viscosity like a seasoned pro:
Method 1: Using a Viscosity Cup
- Fill the Cup: Submerge your viscosity cup into the paint and lift it out smoothly, ensuring the cup is completely full.
- Start the Timer: When paint begins flowing out of the hole, start your stopwatch.
- Observe the Flow: Once the steady flow breaks and air gets through, stop the timer.
- Record the Time: Check your viscosity chart to determine if the paint meets your required specs.
Pro Tip: Perform this test 3 times and average the results for accuracy.
Method 2: Using a Rotational Viscometer
- Position the spindle in a container of paint.
- Activate the device to measure torque as the spindle rotates.
- Record the viscosity displayed on the device.
DIY Method for Quick Checks
- Dip a clean stick into the paint.
- Watch the drip speed. Thick and slow? Probably too viscous for spraying. Watery and messy? Likely over-thinned.
Now wasn’t that simple?
Factors That Influence Paint Viscosity
Here’s the thing about viscosity… it doesn’t stay constant. Several factors can affect how your paint flows.
1. Temperature
The warmer the paint, the thinner it gets. Cooler temps? Expect it to thicken. Always measure viscosity in your application’s actual temperature conditions.
2. Solvents and Additives
Adding thinners dilutes viscosity, while pigments and binders can thicken it.
3. Humidity
Surprise! High humidity can slightly alter the drying time and viscosity of your paint.
Pay attention to these variables, especially when working on larger projects where consistency is crucial.
What to Do After Measuring Viscosity
Once you’ve measured viscosity, you have everything you need to optimize your paint.
Adjusting Paint Viscosity:
- Too Thick? Add compatible thinner or solvent and recheck.
- Too Thin? Mix in more paint to even it out.
Ensure each adjustment aligns with your application method. Sprayers love low-viscosity paint, while rollers are more forgiving of thicker formulas.
Matching Viscosity to Application:
Here’s a super quick guide:
- Spraying: 20–30 seconds in a Zahn cup.
- Rolling/Brushing: 30–50 seconds, depending on paint type.
Trust me when I say you’ll notice a HUGE difference when you get this right.
Bonus Tips for Paint Viscosity Mastery
- Use Test Surfaces: Always try a small test application before committing to the full job.
- Document Your Setup: If you’ve nailed the perfect viscosity for a project, write it down for future reference. You’ll thank yourself later.
- Maintain Tools: Clean your viscosity cups and viscometers regularly to ensure accurate measurements.
Got any of your own tricks? I’d love to hear them!
FAQs
Why Measuring Viscosity Gives You the Competitive Edge
Understanding paint viscosity isn’t just about pretty finishes. It saves money, prevents tool breakages, and makes you look like an industry pro. Whether you’re painting a decorative mural or rolling out thousands of square feet, measuring viscosity sets you apart from the amateurs.
Want a flawless finish every time? Start mastering paint viscosity like it’s your superpower.

I am Mindy Medford, a home décor, paint, and design specialist with over a decade of hands-on experience transforming ordinary spaces into cozy, personality-packed havens. Since 2013, I have been helping homeowners discover the art of beautiful yet practical design. I share my love for color, texture, and layout—making stylish interiors & exteriors feel achievable for everyone. Whether it’s picking the perfect paint shade or reimagining a small space, I’m here to guide and inspire.


