How to Fix Paint Chips on Your Wall: Quick & Easy Tips
Paint chips may seem like a harmless little flaw, but over time, they can make your walls look run-down and neglected. Whether you’re dealing with a few chips from moving furniture or a more significant issue caused by moisture or poor-quality paint, fixing these imperfections is essential to maintain your space’s aesthetic appeal and property value.
For homeowners, renters, and DIY enthusiasts, addressing paint chips doesn’t have to be intimidating. This comprehensive guide provides you with everything you need to know about fixing paint chips on your walls effectively and affordably.
Causes of Paint Chips on Walls
Understanding what causes paint chips is the first step to fixing and preventing them in the future. Here are the most common culprits:
Physical Impact
Furniture scraping against walls, doors banging, children’s playful activities, or even pets pawing at the walls can lead to chips and scratches. High-traffic areas, such as hallways or kids’ rooms, are especially prone to these issues.
Moisture Issues
Excessive moisture, like the humidity in bathrooms or water from leaks, can weaken the paint’s bond with the surface. This often leads to bubbling, peeling, and eventual chipping.
Poor-Quality Paint
Low-quality paint or using the wrong paint type for your walls is a recipe for paint chips. Cheap paints often lack durability, while the wrong type, such as using matte paint in moisture-prone areas, can exacerbate peeling.
By addressing these root causes, you can reduce the chances of repeat damage after repairs.
Preparing the Wall for Repair
Preparation is crucial for a flawless finish. Follow these steps to ensure the problem area is ready for a smooth repair:
Clean the Wall
Using a damp cloth and mild detergent, wipe off any dust, dirt, or grease from the chipped area. Clean walls allow new paint and repair products to adhere properly.
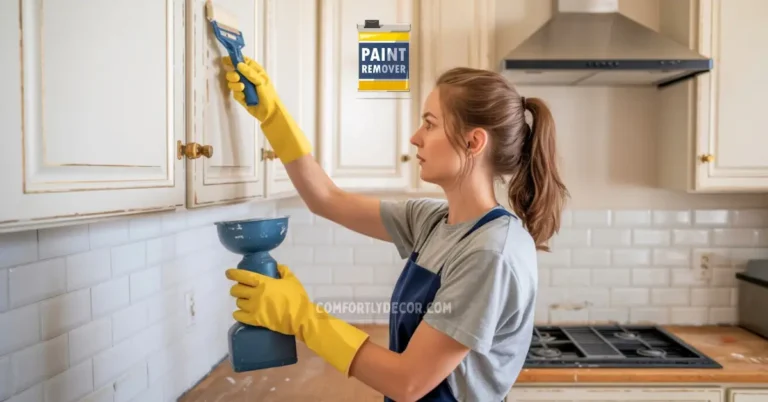
Scrape and Sand the Area
Use a paint scraper or putty knife to remove any loose paint around the chip. Next, use fine-grit sandpaper (120 grit or finer) to smooth the edges and create an even surface. This step ensures that the repair will blend seamlessly with the surrounding wall.
Gather Your Tools
For the repair itself, you’ll need:
- Touch-up paint and primer
- A putty knife
- Sandpaper
- Spackling compound or joint compound
- A small paintbrush or roller
Step-by-Step Guide to Fixing Paint Chips
Here’s a quick, step-by-step process that ensures professional-looking results:
Step 1: Clean the Area
Before starting the repair, ensure the wall is completely clean and dry.
- Wipe down the chipped area with a damp cloth to remove any dust, dirt, or grease.
- For tougher spots, use a mild soap solution, then dry the area thoroughly with a clean towel.
This step ensures the filler adheres properly for a smooth and durable result.
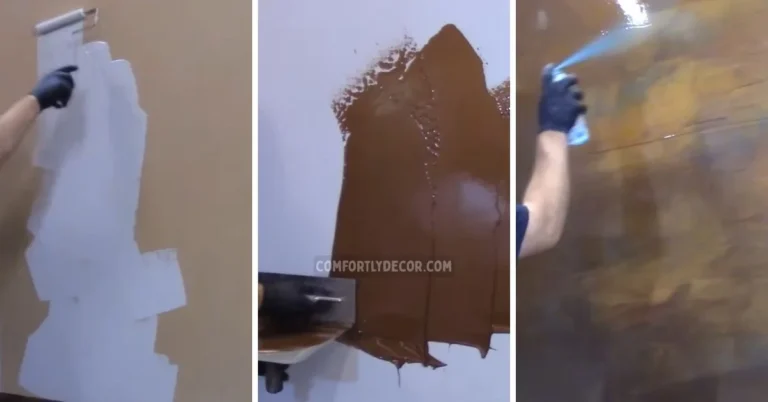
Step 2: Apply Filler
Use a spackling or joint compound to fill in the chipped area.
- Scoop a small amount of filler onto a putty knife and press it into the chip, ensuring it fills the entire damaged area.
- Spread it evenly across the surface to avoid lumps or ridges.
- For deeper or larger chips, apply multiple thin layers of filler, allowing each layer to dry completely before adding the next.
This prevents cracking and ensures the repair is seamless. Check the product instructions for recommended drying times.
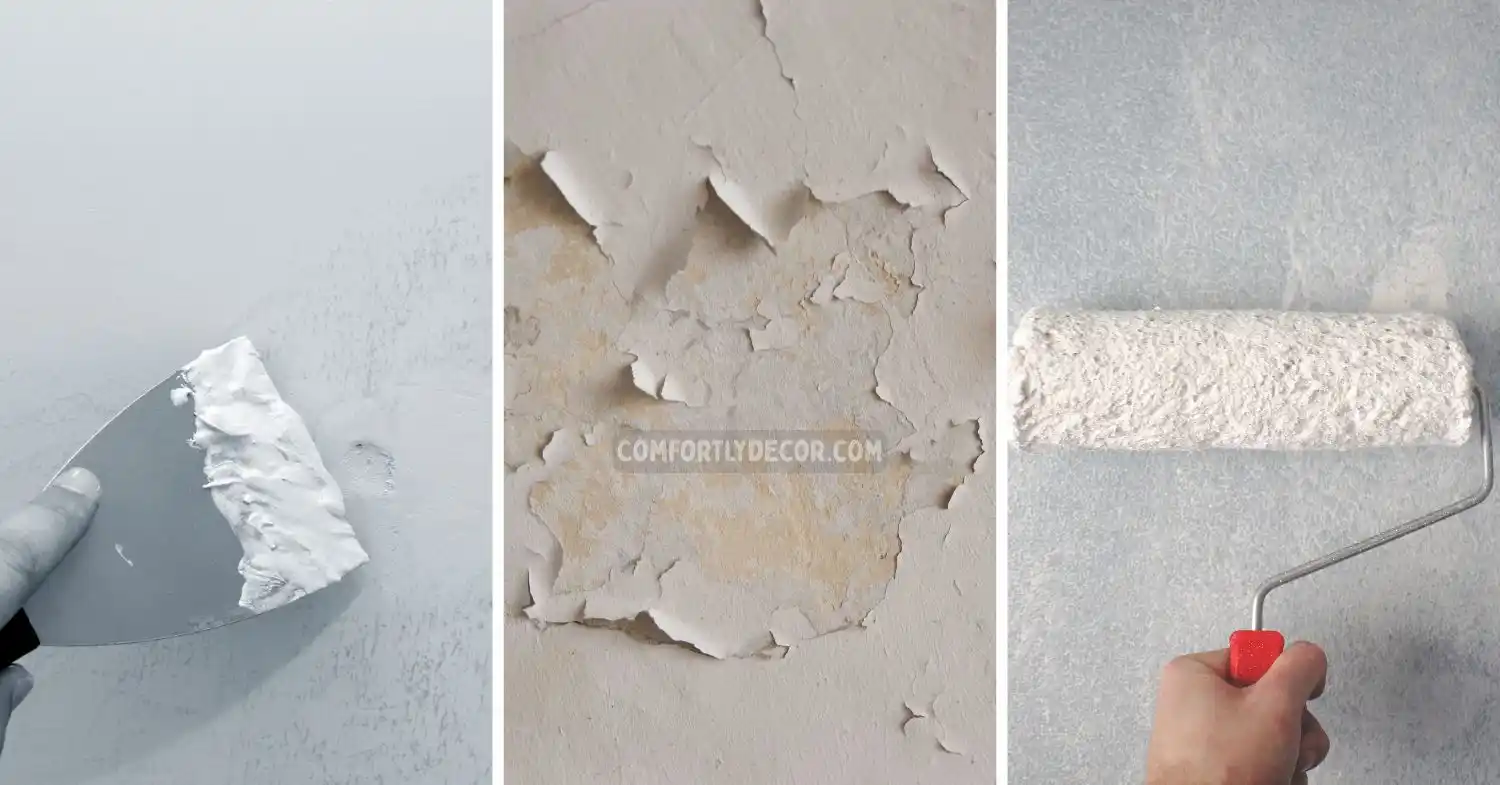
Step 3: Sand the Surface
When the filler is fully dry, use fine-grit sandpaper (such as 120-220 grit) to smooth the surface.
- Sand gently in small circular motions until the patched area is flush with the surrounding wall.
- After sanding, run your hand over the repaired spot to check for any unevenness.
Wipe away any sanding dust with a clean, damp cloth to avoid interference with the primer or paint.
Step 4: Prime the Area
Apply a coat of primer to the repaired spot using a small brush or roller. Primer not only helps the paint adhere better but also ensures the repaired area blends seamlessly with the rest of the wall by preventing discoloration or noticeable texture differences.
- Be sure to use a primer that matches the type of paint on your wall (e.g., oil-based or water-based).
- Allow the primer to dry fully, following the recommended drying time on the product label, before proceeding to paint.
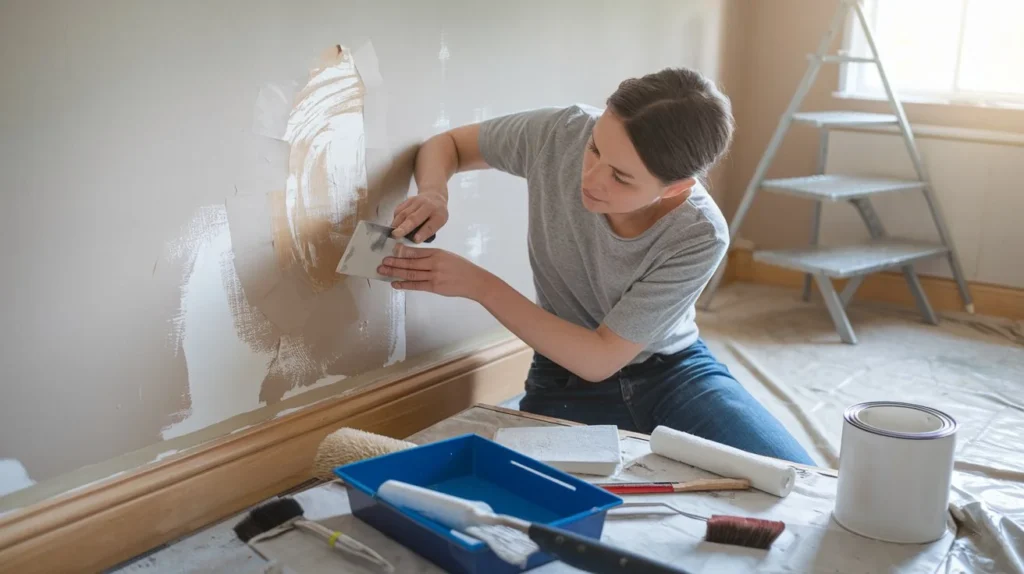
Step 5: Paint and Blend
Once the primer is dry, carefully paint over the primed area using touch-up paint that matches your wall color.
- Use a small brush or roller for precision, applying the paint in thin, even layers.
- To ensure the repaired area blends in with the rest of the wall, use a feathering technique.
- Start at the center of the patched area and work outward with light, overlapping strokes, blending the edges of the new paint into the surrounding wall.
- If necessary, apply a second coat of paint for full coverage, allowing the first coat to dry completely before reapplying.
Once finished, step back and check to make sure the repaired area is virtually invisible!
Advanced Techniques for Tricky Walls
Dealing with Textured Walls
If your walls have a textured finish, it’s important to replicate that texture for a consistent look.
- After applying filler to any cracks or holes, use tools like sponges, stippling brushes, or specialized rollers to recreate the original texture.
- Depending on the wall’s design, you might need to experiment with different techniques to get the perfect match.
Taking your time during this step will ensure a seamless result once the paint is applied.
Matching Paint Colors
If you don’t have leftover paint from your original project, don’t worry—there are several ways to find the right match.
You can carefully cut a small sample from your wall and take it to your local paint store, where they can digitally analyze the color to find the closest match. Many stores now offer advanced tools to mix paint with incredible precision.
Alternatively, apps and online tools allow you to color-match using a well-lit photo of your wall. To ensure accuracy, test a small area first before committing to a full repaint.
Preventative Measures to Avoid Future Paint Chips
Fixing paint chips is important, but prevention is even better. Incorporate these measures to keep your walls looking pristine:
Use High-Quality Paint
Invest in durable, moisture-resistant paints specifically designed for high-traffic or humid areas like hallways, kitchens, or bathrooms. These paints not only last longer but also make cleaning stains or marks much easier, ensuring your walls stay fresh and vibrant over time.
Apply Protective Coatings
Consider using high-gloss or semi-gloss paints to create a durable, washable layer of protection on walls. These finishes are ideal for areas prone to wear and tear, such as children’s playrooms or entryways, as they resist scuffs and scratches while being easy to clean with a damp cloth.
Install Furniture Padding
To prevent dents, scratches, or impact damage, add felt pads or rubber bumpers to the legs of furniture pieces like chairs, tables, and sofas. These simple accessories act as a barrier between your furniture and the walls, especially when furniture is moved or rearranged, reducing the risk of accidental damage.
Ensure Proper Maintenance
Inspect your walls regularly for signs of damage, such as chipping paint, cracks, or scuffs. Addressing these issues early, such as by touching up chipped areas with matching paint, can prevent them from worsening and help maintain your walls’ appearance for much longer. Regular cleaning with gentle solutions can also remove dirt and grime without harming the paint.
FAQs
Maintaining Your Wall for Long-Term Results
By taking the time to fix paint chips and implement a maintenance routine, you not only restore your wall’s appearance but also protect your investment in your home. Be proactive with regular cleaning, occasional inspections, and using high-quality paint and tools.
With a little effort and the right techniques, you can keep your walls looking as good as new for years to come.

I am Mindy Medford, a home décor, paint, and design specialist with over a decade of hands-on experience transforming ordinary spaces into cozy, personality-packed havens. Since 2013, I have been helping homeowners discover the art of beautiful yet practical design. I share my love for color, texture, and layout—making stylish interiors & exteriors feel achievable for everyone. Whether it’s picking the perfect paint shade or reimagining a small space, I’m here to guide and inspire.