How to Remove Popcorn Ceiling
Popcorn ceilings are the bane of my existence. I swear the person who invented that bumpy acoustic texture just hated smooth surfaces and human joy. You look up and see a dust magnet that looks like day old cottage cheese. It makes the room feel smaller and dates the house instantly. But here is the good news. I removed it myself and lived to tell the tale.
You do not need a professional crew to scrape that mess away. You just need some patience and the right prep work. Trust me when I say the hardest part is not the scraping. It is the cleaning up afterward. So grab a coffee and let us talk about how to get that smooth modern look you actually want.
Safety First (Important)
Before starting a ceiling renovation, make sure to prioritize safety. Here are the key steps to follow:
- Check the age of your house: If your home was built before 1980, you must test for asbestos. Popcorn ceilings from that era often contained asbestos fibers.
- Do not start scraping without testing: Protect your lungs by ensuring there is no asbestos risk.
- Get it tested:
- Purchase a testing kit from a hardware store.
- Or hire a professional to take a sample for testing.
- If the test is positive: Professional abatement is required—no exceptions!
- If the test is negative: You’re safe to proceed with the renovation.
- Always wear proper safety gear: Even without asbestos, wear a good respirator mask and safety goggles to protect yourself from dust and debris.
Safety is key—don’t take unnecessary risks!
Gather Your Tools
I refuse to start a project without having everything in the room. Running to the store covered in white dust is not a good look. Here is what I use to get the job done right.
- Garden pump sprayer (This is the secret weapon)
- Wide drywall scraper (6 inch or larger)
- Plastic drop cloths (Get the heavy duty kind)
- Painter tape
- Ladder or step stool
- Sandpaper and sanding pole
- Joint compound
- Primer and Paint
Step 1: Prep the Room Like a Crime Scene
I cannot stress this enough. You must cover everything. The wet popcorn goop falls everywhere and turns into a concrete-like substance when it dries.
- Empty the space: Move all furniture out of the room if possible.
- The “Burrito” method: Wrap heavy items you can’t move in plastic sheeting.
- Floor protection: Use heavy-duty plastic (not canvas!) and tape it a foot up the walls to create a “catch basin.”
- Fixture removal: Take down ceiling fans and light fixtures.
- Kill the power: Always turn off the electricity to the room at the breaker box first.
Step 2: The Wetting Process
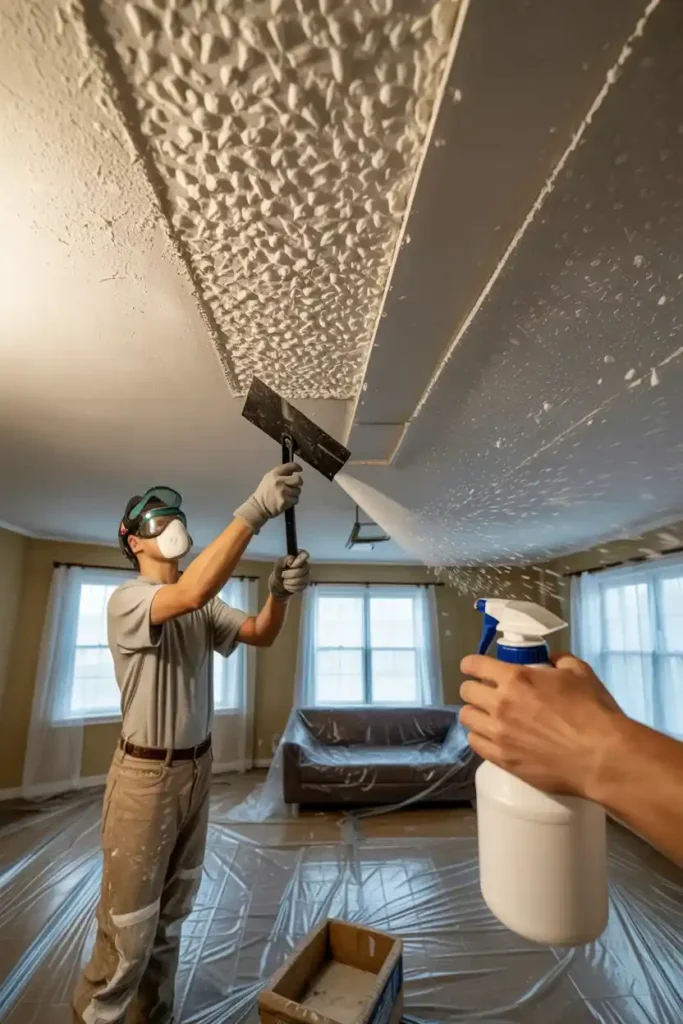
Dry scraping is a nightmare of dust and hard labor. The trick is water.
- Spray in sections: Use a garden pump sprayer with warm water to soak a 5×5 foot area.
- Be patient: Let the water sit for about 15 minutes until the texture turns to “mush.”
- Don’t over-soak: You want it damp, not a swimming pool, to avoid damaging the drywall paper underneath.
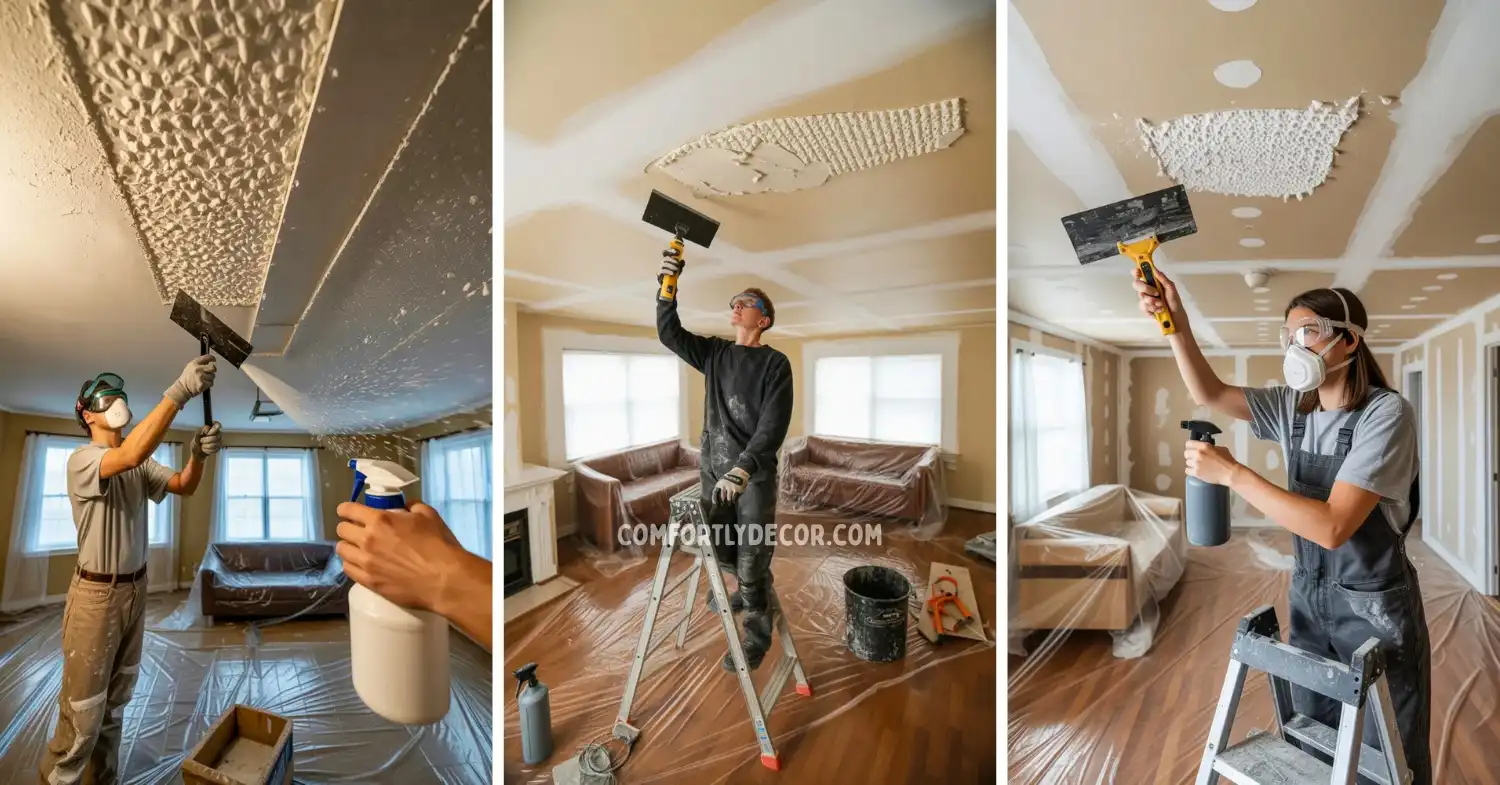
Step 3: Scraping the Texture
This is the oddly satisfying part. If prepped right, the popcorn should fall off in big sheets.
- Round your tool: Use a file to round the corners of your scraper so you don’t gouge the ceiling.
- Catch the mess: Hold a mud pan under your scraper as you work to catch the globs.
- Don’t force it: If you hit a stubborn spot, spray it again. Patience prevents gouges.
Step 4: Sanding and Smoothing

Once the ceiling is bare, it will look a bit rough. Don’t skip the finishing touches.
- Let it dry: Allow the ceiling to dry completely overnight.
- Pole sander: Use 120-grit sandpaper to knock down high spots.
- Patch and fill: Use joint compound to fix any dings or gouges, then sand those spots smooth once dry.
Step 5: Prime and Paint
Exposed drywall is like a sponge—you can’t just slap paint on it.
- Prime first: Use a high-quality, stain-blocking primer to prevent old stains from bleeding through.
- Choose “Flat”: Use flat ceiling white paint; it’s much better at hiding imperfections than glossy finishes.
- Double coat: Do two coats for a professional, clean look.
Tips for Painted Popcorn
If your popcorn has been painted over, the water method might not work because the paint seals the texture.
- The Test: Spray a small spot. If the water beads up, you’re in trouble.
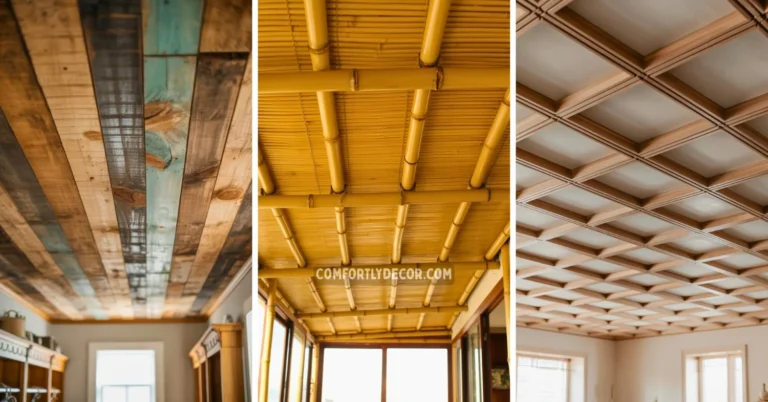
- The Verdict: You’ll either have to dry scrape (brutal) or cover it with new drywall or wood paneling. Honestly? If it’s painted, I usually just cover it up.
Clean Up Time
The beauty of the “catch basin” prep is the easy exit.
- The Roll-Up: Carefully roll up the plastic sheeting with all the sludge inside and tape the bundle shut.
- Final Touch: Vacuum the edges and wipe down the walls.
It’s a messy weekend, but the ROI is massive. The room will look taller, brighter, and you’ll save thousands in labor costs. In my opinion, it’s the ultimate sweat equity project.
FAQs
Make Your Ceiling Modern
Removing a popcorn ceiling is a rite of passage for homeowners. It is messy and tiring but the results transform the space. You get rid of the dust and the shadows and the dated look. I love walking into a room I cleared myself. It feels cleaner and looks bigger. So go check for asbestos buy some plastic and get to scraping. You got this.

I am Mindy Medford, a home décor, paint, and design specialist with over a decade of hands-on experience transforming ordinary spaces into cozy, personality-packed havens. Since 2013, I have been helping homeowners discover the art of beautiful yet practical design. I share my love for color, texture, and layout—making stylish interiors & exteriors feel achievable for everyone. Whether it’s picking the perfect paint shade or reimagining a small space, I’m here to guide and inspire.