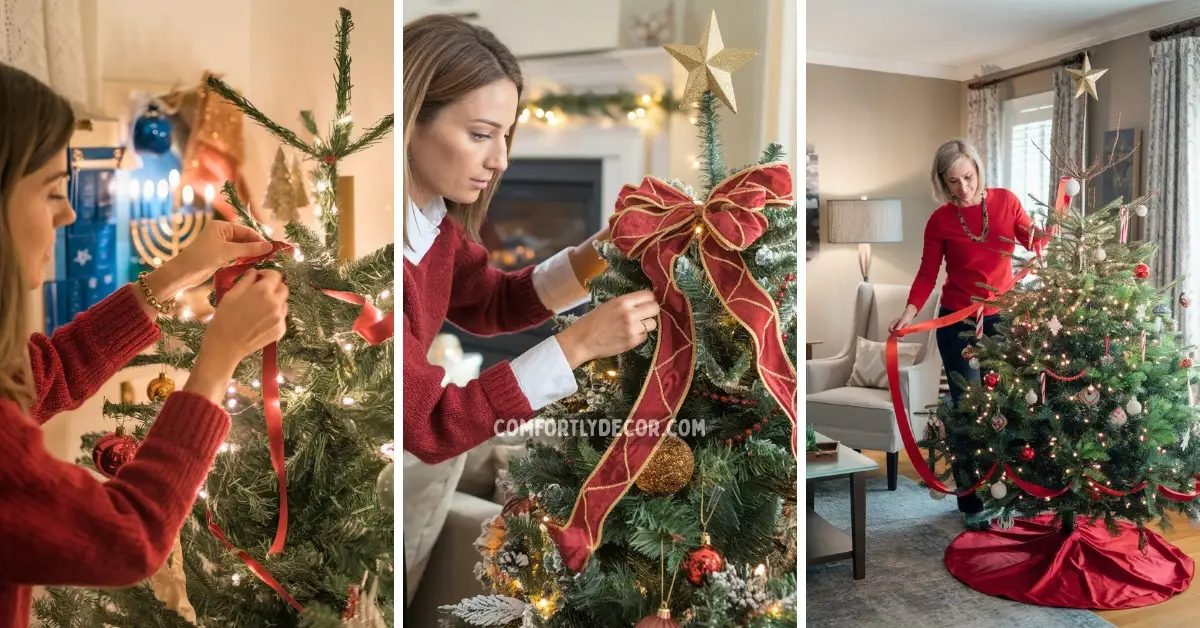
How to Put Ribbon on A Christmas Tree (Without Losing Your Mind
You know that moment when you stand in front of your Christmas tree, ribbon in hand, and wonder, how do people make it look so perfect? I have been there too. I used to wrestle with tangled ribbon like it was some kind of shiny boa constrictor. But after years of trial, error, and a few glitter explosions, I finally figured out how to make a tree look like it came straight out of a magazine—without losing my sanity in the process.
Step 1: Choose the Right Ribbon
Let us start with the most important part, the ribbon itself.
- Wired ribbon is your best friend. It holds its shape beautifully, so you can twist and fluff it however you like.
- Width matters, aim for at least 2.5 inches wide for that full, elegant look.
- Mix textures and finishes: I love pairing velvet with metallic or burlap with plaid. The contrast gives your tree personality and depth.
Pro tip: Always buy extra. Trust me, ribbon disappears faster than Christmas cookies.
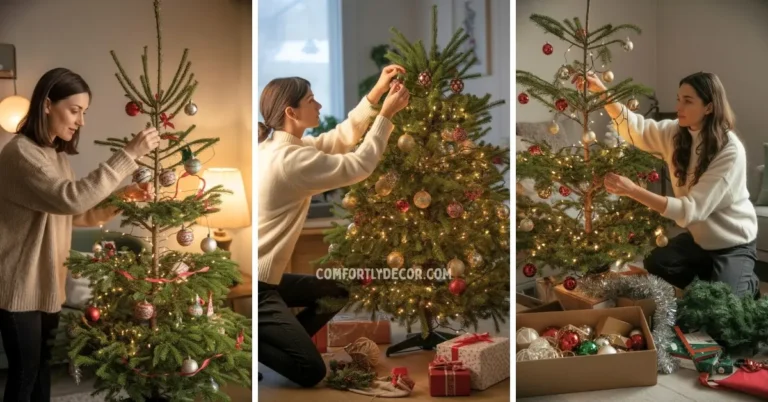
Step 2: Prep Your Tree First
Do not even think about adding ribbon until your tree is ready. I learned that lesson the hard way.
- Fluff every branch: It takes time, but a fuller tree makes the ribbon look richer.
- Add your lights: Wrap them evenly from the trunk outward for a balanced glow.
- Step back and check the lighting: Uneven lighting will make your ribbon placement look off later.
Once you start ribboning, there is no going back to fix those lights.
Step 3: Pick Your Ribbon Style
Here comes the fun part, deciding how you want your ribbon to flow. There are a few popular styles, and I promise you cannot go wrong with any of them.
A. The Classic Cascade
This one is simple and elegant.
- Cut sections about three to four feet long.
- Tuck the top of each piece deep into the branches.
- Let the ribbon flow naturally down in soft waves.
B. The Loop and Tuck Method
This is my go-to because it gives that professional, layered look.
- Cut two to three foot strips.
- Tuck one end deep inside the branches near the top.
- Create a loop, then tuck again eight to ten inches down.
- Repeat until it looks balanced and natural.
C. The Spiral Wrap
Perfect for those who like order and symmetry (no judgment, I am one of them).
- Use one long continuous ribbon.
- Start at the top and wrap downward in a gentle spiral.
- Tuck it in slightly every few loops to hold it in place.
Step 4: Layer for a Designer Look
If your tree looks flat, it is probably missing depth. Try layering two or three types of ribbon:
- One wide patterned ribbon for drama.
- One medium metallic ribbon for shine.
- One thin accent ribbon (like gold or silver) for detail.
Mix and match ribbons before you place them on the tree—it gives a lush, dimensional effect that screams holiday perfection.
Step 5: Secure Everything Neatly
Use green pipe cleaners, floral wire, or twist ties to hold your ribbon in place. They blend right in with the branches. No fancy equipment required—just good old-fashioned creativity.
Do not aim for flawless perfection. Nature is not symmetrical, and your tree does not have to be either. The little quirks make it feel real.
Step 6: Add Final Touches
Now, take a few steps back and really look at your tree. I like to squint a little (weird trick, but it works). You will instantly see where it looks too heavy or too empty. Adjust as needed, or add small bows for finishing touches.
Then pour yourself a cup of cocoa, put on your favorite Christmas playlist, and admire your masterpiece. You earned it.
Mastering the Art of Christmas Tree Ribbon Decor
Decorating a Christmas tree with ribbon does not have to feel like a tangled nightmare. Once you understand layering, flow, and texture, it becomes something you actually look forward to. IMO, your tree should reflect your vibe—not some picture-perfect Pinterest post.
So go ahead, have fun with it, experiment with colors, and make it yours. After all, Christmas is about joy, not perfection. 😉
FAQs

I am Mindy Medford, a home décor, paint, and design specialist with over a decade of hands-on experience transforming ordinary spaces into cozy, personality-packed havens. Since 2013, I have been helping homeowners discover the art of beautiful yet practical design. I share my love for color, texture, and layout—making stylish interiors & exteriors feel achievable for everyone. Whether it’s picking the perfect paint shade or reimagining a small space, I’m here to guide and inspire.