How to Put Christmas Lights on Tree (Without Turning It Into A Tangled Nightmare)
Every December, I face the same scene: me, a cup of cocoa, and a tangled mess of Christmas lights that somehow multiply in storage. It is like they party in the box all year long. But after years of trial, error, and a few dramatic sighs, I have finally mastered the art of lighting a Christmas tree without losing my patience or my holiday spirit.
If you have ever ended up halfway through your tree only to realize your strand does not reach the top, do not worry. I have been there too. Here is how I handle it now, stress-free and sparkle-ready.
Start With the Prep (Yes, Before Plugging Anything In)
I know it is tempting to just start wrapping, but trust me, a few minutes of prep saves hours of frustration.
- Fluff the tree first: Gaps and uneven branches make your lights look messy later.
- Test every strand: There is always one sneaky bulb waiting to ruin your mood.
- Untangle and stretch them out: I lay mine across the floor to check for twists or broken sections.
Once the lights are ready, I plug in the first strand to make sure it glows before I even touch the tree. Because nothing stings more than finishing the last loop and realizing… it is dead.
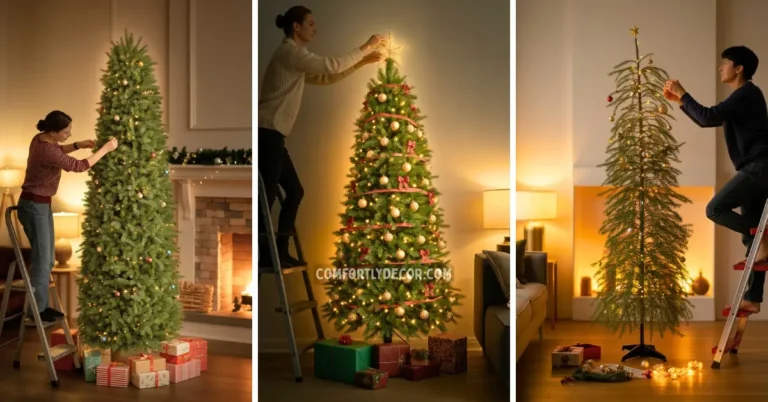
Pick Your Lighting Style
There are two schools of thought when it comes to tree lights: wrap or weave.
The Wrap Method
This one is simple, just circle around the tree from bottom to top. It is quick and tidy.
- Start at the base, near the trunk.
- Wrap the strand around evenly as you move upward.
- Keep a gentle spiral, spacing lights about four to six inches apart.
The Weave Method
This is my go-to because it adds more depth and shimmer.
- Work in sections instead of full rotations.
- Push some lights deeper into the branches and leave others near the tips.
- Move up and down in a zigzag pattern instead of wrapping straight around.
It makes the tree sparkle from every angle, like it is glowing from within.
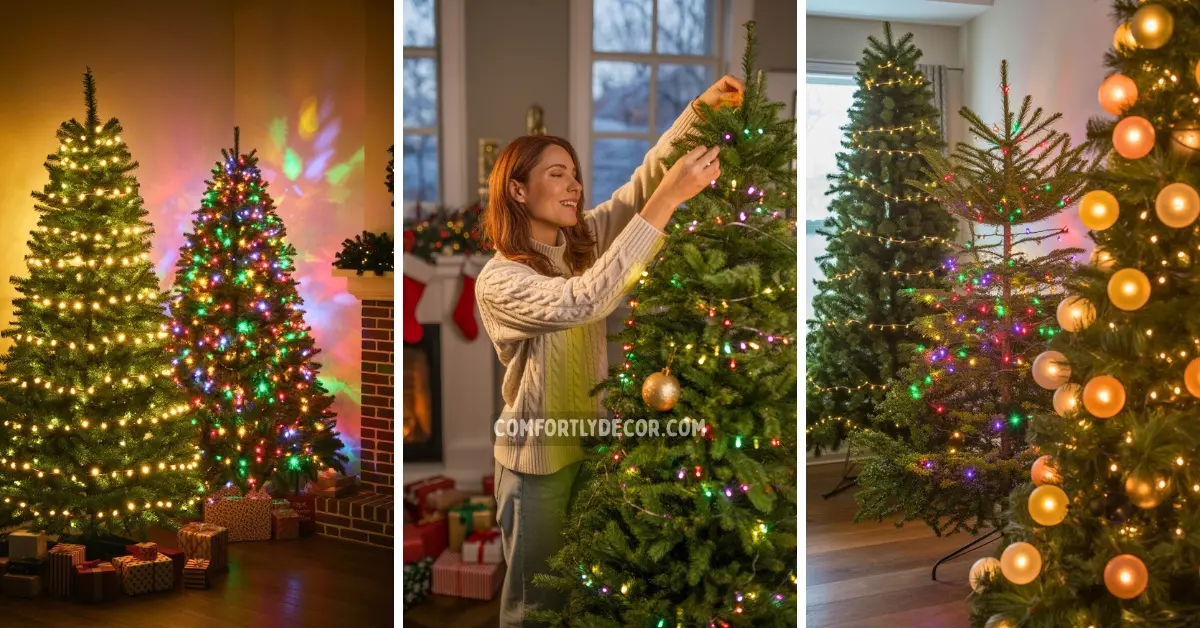
Work From the Inside Out
Here is a trick most people skip: start near the trunk.
I wrap the first few lights around the inner branches, then slowly work my way outward. The lights near the center create a soft, ambient glow, while the outer ones bring the twinkle. It gives the tree that professional, layered look you see in magazines.
And remember, step back often. I do this every few minutes. It helps me spot dark patches before I finish the entire tree.
How Many Lights Do You Really Need?
Let me save you from the classic under-lit tree mistake.
The general rule: 100 lights per foot of tree height.
So, for a 7-foot tree, you will want about 700–800 lights. I like my tree bright, so I usually go a little over. You can never have too much glow in December, IMO.
Mix and Match for Dimension
I sometimes mix different bulb sizes or colors for variety. A strand of mini fairy lights paired with larger globe bulbs looks amazing. It gives that layered sparkle without being over the top.
If you are feeling fancy, use twinkle lights or smart LED strands that can shift between warm white and multicolor. It adds instant drama when you flip the switch.
My Secret Sanity Trick
I always wrap the lights around my hand like a loose coil when storing them after Christmas. That way, next year’s version of me will not spend an hour untangling them again. Past me used to be reckless; present me is grateful for the lesson.
Lighting a Tree That Feels Pure Christmas
Once the lights are up, I turn off the overhead lamps, step back, and just take it in. That first glow always gets me. The way the lights shimmer against ornaments and bounce off the walls. There is something nostalgic about it.
Putting lights on a Christmas tree might seem tedious, but when you see that final sparkle, it is completely worth it. Every tiny bulb adds to the magic, one glow at a time.
FAQs

I am Mindy Medford, a home décor, paint, and design specialist with over a decade of hands-on experience transforming ordinary spaces into cozy, personality-packed havens. Since 2013, I have been helping homeowners discover the art of beautiful yet practical design. I share my love for color, texture, and layout—making stylish interiors & exteriors feel achievable for everyone. Whether it’s picking the perfect paint shade or reimagining a small space, I’m here to guide and inspire.