How to Paint Wood Garage Doors Like A Pro
Let’s be real—your garage door probably looks like it survived a zombie apocalypse. Sun damage, peeling paint, and that lovely weathered gray that screams “I gave up caring about curb appeal three years ago.” But here’s the thing: painting a wood garage door isn’t rocket science, and you don’t need to hire someone who charges more per hour than you make in a day.
I’ve painted my fair share of garage doors (and made every mistake possible), so I’m going to walk you through exactly how to transform that eyesore into something that’ll make your neighbors actually jealous. Ready to give your home’s exterior the makeover it desperately needs?
Why Your Wood Garage Door Needs This Makeover
Ever notice how a fresh coat of paint can make a house look like it jumped up a tax bracket? Your garage door takes up a huge chunk of your home’s visual real estate—sometimes up to 30% of what people see when they look at your house. When it looks rough, your entire home looks rough.
Wood garage doors are particularly vulnerable because they’re constantly battling the elements. Rain, snow, UV rays, and that one neighbor’s sprinkler system all conspire against your poor door. Without proper protection, wood can warp, crack, and fade faster than you can say “there goes the neighborhood.”
The good news? A painted garage door makeover is one of the most cost-effective ways to boost your curb appeal. We’re talking about potentially adding thousands to your home’s value for the cost of a weekend and some quality paint.
What You’ll Need (No, You Don’t Need a Home Depot Shopping Spree)
Here’s your shopping list—and trust me, I’ve learned the hard way that skimping on materials is like wearing flip-flops to run a marathon:
Essential Tools:
- High-quality exterior paint (oil-based or 100% acrylic latex)
- Exterior primer designed for wood
- 2-3 inch angled brush for detail work
- 9-inch paint roller with ¾ inch nap sleeves
- Paint tray and liners
- Sandpaper (120-grit and 220-grit)
- Painter’s tape (the good stuff, not dollar store tape)
- Drop cloths or plastic sheeting
- Cleaning solution (TSP or mild detergent)
Pro Equipment (Worth the Investment):
- Electric palm sander (your wrist will thank you)
- Paint sprayer (if you’re feeling fancy)
- Extension pole for the roller
Don’t Forget:
- Ladder or step stool
- Rags or paper towels
- Plastic bags for hardware storage
FYI, buying quality materials upfront saves you from redoing this whole project in two years. Trust me on this one.
Step 1: Prep Work (AKA the Part Nobody Wants to Do)
Here’s where most people mess up—they skip the prep work because it’s boring. Don’t be that person. Good prep work is what separates a professional-looking job from something that looks like a toddler did it with finger paints.
Clean It Right
Start by giving your garage door a thorough cleaning. Mix some TSP (trisodium phosphate) with water according to package directions, or use a mild detergent if you prefer something less aggressive. Scrub away dirt, mildew, and any chalky residue from old paint.
Pro tip: Use a pressure washer if you have one, but keep it on a low setting. You want to clean the door, not strip the wood or drive water into the grain.
Let everything dry completely—and I mean completely. Moisture trapped under paint is like a ticking time bomb for your finish.
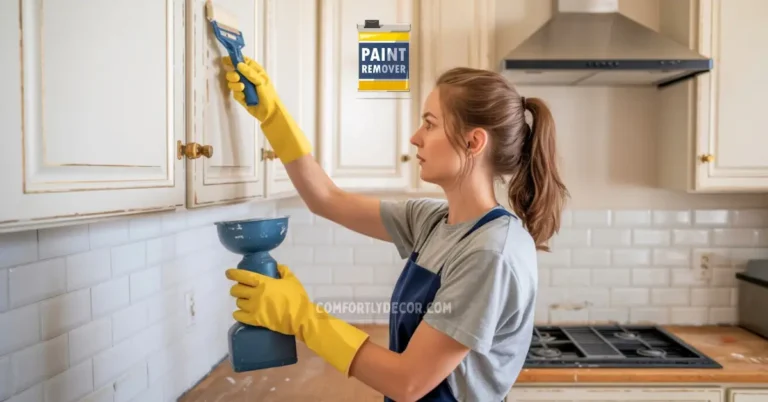
Sand Away the Drama
This is where that electric palm sander becomes your best friend. Start with 120-grit sandpaper to remove any loose or peeling paint, then follow up with 220-grit to smooth everything out.
The goal isn’t to strip the door down to bare wood (unless the existing paint is really bad). You’re just creating a surface that the new paint can grab onto. Think of it as giving your paint something to hold onto instead of trying to stick to a slippery surface.
Don’t forget to sand the edges, corners, and any decorative elements. These spots love to collect old paint buildup and will show imperfections if you skip them.
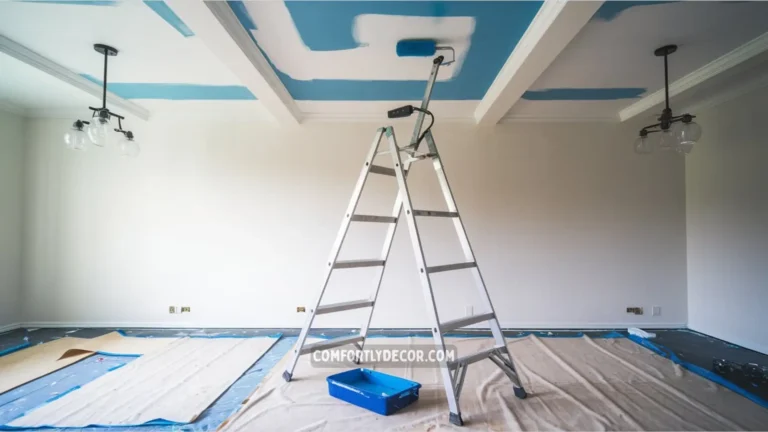
Tape and Protect
Apply painter’s tape to anything you don’t want painted—hardware, windows, weather stripping, and the garage door track. Spend the extra money on quality painter’s tape. Cheap tape bleeds, leaves residue, or worse, pulls off your new paint when you remove it.
Lay down drop cloths to protect your driveway. Paint splatters on concrete are basically permanent, and explaining paint spots to your spouse is not a conversation you want to have.
Step 2: Prime Time (Don’t Skip This!)
If there’s one step people love to skip, it’s priming. “The paint says it has primer in it,” they say. “I don’t need separate primer,” they argue. Wrong and wrong.
A good exterior wood primer is like insurance for your paint job. It seals the wood, blocks stains, and gives your topcoat something to stick to properly. Without it, you might as well be painting with water.
Choosing the Right Primer
For wood garage doors, you want an oil-based primer or a high-quality acrylic primer specifically designed for exterior wood. Oil-based primers penetrate deeper and block stains better, but they take longer to dry and require mineral spirits for cleanup.
Acrylic primers are easier to work with, dry faster, and clean up with water, but make sure you get one rated for exterior use and wood surfaces.
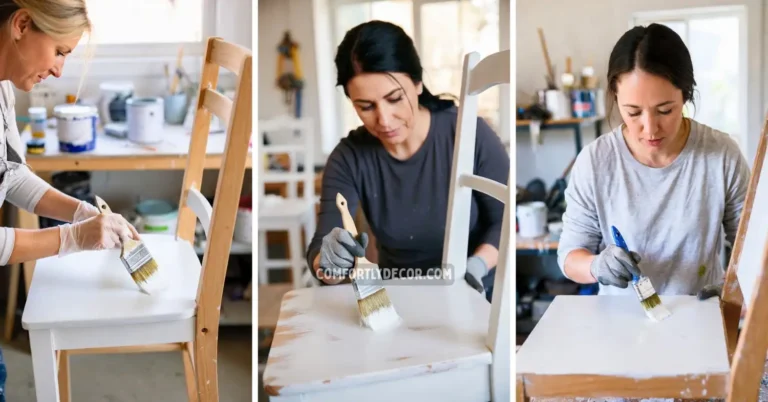
Application Technique
Apply primer in thin, even coats using your angled brush for detailed areas and your roller for flat surfaces. Work in sections from top to bottom, maintaining a wet edge to avoid lap marks.
Don’t try to cover everything in one thick coat—you’ll get drips, runs, and an uneven finish. Two thin coats always beat one thick coat.
Let the primer dry completely according to the manufacturer’s instructions. This usually means 4-6 hours, but check the label because humidity and temperature affect drying times.
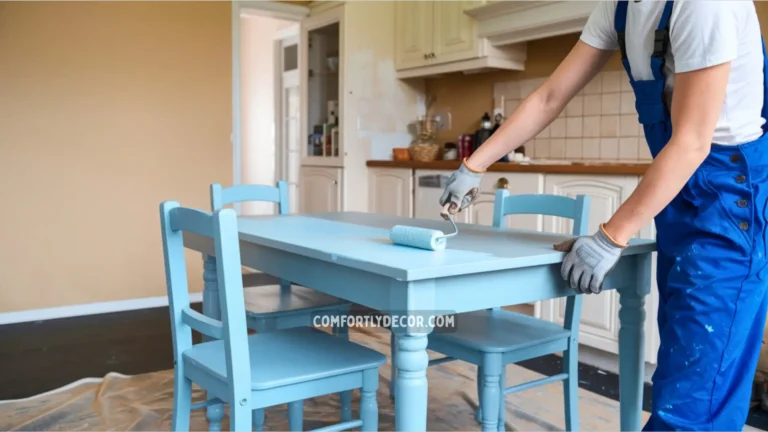
Step 3: The Main Event—Painting Your Garage Door
Finally! This is where all that prep work pays off. Painting a garage door is like painting a really big, vertical canvas—you need to be methodical and work in sections.
Paint Selection Matters
For exterior wood garage doors, you have two main options:
100% Acrylic Latex Paint: Easy cleanup, good durability, and comes in more color options than you can shake a paint brush at. Most pros recommend this for garage doors.
Oil-Based Paint: Harder finish, excellent durability, but longer dry times and more complicated cleanup. Better for high-traffic areas or if you want that super-smooth, traditional look.
Whatever you choose, make sure it’s rated for exterior use and specifically mentions adhesion to wood surfaces.
Painting Technique
Start with the detailed areas using your angled brush—panels, edges, and any decorative elements. Then use your roller for the flat surfaces, working in 3-foot sections.
Here’s the key: Maintain a wet edge. Don’t let one section dry before you blend it with the next, or you’ll get visible lines where the sections meet.
Apply paint in thin, even coats. I know it’s tempting to slap it on thick to cover everything in one pass, but resist the urge. Thin coats dry more evenly, last longer, and look more professional.
The Second Coat Decision
Most garage doors need two coats for proper coverage and durability. After the first coat dries (usually 4-6 hours), evaluate the coverage. If you can see the primer showing through or the color looks uneven, you definitely need a second coat.
Between coats, lightly sand with 220-grit sandpaper to smooth out any brush marks or imperfections, then wipe clean with a tack cloth.
Weather Considerations (Mother Nature Has Opinions)
Timing matters when painting a garage door. Avoid painting in direct sunlight, extreme temperatures, or high humidity. The ideal conditions are:
- Temperature between 50-85°F
- Low humidity (under 50% if possible)
- No rain in the forecast for at least 24 hours
- Cloudy or partially shady conditions
Hot sun causes paint to dry too fast, leading to brush marks and poor adhesion. Cold weather slows drying and can cause the paint to not cure properly.
Maintenance Tips (Keep It Looking Fresh)
IMO, the best part about painting your garage door properly is that maintenance becomes pretty simple. Clean it annually with mild soap and water, and touch up any chips or scratches as soon as you notice them.
Small touch-ups are easy if you save some leftover paint. Just clean the area, lightly sand if needed, and apply a thin coat with a small brush.
Inspect the caulk around your garage door annually too. Failed caulk lets moisture behind the paint, which is bad news for your beautiful finish.
Common Mistakes That’ll Make You Want to Cry
Let me save you some heartache by sharing the mistakes I see (and have made) most often:
- Skipping the cleaning step: Paint over dirt and you’ll get paint failure. Period.
- Using cheap brushes: They leave bristles in your finish and don’t hold enough paint. Spend the money on good brushes.
- Painting over glossy surfaces without sanding: Paint needs texture to grab onto. Glossy surfaces are like trying to stick a magnet to plastic.
- Rushing the drying time: Each coat needs to cure properly before the next application. Patience pays off.
- Not removing hardware: Paint on hinges and handles looks amateur and can cause operational problems.
FAQs
Final Thoughts: You’ve Got This
Painting a wood garage door might seem intimidating, but it’s really just a series of simple steps done carefully. The key is taking your time with prep work, using quality materials, and not rushing the process.
Your garage door makeover won’t just improve your home’s appearance—it’ll give you that satisfaction that comes from tackling a project and nailing it. Plus, every time you pull into your driveway, you’ll get to admire your handiwork 🙂
Remember, a painted garage door should last 7-10 years with proper maintenance, so this isn’t a project you’ll be doing again next summer. Take the time to do it right, and you’ll be enjoying the results for years to come.
Now grab that paintbrush and show that garage door who’s boss!

I am Mindy Medford, a home décor, paint, and design specialist with over a decade of hands-on experience transforming ordinary spaces into cozy, personality-packed havens. Since 2013, I have been helping homeowners discover the art of beautiful yet practical design. I share my love for color, texture, and layout—making stylish interiors & exteriors feel achievable for everyone. Whether it’s picking the perfect paint shade or reimagining a small space, I’m here to guide and inspire.