How to Paint Stair Railings Like A Pro
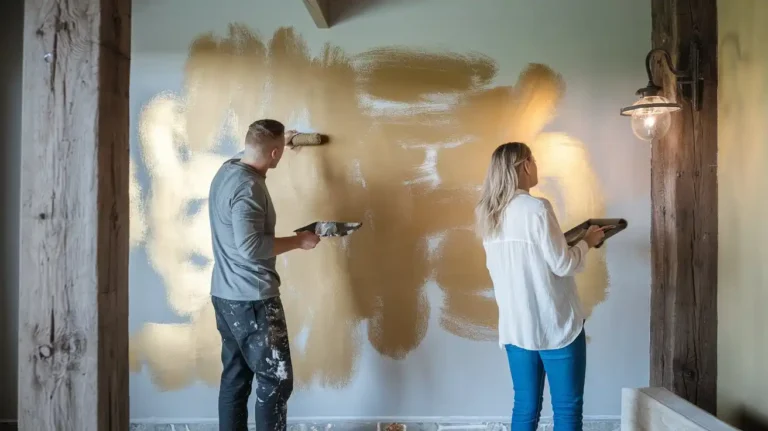
Tired of looking at that sad, dated stair railing? I know the feeling. Painting it is one of the quickest ways to give your staircase a facelift. A fresh coat of stair railing paint can completely transform the space, bringing it from drab to fab in a single weekend. I am going to walk you through the entire DIY stair railing project, so you can tackle it with confidence. Let us get started.
Prep Work is Everything
You have heard the saying, right? Fail to prepare, prepare to fail. This is especially true with painting. Skipping the prep work is a surefire way to get a finish that peels off faster than a bad sunburn. So, let us do it right the first time.
Clean It Up
First things first, you need to get rid of all the gunk. Dust, grease, and mystery smudges have to go.
I use a simple mix of warm water and a little dish soap. A good degreaser works wonders too. Give the entire railing a thorough wipe down and let it dry completely.
Sand It Down
Next up is sanding. I know, nobody loves sanding, but it is a necessary evil. A light sanding scuffs up the surface just enough to help the primer and paint stick.
I use a fine grit sandpaper, maybe around 180 or 220 grit. You are not trying to strip the old finish, just rough it up a bit.
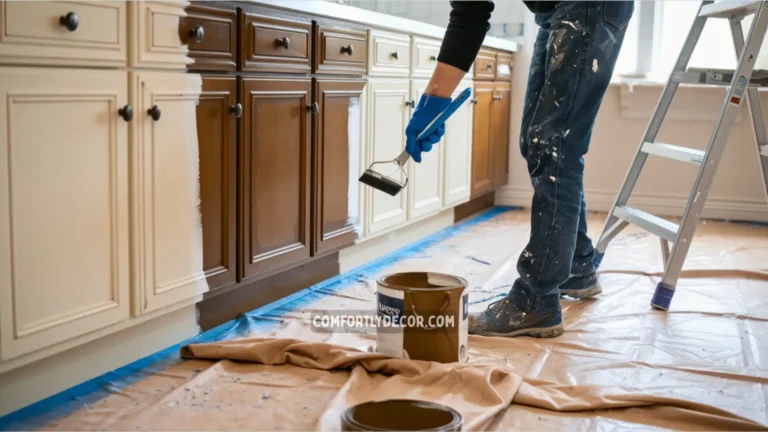
Tape It Off
Now for the fun part. Grab your painter’s tape and go to town. Carefully tape off the walls, the stairs, and any other area you do not want to accidentally redecorate with stair railing paint.
This step might feel tedious, but trust me, your future self will thank you when you are not spending hours cleaning up stray paint splatters.
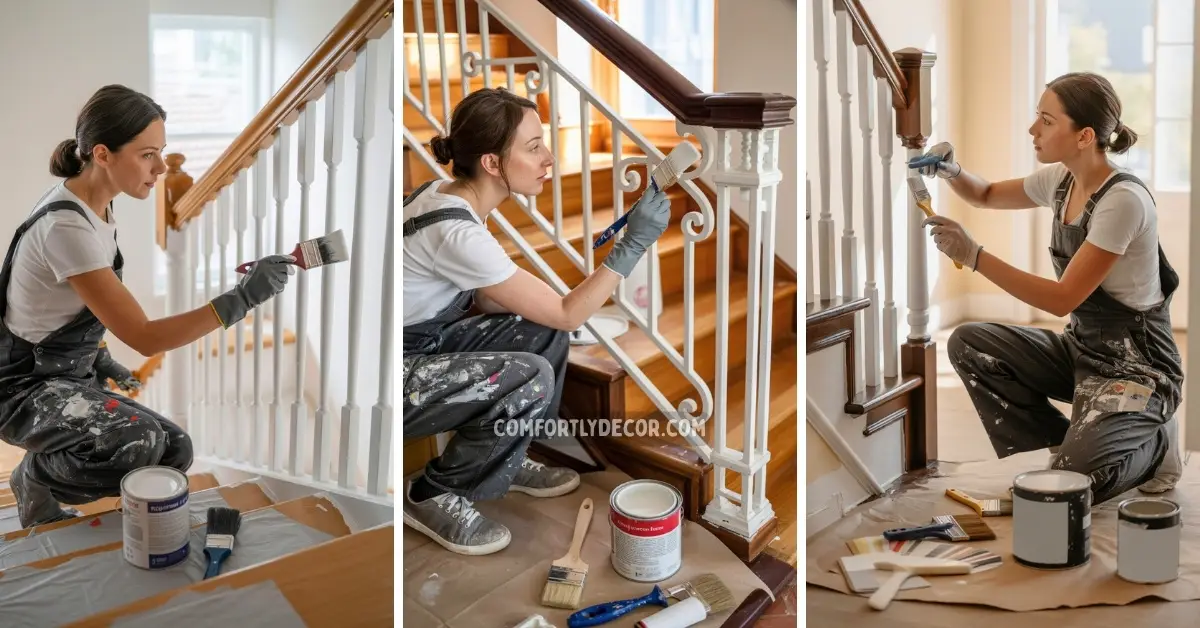
Time to Prime and Paint
With the prep work done, you are ready for the main event. This is where the magic happens and your DIY stair railing project starts to come to life.
Apply the Primer
Primer is your best friend. It creates a solid base for your paint and ensures a smooth, even finish. I always use a good quality bonding primer.
Make sure it is suitable for the material of your railing, whether it is wood or metal. Apply a thin, even coat and let it dry completely.
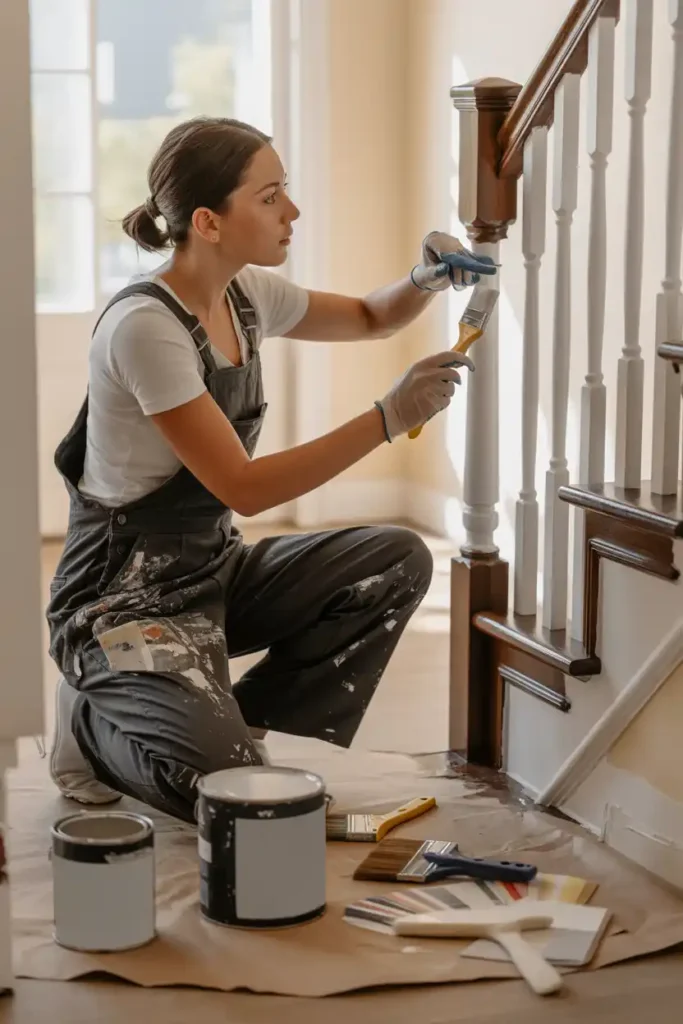
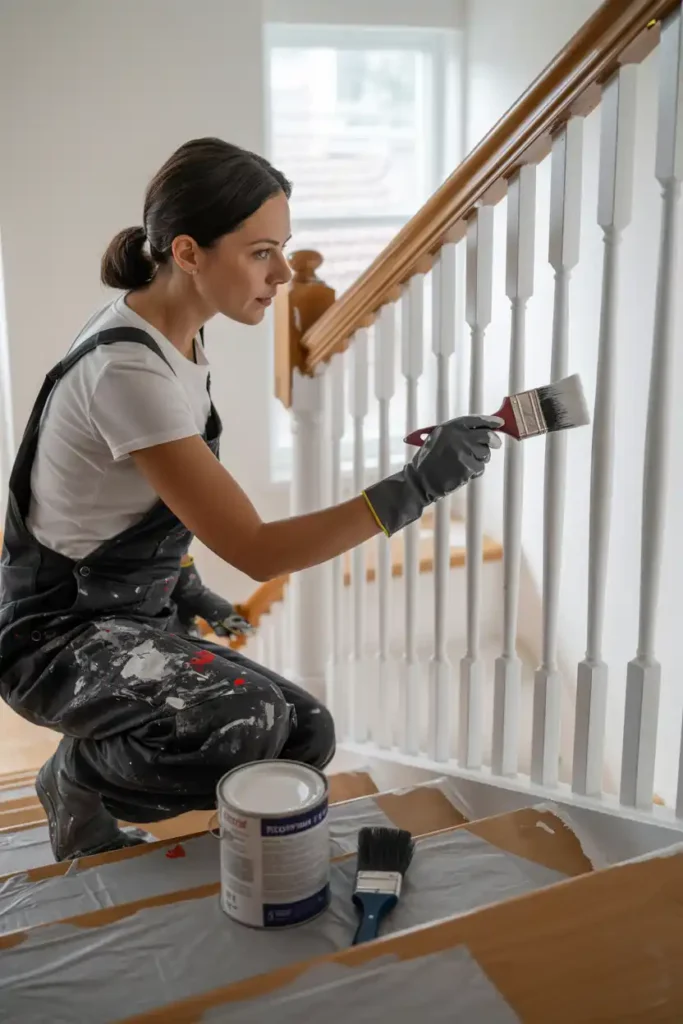
Let’s Paint

Finally, the moment you have been waiting for. You can use a brush or a paint sprayer for this step. I find a sprayer gives a super smooth finish, but a quality brush works great too.
Apply the paint in thin coats. Seriously, thin coats are the key. Trying to slap on one thick coat will just lead to drips and a messy look.
Patience is a Virtue
Allow each coat of paint to dry completely before applying the next one. I usually wait at least a few hours between coats, but check the paint can for specific drying times.
Rushing this will only ruin your hard work. Two or three thin coats should give you beautiful, full coverage.
Seal the Deal
If your staircase gets a lot of traffic, a protective sealer is a great idea. It adds an extra layer of durability and protects your new paint job from scratches and scuffs.
I apply a clear sealer once the final coat of paint is fully cured. This small step helps your DIY stair railing look amazing for years.
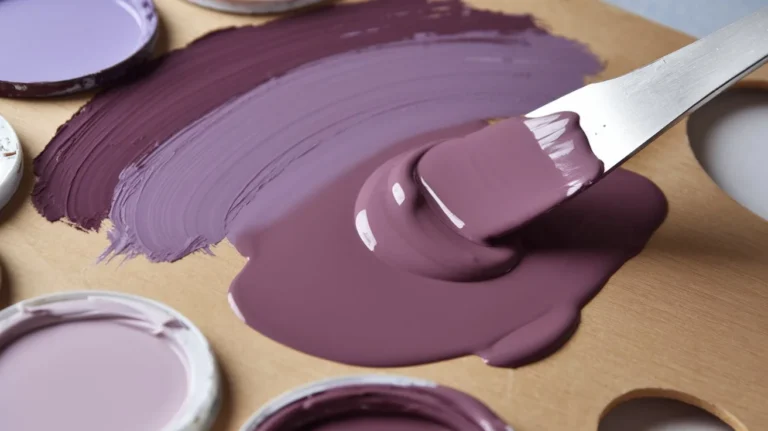
Color and Finish
Choosing the right color and finish can make all the difference.
- For a modern, sleek look, I am a big fan of a black matte finish. It is bold and sophisticated.
- If you prefer a more traditional or classic style, a white gloss finish is timeless and brightens up the space.
- For a cozy, rustic vibe, you can never go wrong with a rich wood stain. It brings warmth and natural charm to your staircase.
FAQs
Time to Admire Your Work
There you have it. Your once boring stair railing is now a stylish focal point. This DIY stair railing project is totally doable, even for beginners. It just takes a little patience and attention to detail. Now, go grab a drink, sit back, and admire your awesome handiwork. You earned it.

I am Mindy Medford, a home décor, paint, and design specialist with over a decade of hands-on experience transforming ordinary spaces into cozy, personality-packed havens. Since 2013, I have been helping homeowners discover the art of beautiful yet practical design. I share my love for color, texture, and layout—making stylish interiors & exteriors feel achievable for everyone. Whether it’s picking the perfect paint shade or reimagining a small space, I’m here to guide and inspire.