How to Paint Panel Doors: A Simple Guide For A Pro Finish
Let’s be real for a second. You’re staring at that sad, scuffed-up panel door and thinking, “How hard can it be to slap some paint on it?” Famous last words, my friend. Painting panel doors, especially those with multiple panels like a classic 6-panel door, can quickly turn into a sticky, streaky nightmare if you don’t know what you’re doing.
I’ve been there. I’ve seen the drips, the brush marks, and the sheer panic that sets in when you realize you’ve painted the door shut. But guess what? It doesn’t have to be that way. With a bit of know-how and a few tricks up your sleeve, you can achieve a finish so smooth your friends will think you hired a pro.
Ready to give your doors a much-needed glow-up? Let’s get to it.
First Things First: Understanding Your Door
Before you even think about cracking open a can of paint, you need to play detective with your door. What are you actually working with here?
Panel doors come in all shapes and sizes, but they all share one thing in common: those recessed or raised sections that give them character but also make them a pain to paint.
Assess the Damage
Get up close and personal with your door.
1. Look for imperfections: Do you see dents from an rogue vacuum cleaner or scratches from a pet who really wanted in? These need to be fixed first. Grab some wood filler, apply it, let it dry, and sand it smooth. If you skip this, the new paint will just highlight every single flaw.
2. Clean it up: Your door is probably dirtier than you think. Wipe it down with a damp cloth and a mild cleaner to get rid of dust, grime, and mystery smudges. Paint doesn’t stick to dirt. It’s a simple fact of life.
3. Identify the material: Is it solid wood? A hollow-core door? Something else entirely? The material dictates the kind of primer and paint you’ll need. Most panel doors are wood, but it’s always good to be sure.
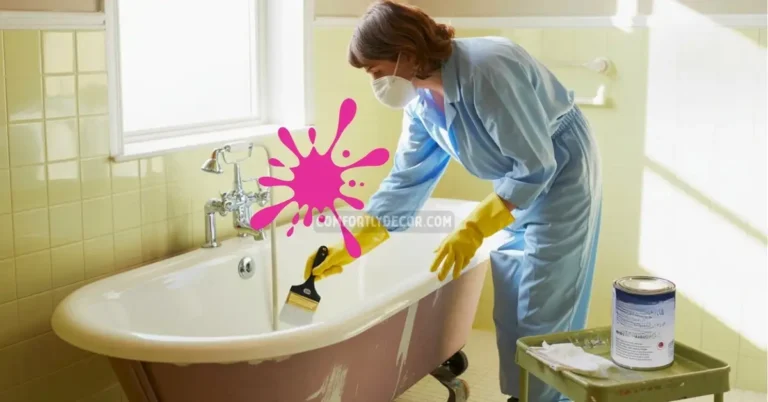
4. Remove the hardware: Seriously, just do it. Taking off the doorknobs, locks, and hinges will save you so much time and frustration later. Taping around them is a shortcut that often ends in disaster. Put all the bits and pieces in a labeled bag so you don’t lose them.
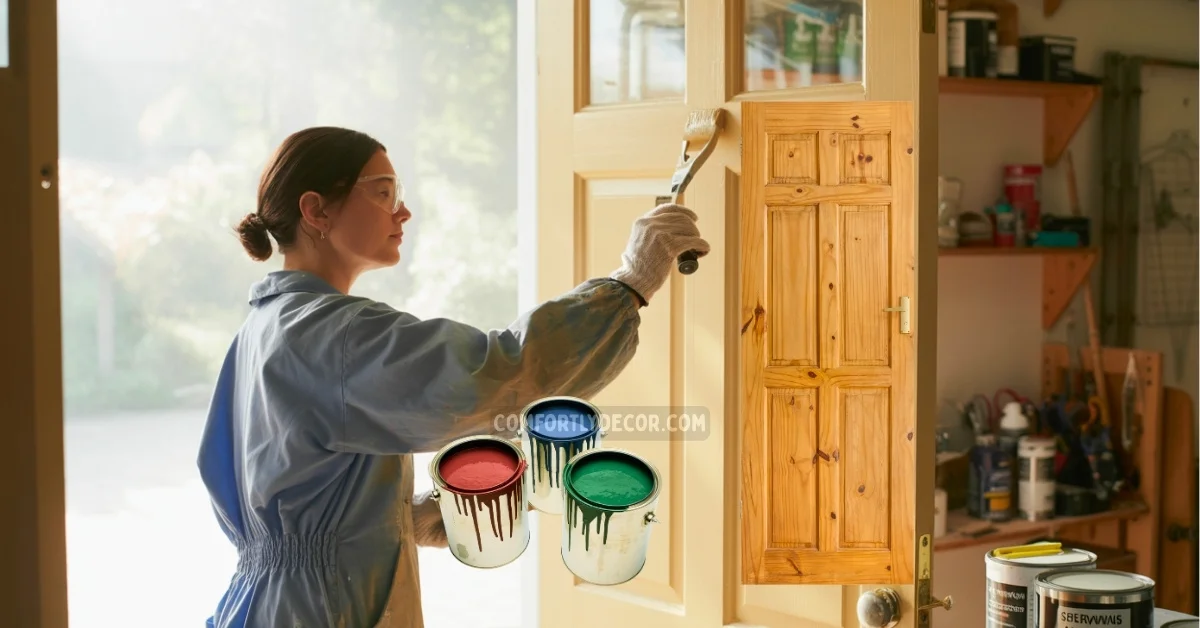
Gear Up: Your Painting Arsenal
Walking into a paint store can be overwhelming. So many brushes, so many rollers, so many promises of a “perfect finish.” What do you actually need for painting interior 6-panel doors without buying the whole store?
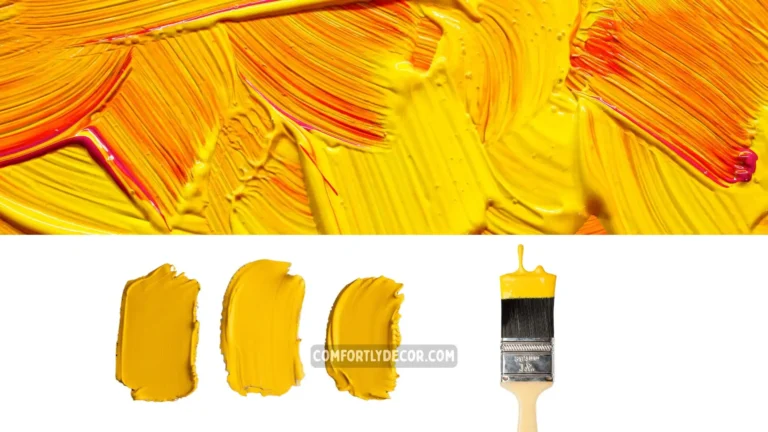
1. Paint:
This is the star of the show. I’m a big fan of enamel paint for doors because it creates a hard, durable finish that can handle daily wear and tear. Sherwin Williams ProClassic or Emerald Urethane are solid choices. A gloss or semi-gloss finish is typical for doors and trim as it’s easier to clean.
2. Primer:
Don’t you dare skip the primer! It’s the glue that holds your whole project together. It helps the paint adhere properly and covers up old colors or stains.
3. Brushes:
You need at least one good quality 2.5-inch angled sash brush. The angle is your secret weapon for getting into the corners of the panels.
4. Roller:
A small, 4-inch foam roller is perfect for the flat parts of the door. It helps you get a smooth, brush-mark-free finish.
5. Sandpaper:
Get a few different grits. You’ll want something like 120-grit for initial sanding and a finer 220-grit for smoothing between coats.
- Wood Filler: For patching up any dents or dings.
- Tack Cloth: This is a sticky cloth that’s amazing at picking up all the dust after sanding.
- Painter’s Tape: Even if you remove the hardware, you might need this for other areas.
- Drop Cloths: Unless you want your floor to match your door, you’ll need these.
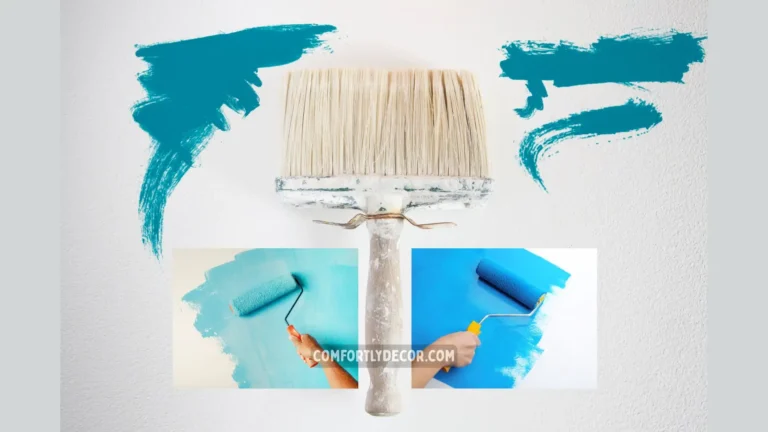
The Great Debate: Oil-Based vs. Latex Paint
Ah, the age-old question. Which paint is better? Honestly, they both have their pros and cons.
Oil-Based Paint
Oil-based paint is the old-school classic. It’s incredibly durable and levels out beautifully, which means fewer brush strokes. The downside? It has a strong smell, takes forever to dry, and you need mineral spirits for cleanup. It’s tough as nails, but a bit of a diva to work with.
Latex (Water-Based) Paint
Latex paint is what most people use these days. Modern latex paints, especially the high-quality acrylic enamels, are almost as durable as their oily cousins. They dry faster, have less odor, and clean up with just soap and water. For a DIY project, this is usually the path of least resistance, IMO.
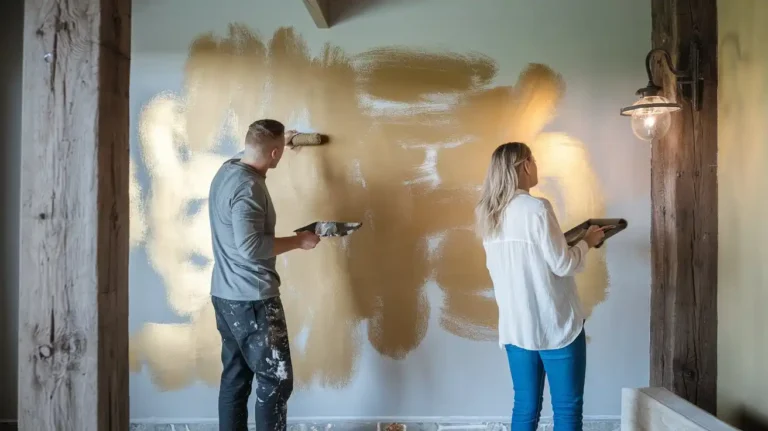
Prep School: Getting Your Door Ready
You’ve heard it a million times, but I’ll say it again: prep is 90% of the work. A bad prep job will ruin your project, no matter how expensive your paint is.
Step 1: Remove the Door (Or Don’t)
Okay, here’s a hot take. The “professional” way to do this is to take the door off its hinges and lay it flat on sawhorses. This prevents drips and gives you a better working angle.
But let’s be honest, sometimes that’s a huge hassle. If you’re careful, you can absolutely get a great finish by painting the door while it’s still hanging. Just be extra vigilant about checking for drips. If you leave it on, wedge it open so it doesn’t move or close on you.
Step 2: Clean and Sand
We talked about this, but it’s so important it deserves its own section. After cleaning the door, give it a light sanding. You’re not trying to strip it down to bare wood; you’re just scuffing up the surface so the primer has something to grip onto.
Once you’re done sanding, wipe it all down with a tack cloth. You want the surface to be perfectly clean and dust-free.
Step 3: Prime Time
Apply a thin, even coat of primer. If you’re using a brush and roller, use the brush for the panels and the roller for the flat stiles and rails (that’s the fancy name for the vertical and horizontal parts of the door frame). Don’t overload your brush or roller! A thin coat is better than a thick, drippy one.
Let the primer dry completely according to the can’s instructions. Once it’s dry, give it a very light sanding with 220-grit sandpaper to knock down any bumps. Wipe it down with the tack cloth again. Yes, again. Trust the process.
The Main Event: How to Paint Panel Doors
Alright, the moment of truth. You’ve prepped, you’ve primed, and now you’re ready to paint. The key to how to paint 6-panel doors (or any panel door) is having a specific order of operations. This method minimizes brush marks and ensures you get even coverage.
The Magic Painting Order
Here is the sequence you should follow. This is the secret sauce.
- Paint the Panels First: Using your angled brush, paint the recessed or beveled parts of the panels. Get right into those corners.
- Paint the Panel Faces: Next, paint the flat face of the panels. If the panels are large, you can use your mini foam roller for this part.
- Paint the Center Stiles: Now, paint the vertical pieces (the stiles) in the middle of the door.
- Paint the Rails: Move on to the horizontal pieces (the rails). Start with the top rail, then the middle, then the bottom.
- Paint the Outer Stiles: Finally, paint the two long vertical pieces on the far left and right of the door.
- Paint the Edges: Don’t forget the edges of the door! Do the hinge edge and the latch edge.
Why this specific order? It helps you work from the inside out and always maintain a “wet edge,” which is crucial for preventing lap marks where your brush strokes overlap.
Applying Your Coats
You’ll need at least two coats of paint. Do not try to get full coverage in one coat—it will only lead to a thick, goopy mess.
First Coat: Apply a thin, even first coat following the order above. Focus on smooth application rather than perfect coverage. Let it dry completely. Drying time can vary, so check the can. Don’t rush it!
Second Coat: Before your second coat, give the door another super light sanding with 220-grit paper and a wipe with the tack cloth. This is the step that separates the amateurs from the pros. It creates an incredibly smooth surface for that final coat. Apply the second coat just like the first.
The Finishing Touches
You’re almost there! The painting is done, but don’t celebrate just yet. A few final steps will ensure your hard work pays off.
Curing Time is Crucial
Your paint might feel dry to the touch in a few hours, but it’s not fully cured. Curing is the process where the paint hardens completely, and it can take days or even weeks.
Be gentle with your newly painted door during this time. Avoid bumping it or trying to clean it. This is when paint is most vulnerable to chipping or scratching. FYI, this is super important.
Reattaching the Door
If you took the door off, wait until it’s fully dry (at least 24-48 hours) before re-hanging it. Clean up the hinges and re-install the hardware you so carefully saved. Admire your work. You did it!
FAQs
Your Reward: A Beautifully Transformed Home
See? That wasn’t so bad, was it? By taking your time and following a clear process, you’ve successfully mastered how to paint panel doors. You’ve not only refreshed a part of your home but also learned a valuable DIY skill.
The next time a friend complains about their dingy doors, you can confidently tell them how it’s done. Or, you know, just send them a link to this article. 🙂 Now, go enjoy that professional-looking finish you created all by yourself.

I am Mindy Medford, a home décor, paint, and design specialist with over a decade of hands-on experience transforming ordinary spaces into cozy, personality-packed havens. Since 2013, I have been helping homeowners discover the art of beautiful yet practical design. I share my love for color, texture, and layout—making stylish interiors & exteriors feel achievable for everyone. Whether it’s picking the perfect paint shade or reimagining a small space, I’m here to guide and inspire.