How to Paint Glazed Ceramic Pots: A Stunning Finish
So, you’ve got a glazed ceramic pot sitting there. It’s glossy, smooth, and—let’s be honest—a little dull. You’re probably eyeing it, wondering, “Can I just throw some paint on this thing and call it a day?” The short answer? Absolutely. But hang on a second. If you don’t prep it right, you’ll end up with a flaky mess that peels faster than old wallpaper.
I know because I’ve been there. Armed with paint and big plans, I went all in—only to watch my so-called masterpiece start shedding in less than a week. Brutal. The good news? You don’t have to repeat my mistakes. With the right approach, that plain pot can turn into something you’ll actually be proud to show off.
Here’s the game plan: I’ll cover the tools you really need, best paints for the job, and the finishing touches that keep your design looking fresh. By the end, you’ll know exactly how to give those glazed pots a serious upgrade. Ready to roll up your sleeves and make it happen? Let’s dive in.
Getting Your Workspace Ready
Before we unleash our inner Picasso, let’s get organized. A little prep work now saves a massive cleanup headache later. Trust me, finding rogue paint splatters for weeks is not as fun as it sounds.
Essential Materials to Gather
First things first, let’s make a shopping list. You’ll need more than just paint and a brush if you want this project to last. Here’s what I recommend having on hand:
- Fine-grit sandpaper (220-grit is perfect): This is non-negotiable. It’s the secret to getting your paint to stick.
- Mild detergent and water: For giving your pot a good scrub-down.
- A soft cloth or scrub brush: To get rid of any stubborn dirt.
- A good quality primer: Look for one that’s specifically designed for glossy or non-porous surfaces. A spray primer works wonders here.
- Your paint of choice: We’ll get into the specifics of this later, but acrylics are a great starting point.
- Paint brushes: A few different sizes will help with both broad strokes and fine details.
- A clear sealant: This will protect your beautiful creation from the elements. Again, a spray version is super convenient.
- Old clothes or an apron: Because paint has a mind of its own and loves to jump onto clean clothes.
Having everything ready before you start makes the process so much smoother. Nothing kills the creative vibe like having to run to the store mid-project.
Setting Up Your Creative Zone
Now, let’s set the stage. You’ll want a well-ventilated area to work in. Seriously, you don’t want to be huffing paint fumes, especially if you’re using spray paints or sealants. An open garage, a covered patio, or even just a room with all the windows open will do the trick.
Lay down some old newspapers or a drop cloth to protect your floors. Unless you’re going for a permanent “artist’s studio” look in your living room, you’ll thank me later. Make sure your workspace is stable and has good lighting. If natural light is lacking, a desk lamp can be your best friend.
Arrange all your materials so they’re within easy reach. This simple step prevents you from scrambling around and potentially knocking over a can of wet paint. A little organization goes a long way in making this whole painting ceramic pots adventure fun instead of frustrating.
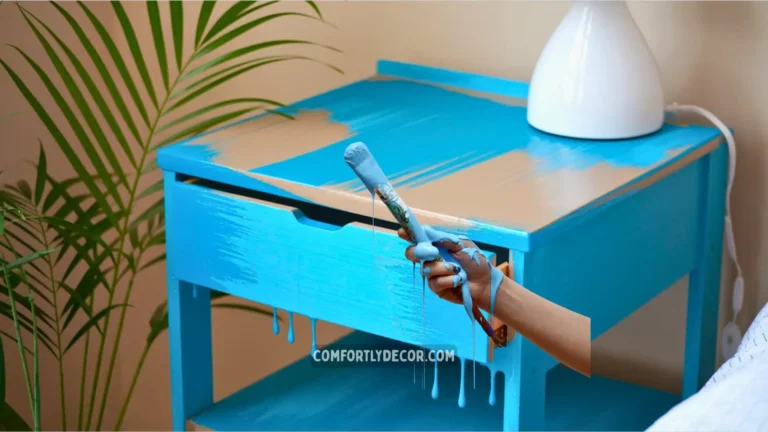
Picking the Perfect Paints
Choosing the right paint is probably the most critical decision in this entire process. The wrong choice will lead to peeling, chipping, and a whole lot of disappointment. Let’s break down the options so you can pick a winner.
Types of Paint for Glazed Surfaces
When you’re dealing with a slick, non-porous surface like glazed ceramic, not just any paint will do. The key is finding a paint that can grab on and hold tight.
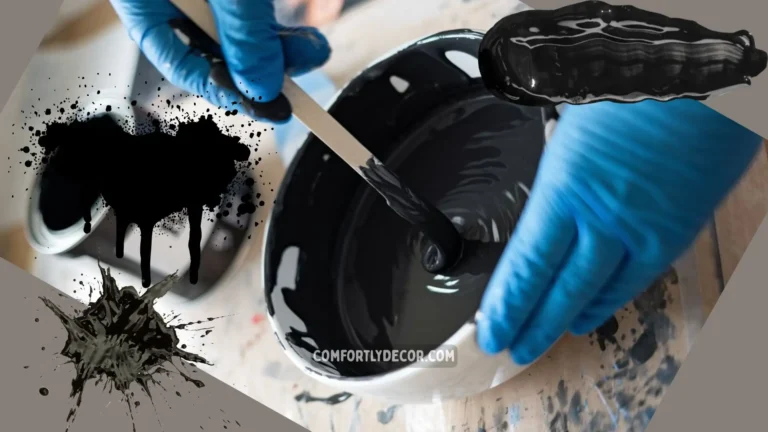
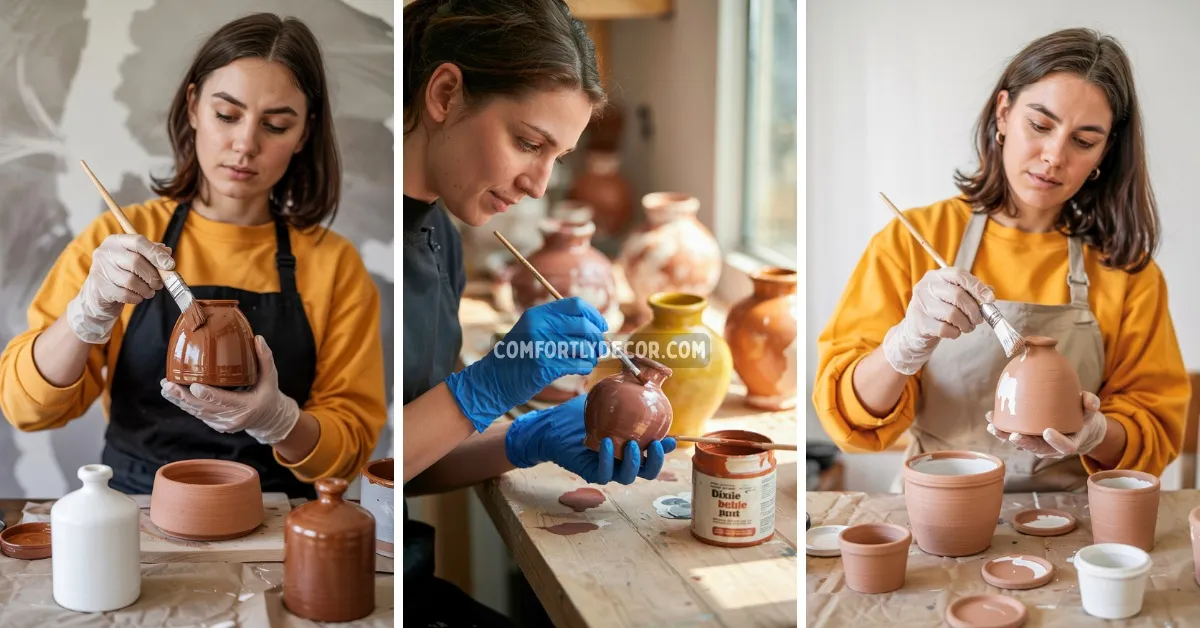
- Acrylic Paint: This is my go-to for most projects. It’s water-based, dries quickly, and comes in a zillion colors. It’s versatile enough for both base coats and detailed work. Plus, cleanup is a breeze with just soap and water. You’ll still need to prep and prime properly, but high-quality acrylics are a solid choice.
- Spray Paint: For an ultra-smooth, even finish, spray paint is fantastic. It’s great for covering large pots quickly. Just be sure to use a brand that’s formulated for plastic or other non-porous surfaces, as these tend to have better adhesion. The downside? You’ll need to do some careful masking if you’re planning multiple colors.
- Oil-Based Paints: These are the heavy-duty option. Oil-based paints are incredibly durable and offer a beautiful glossy finish, making them ideal for outdoor pots. However, they take forever to dry and require mineral spirits or turpentine for cleanup, which is a bit of a hassle.
- Specialized Ceramic or Glaze Paint: If you want to go full pro, you can use paints made specifically for ceramics. Some of these are “bake-on” paints that you cure in your home oven for a permanent, dishwasher-safe finish. This is great for mugs or plates, but for a decorative pot, it might be overkill.
IMO, for a beginner, a good quality acrylic paint or a spray paint designed for tricky surfaces is the way to go. They offer the best balance of ease-of-use and durability.
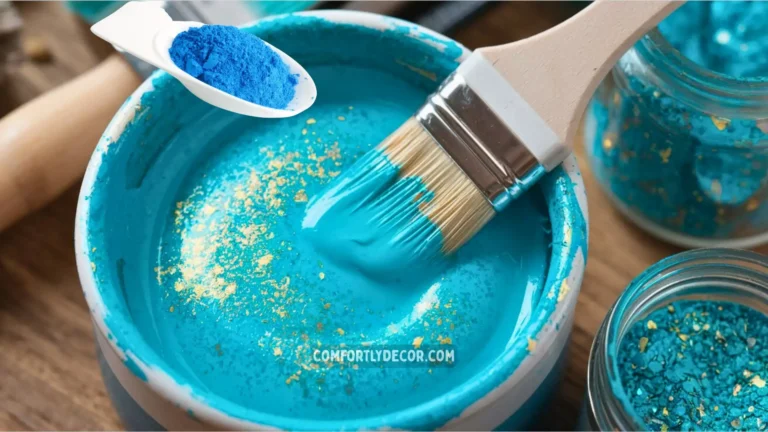
Selecting Your Color Palette
Now for the fun part: choosing your colors! This is where you get to inject your personality into the project. Think about where the pot will live. Do you want it to be a bold statement piece or blend in with your existing decor?
A simple trick is to choose a neutral base color (like white, black, or grey) and then add one or two vibrant accent colors. This keeps the design from looking too chaotic. Or, if you’re feeling adventurous, why not try a trendy color-blocking design or a subtle ombre effect?
Don’t be afraid to experiment. Grab a few cheap sample pots and play around on a piece of paper. You might stumble upon a color combination you never would have thought of. After all, it’s just paint!
The All-Important Prep Work
I know, I know, prep work is boring. You just want to get to the painting. But if you remember one thing from this guide, let it be this: proper preparation is 90% of the job. Skipping these steps is a one-way ticket to a flaky, peeling mess.
Step 1: Cleaning the Pot
First, give your pot a thorough cleaning. Use a mild detergent, warm water, and a scrub brush to remove any dirt, dust, or greasy residue. An old toothbrush can be great for getting into any nooks and crannies.
Any lingering oils or grime will prevent the primer and paint from adhering properly. It’s a simple step, but it makes a huge difference. Rinse the pot well and let it dry completely. And I mean completely. Any moisture trapped under the paint will cause bubbles and peeling down the line.
Step 2: Sanding for Adhesion
This is the secret sauce for painting glazed ceramic pots. That glossy, smooth surface is the enemy of paint adhesion. We need to rough it up a bit to give the paint something to grip onto.
Take your 220-grit sandpaper and lightly sand the entire surface of the pot. You’re not trying to remove the glaze entirely, just scuff it up and take away the shine. You’ll feel the surface change from slick to slightly gritty. This process creates microscopic hills and valleys for the primer to lock into.
Once you’re done sanding, wipe away all the dust with a clean, soft cloth. Don’t skip this wipe-down, or you’ll just be painting over a layer of fine dust.
Step 3: Applying Primer
Primer is the bridge between your scuffed-up pot and your beautiful paint job. It’s formulated to stick to difficult surfaces and creates the perfect canvas for your paint. Do you absolutely have to use it? Yes. Yes, you do.
I highly recommend using a spray primer designed for glossy surfaces. It goes on quickly and provides a smooth, even base. Shake the can well and apply a thin, even coat, holding the can about 12 inches from the pot. It’s better to apply two thin coats than one thick, drippy one.
Let the primer dry completely according to the manufacturer’s instructions. Rushing this step will undermine all your hard work. Once it’s dry and no longer tacky, you’re finally ready to paint!
Time to Paint: Techniques and Tips
Alright, the prep is done, and it’s time to let your creativity flow. Whether you’re a seasoned artist or a complete beginner, these techniques will help you achieve a professional-looking finish.
Laying Down the Base Coat
Your base coat is the foundation of your design. Using a quality brush, apply your chosen base color in a thin, even layer. If you’re using acrylics, you’ll likely need two or three thin coats to get full, opaque coverage.
Why thin coats? Thick coats of paint are more prone to cracking and chipping, and they can obscure fine details on the pot. Let each coat dry completely before applying the next. Patience is your best friend here. A banding wheel can be super helpful for rotating the pot and getting an even coat all the way around.
Adding Details and Patterns
This is where your pot really comes to life. You can use smaller brushes to freehand designs, or if you’re not feeling that confident, stencils are a great option. You can create geometric patterns, floral motifs, or even a cute animal face.
If you’re free-handing, it can be helpful to sketch your design lightly with a pencil first. Then, go over it with your paint. Build up the color in thin layers, just like you did with the base coat. Don’t be afraid to mix colors on your palette to create unique shades.
Layering and Blending Colors
To add depth and dimension to your design, try layering and blending colors. You can create beautiful gradient or ombre effects by blending two colors together while they’re still slightly damp. Use a clean, slightly damp brush to soften the transition between the colors.
Layering different colors on top of each other can also create a rich, textured look. Just remember to let each layer dry before adding the next unless you’re intentionally trying to blend them. Experimentation is key—have fun with it!
The Finishing Touches
You’ve painted your pot, and it looks amazing. But we’re not quite done yet. These final steps will protect your hard work and ensure it lasts for years to come.
Applying a Sealant
To protect your paint job from scratches, moisture, and UV rays (if it’s going outside), you need to apply a sealant. This protective topcoat is essential for the longevity of your painted pot.
Choose a clear spray sealant that is compatible with the type of paint you used. Look for one that is non-yellowing and weather-resistant if your pot will be exposed to the elements.
Just like with the primer, shake the can well and apply two to three thin, even coats. Hold the can about 12 inches away from the pot and use a sweeping motion. Let each coat dry completely before applying the next. This will create a durable, protective barrier over your design.
Curing and Drying
Once the final coat of sealant is on, the hardest part begins: waiting. The paint and sealant need time to fully cure, which means they need to harden completely. This process can take anywhere from 24 hours to several days, depending on the products you used and the humidity levels.
Place your pot in a well-ventilated area, away from dust and moisture, and let it be. Avoid handling it or, god forbid, planting anything in it during this time. A full cure ensures a tough, long-lasting finish that can withstand the test of time. It’s worth the wait, I promise.
FAQs
Your Masterpiece Awaits
And there you have it—everything you need to know for painting glazed ceramic pots. It might seem like a lot of steps, but once you get the hang of it, it’s a really fun and rewarding process. You can breathe new life into old, forgotten pots and create custom decor that perfectly matches your style.
The most important thing is to take your time with the prep work and have fun with the creative part. Don’t be afraid to try new things and make mistakes. After all, it’s just paint! Now go forth and turn those boring pots into something beautiful.

I am Mindy Medford, a home décor, paint, and design specialist with over a decade of hands-on experience transforming ordinary spaces into cozy, personality-packed havens. Since 2013, I have been helping homeowners discover the art of beautiful yet practical design. I share my love for color, texture, and layout—making stylish interiors & exteriors feel achievable for everyone. Whether it’s picking the perfect paint shade or reimagining a small space, I’m here to guide and inspire.