How to Paint A Brick Fireplace Like A Pro
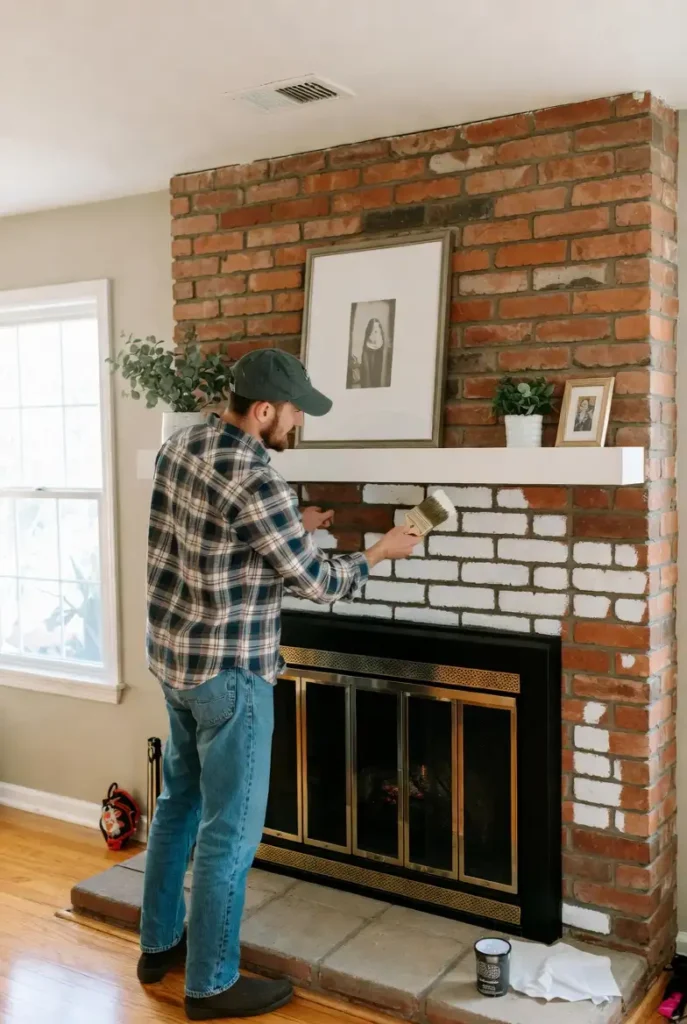
I used to look at my red brick fireplace and sigh. It felt like a black hole in the middle of my living room that sucked all the light and joy out of the space. I know I am not the only one who feels this way about dated masonry. I finally decided to bite the bullet and paint it. The difference it made was absolutely wild. It instantly brightened the entire room and made my furniture look ten times better.
If you are wondering how to paint brick fireplace surfaces without making a mess or regretting it later then you are in the right place. I learned a few hard lessons during my project that I am going to share with you. I want to save you from peeling paint and wasted weekends.
This project is actually very satisfying once you get past the prep work. Do not worry about needing advanced skills because I did this with zero masonry experience. I grabbed a roller and some determination and got to work. Here is exactly how I transformed my fireplace from drab to fab.
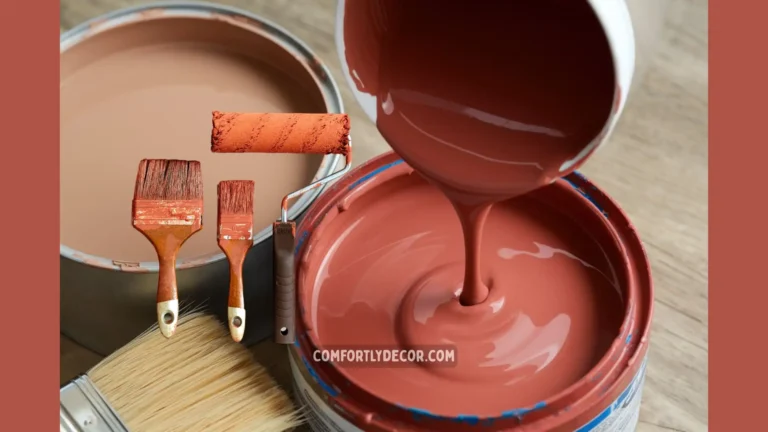
Gather Your Tools and Materials
I refuse to start a project without having everything I need within arm’s reach. There is nothing worse than running to the hardware store covered in paint. I recommend you pick up these specific items to make the job go smoothly.
- Wire brush This is for scrubbing off loose mortar and debris
- TSP or a heavy duty degreaser You need this to remove decades of soot
- Painter’s tape Buy the good stuff that seals tightly
- Drop cloths Brick spatters are hard to clean so cover everything
- High quality acrylic latex primer Look for one that specifies masonry
- Acrylic latex paint I prefer a satin or semi gloss finish
- Paint roller with a thick nap I used a 1/2 inch nap to get into the grooves
- Stiff angled sash brush This helps you cut in around the edges
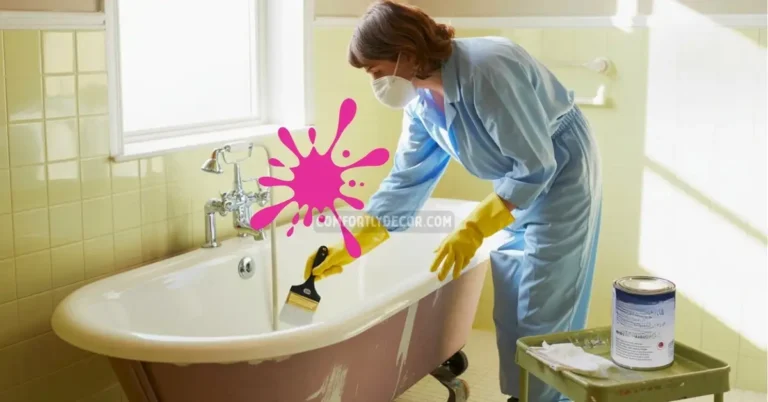
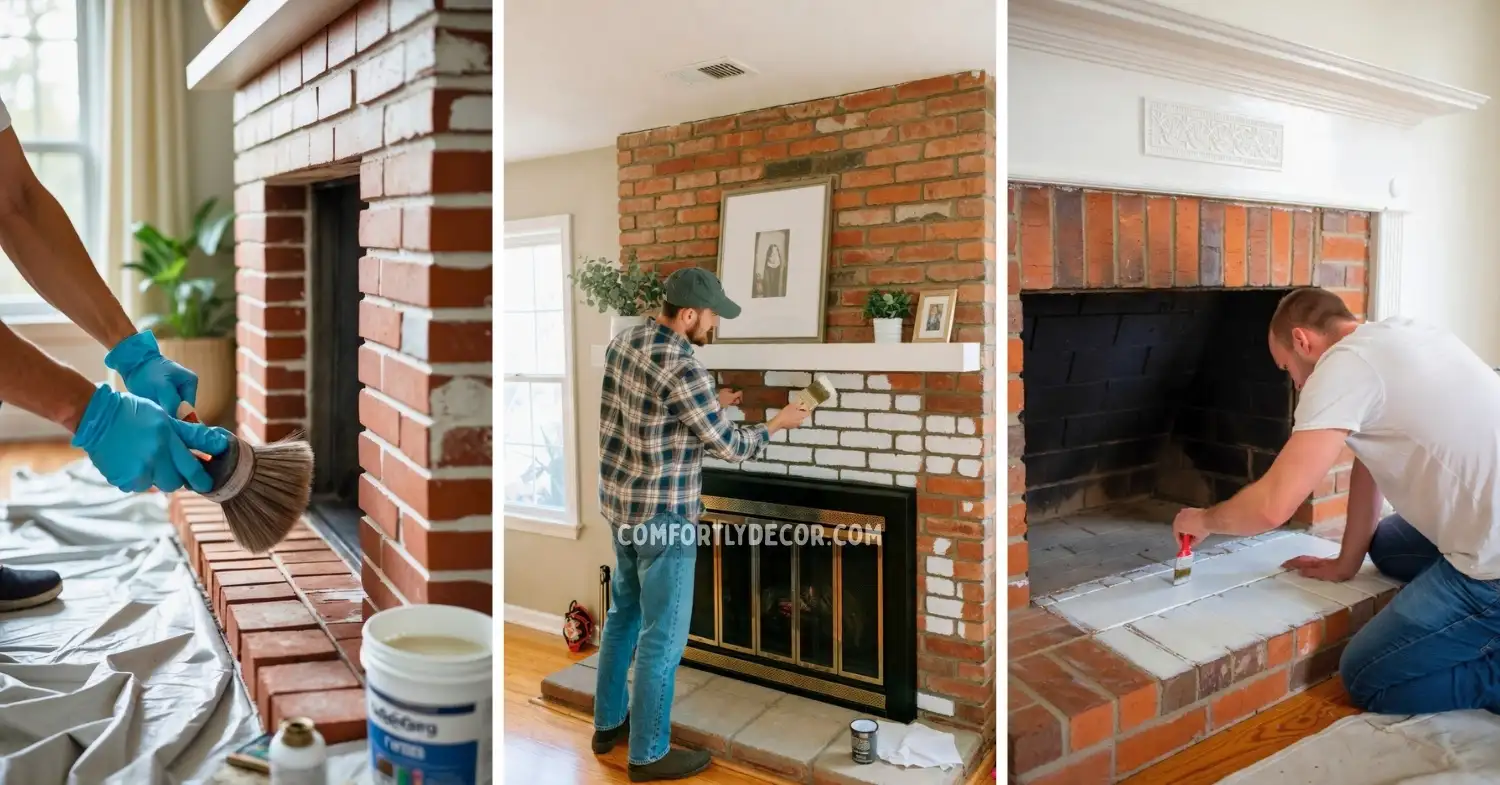
Step 1: Prep the Beast for a Makeover
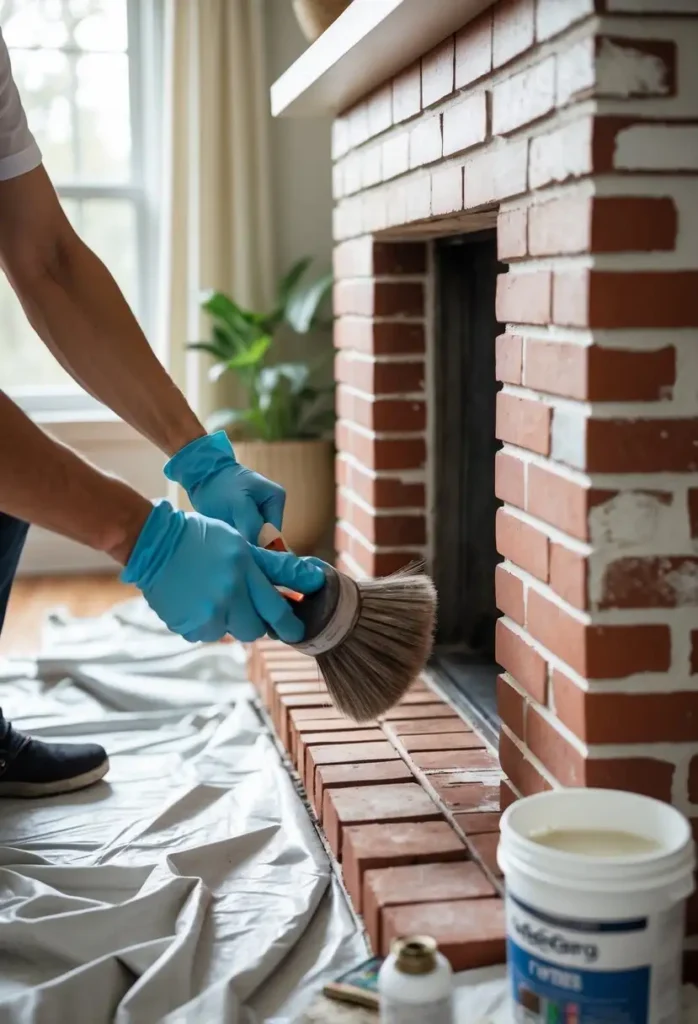
I’ll be honest: the prep work is the worst part. I spent more time cleaning than painting, but you cannot skip this. If you do, your paint will peel off in sheets.
- Scrub it down: Use a stiff wire brush on the bricks and mortar to knock loose any crumbling bits.
- Deep clean: Mix TSP (Trisodium Phosphate) with water. Brick is porous and holds onto soot like crazy.
- Double up: I had to scrub near the firebox twice to get the black grime off.
- Dry time: Let it dry for a full 24 hours. Painting over damp brick is a recipe for disaster!
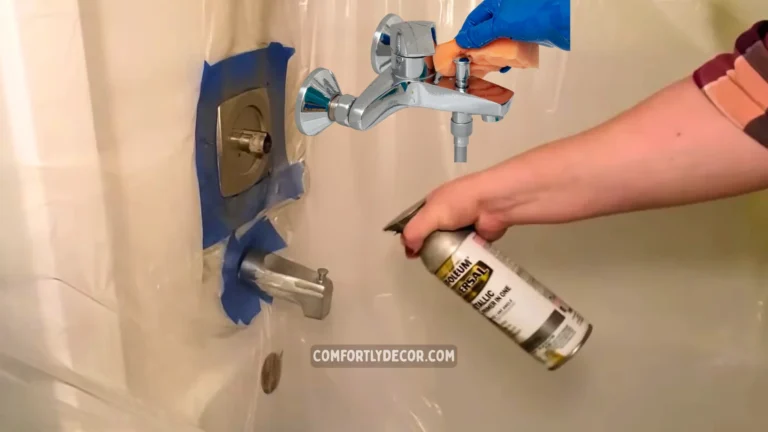
Step 2: Tape Everything Like You Mean It
I’m a messy painter, so I take taping seriously. Trust me, paint splatter from a roller flies everywhere when you’re working on a rough surface.
- Seal the edges: Run painter’s tape along the walls, mantel, and hearth.
- Cover up: Lay down a heavy canvas drop cloth and tape it to the floor.
- Pro tip: It’s better to overprotect your floors now than to spend hours scraping paint off hardwood later.
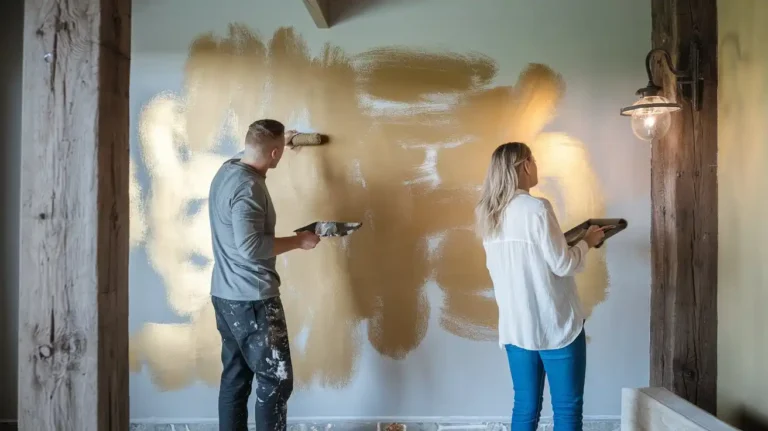
Step 3: Prime the Brick Thoroughly
Priming is the secret sauce. Brick absorbs moisture like a sponge; if you skip this, the brick will suck the moisture out of your paint, leaving it looking patchy.
- Use the right stuff: Choose a stain-blocking primer designed for masonry.
- Cut in first: Use a brush to get into those deep, tedious mortar lines.
- Roll it out: Use a thick nap roller to cover the faces of the bricks.
- Patience: Let the primer dry overnight to ensure a solid seal.
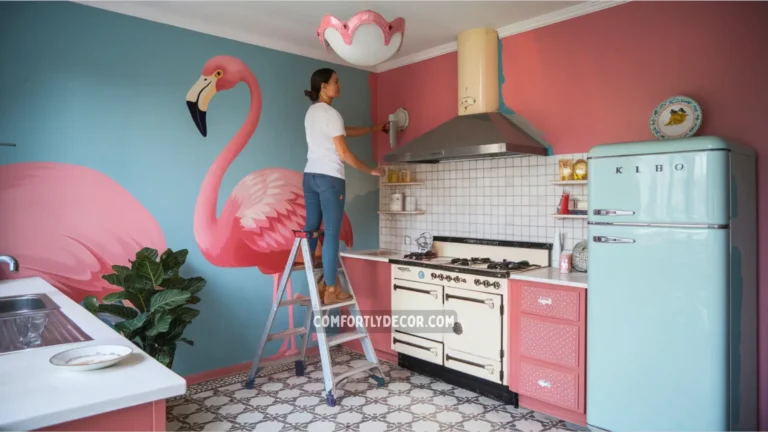
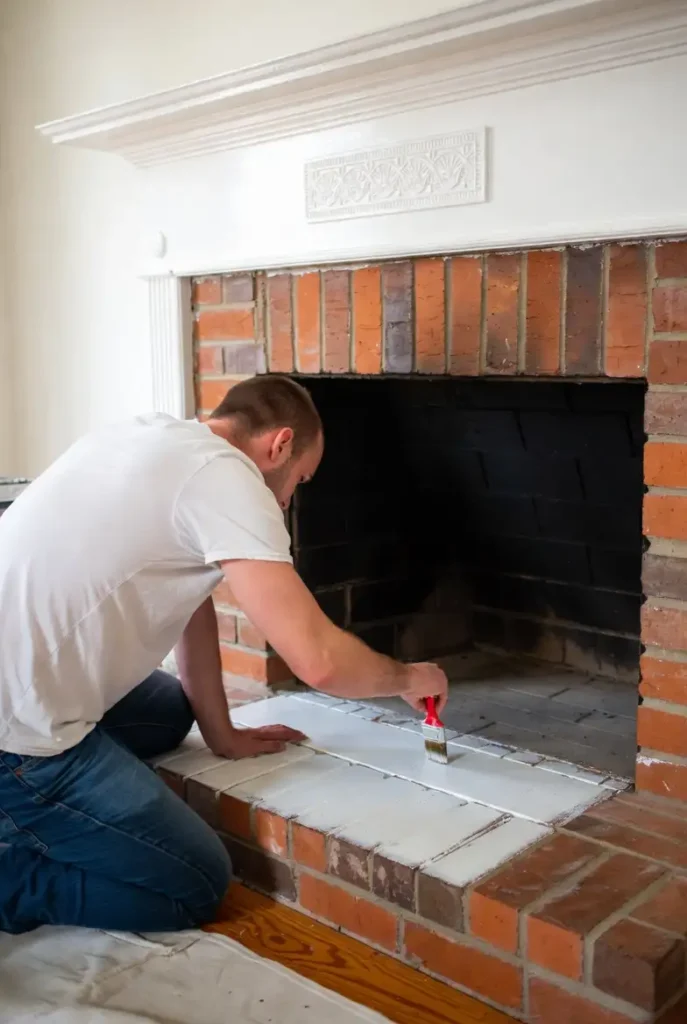
Step 4: Paint Your Masterpiece
Now for the fun part! I chose a creamy white in a semi-gloss finish. Why semi-gloss? It’s much easier to wipe down if soot gets on it later.
- Mortar first: Hit those mortar lines with your brush again.
- Load the roller: The thick nap helps push paint into the tiny holes in the brick texture.
- Two coats: I needed two full coats for complete coverage.
- The payoff: The transformation is instant and incredibly satisfying.
Step 5: Finishing Touches
Don’t wait too long to reveal your hard work.
- The pull: Pull the tape while the paint is dry to the touch but not fully cured (slightly tacky) for the cleanest line.
- The angle: Peel it back slowly at a 45-degree angle.
- Cleanup: Toss the roller cover—cleaning brick paint out of one is impossible.
Stand back and admire. The room will look bigger, brighter, and cleaner immediately!
FAQs
Enjoy Your Bright New Focal Point
I hope this guide helps you feel confident enough to tackle this project. Learning how to paint brick fireplace surrounds is one of the highest impact DIY projects you can do for the money. I still smile every time I walk into my living room and see that fresh white brick.
You do not need to be a professional painter to get professional results. Just follow the steps I laid out and take your time with the prep work. Grab your brushes and get started because you are going to love the result.

I am Mindy Medford, a home décor, paint, and design specialist with over a decade of hands-on experience transforming ordinary spaces into cozy, personality-packed havens. Since 2013, I have been helping homeowners discover the art of beautiful yet practical design. I share my love for color, texture, and layout—making stylish interiors & exteriors feel achievable for everyone. Whether it’s picking the perfect paint shade or reimagining a small space, I’m here to guide and inspire.