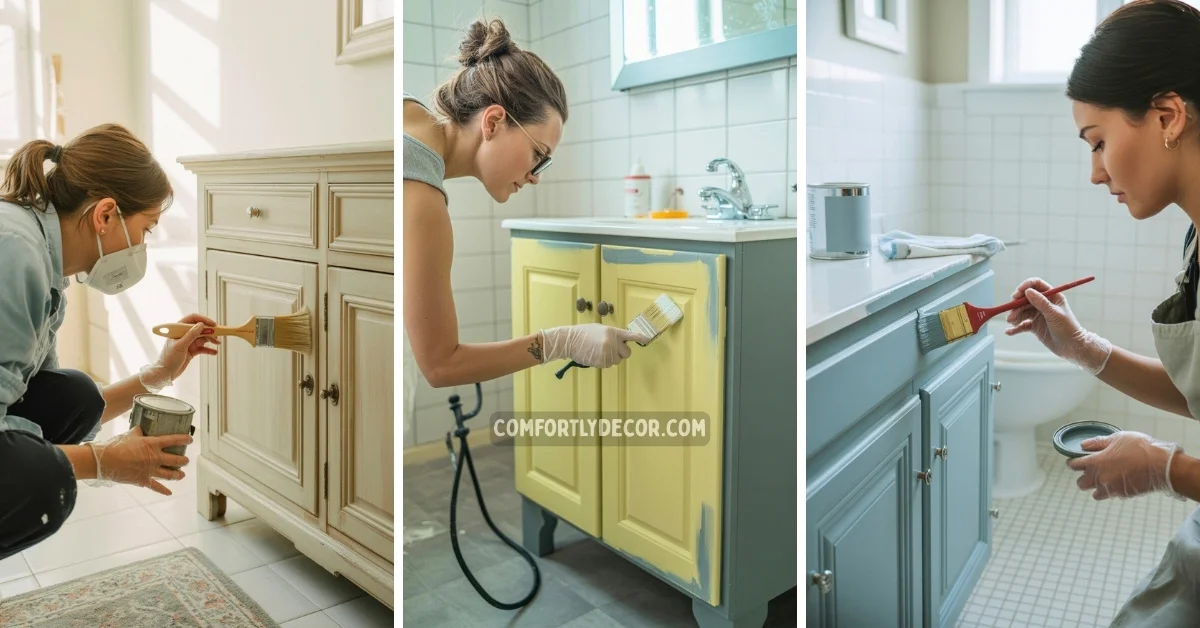
How to Paint Bathroom Cabinets Like A Pro (Without the Pro Price Tag)
Looking at those tired, outdated bathroom cabinets every morning? I feel you. Nothing screams “bathroom makeover needed” quite like those honey oak monstrosities from 2003 staring back at you. But the thing is you do not need to blow your entire savings on a full cabinet replacement. A simple paint job can completely transform your bathroom without breaking the bank.
I have painted more bathroom cabinets than I care to count (perks of being the DIY friend everyone calls), and let me tell you: it is easier than you think. Sure, there is a right way and a wrong way to do it, but with the right approach, you will have gorgeous cabinets that look like they cost a fortune.
Ready to ditch those dated doors? Let’s dive into everything you need to know about DIY cabinet painting that actually lasts.
Getting Your Cabinets Ready for Their Glow-Up
Before you even think about cracking open that paint can, we need to talk prep work. I know, I know—it’s not the fun part. But trust me on this one: proper preparation is literally the difference between a paint job that lasts five years versus one that starts chipping next month.
Remove Everything (Yes, Everything)
First things first—those cabinet doors need to come off. All of them. Don’t try to paint around the hinges like some kind of contortionist. You’ll thank me later when you’re not trying to get paint out of tiny hinge crevices with a toothpick.
Here’s my system:
- Number each door with painter’s tape before removal (seriously, do this—they’re not all identical)
- Remove all hardware and store screws in labeled bags
- Take out drawers and shelves if possible
The Deep Clean Nobody Talks About
Bathroom cabinets collect more grime than you’d expect. Years of hairspray, toothpaste splatters, and general bathroom humidity create a lovely cocktail that paint absolutely refuses to stick to.
I use a degreaser like TSP (trisodium phosphate) or even a good dish soap solution. Scrub every surface you plan to paint, then wipe down with clean water. Let everything dry completely—and I mean completely. Moisture is paint’s worst enemy.
To Sand or Not to Sand?
Here’s where people get confused. Do you need to sand bathroom cabinets before painting? The short answer: probably.
Light sanding with 220-grit sandpaper does two important things:
- Creates tiny grooves for paint to grip
- Removes any glossy finish that would cause paint to slide right off
You’re not trying to strip the wood bare—just scuff it up enough to give your primer something to hold onto. If your cabinets have a really glossy finish, you might need to start with 150-grit, then move to 220.
Choosing the Right Paint (This Actually Matters)
Walk into any home improvement store and you’ll face a wall of paint options that’ll make your head spin. But for bathroom cabinets, your choices are more limited—in a good way.
Latex vs. Oil-Based: The Great Debate
- Oil-based paint used to be the gold standard for cabinets. It’s durable, levels beautifully, and creates that smooth, professional finish we all want. But it also smells terrible, takes forever to dry, and cleanup is a nightmare.
- Latex paint has come a long way. Modern acrylic latex paints designed for cabinets can give you almost the same durability with way less hassle. Plus, you can clean your brushes with water instead of mineral spirits (your lungs will thank you).
My recommendation? Go with a high-quality acrylic latex unless you’re really committed to dealing with oil-based paint’s quirks.
Finish Selection: Matte, Satin, or Semi-Gloss?
Here’s where I see people mess up all the time. They pick a beautiful color but choose the wrong finish, and suddenly their cabinets look cheap or show every fingerprint.
For bathroom cabinets, I always recommend satin or semi-gloss:
- Satin finish: Subtle sheen, hides minor imperfections, easy to clean
- Semi-gloss: More durable, wipes down easily, resists moisture better
Skip matte finishes in bathrooms—they look great until someone touches them, then you’ve got permanent fingerprints.
Don’t Skip the Primer (Seriously)
I cannot stress this enough: prime your cabinets. Even if the paint can says “paint and primer in one.” Especially if you’re going from dark to light colors.
A good bonding primer creates the foundation for everything that comes after. I use Zinsser Bulls Eye 1-2-3 for most jobs—it sticks to almost anything and blocks stains like a champ.
The Actual Painting Process (Where the Magic Happens)
Now for the fun part! Well, relatively fun. Painting cabinets isn’t exactly like painting a wall—there’s more technique involved.
Prime Time
Apply primer in thin, even coats. Don’t try to cover everything in one thick coat—you’ll end up with drips and an uneven finish. I usually do two light coats of primer, especially if I’m covering dark wood or going with a light color.
Let each coat dry completely. I know the can says “recoat in 4 hours,” but in a humid bathroom environment, I give it at least 6-8 hours between coats.
Paint Application: Brush, Roller, or Sprayer?
You’ve got options here, and honestly, they all work if you do them right:
- Brush painting gives you the most control, especially around details. Use a high-quality angled brush (2-2.5 inches) and work in long, smooth strokes. The key is not overloading your brush—less paint, more coats.
- Foam rollers can give you a super smooth finish on flat surfaces. I use them for the large center panels, then brush the detailed areas.
- Paint sprayers create the most professional-looking finish, but there’s a learning curve. Plus, the prep work is intense (you’ll be masking everything in sight).
The Two-Coat Minimum Rule
Here’s something that separates amateur paint jobs from professional ones: patience. Two coats minimum, period. Three if you’re going from dark to light.
Each coat should be thin and even. Resist the urge to glob it on thick—you’ll get drips, brush marks, and an overall sloppy look.
Styling Your Newly Painted Cabinets
Fresh paint is just the beginning. Now comes the fun part where you make those cabinets uniquely yours.
Hardware Upgrade
Nothing transforms painted cabinets like new hardware. Those old brass pulls from the ’90s had to go anyway, right? 🙂
Pro tip: If you’re changing from knobs to pulls (or vice versa), you might need to drill new holes. Measure twice, drill once—cabinet doors are not forgiving.
Popular hardware trends right now include matte black, brushed gold, and sleek chrome. Pick something that complements your bathroom’s overall style.
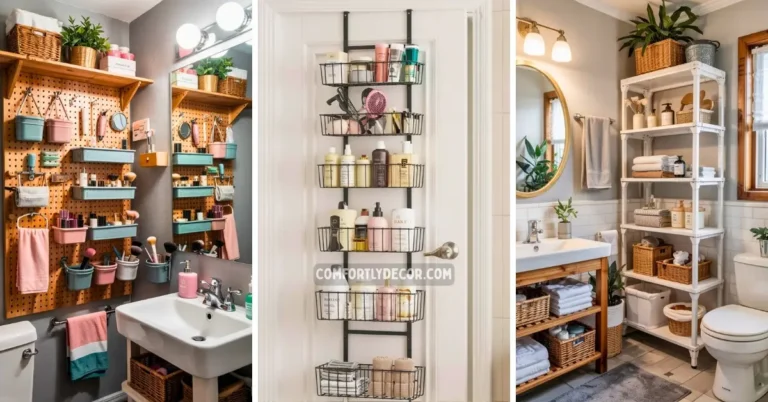
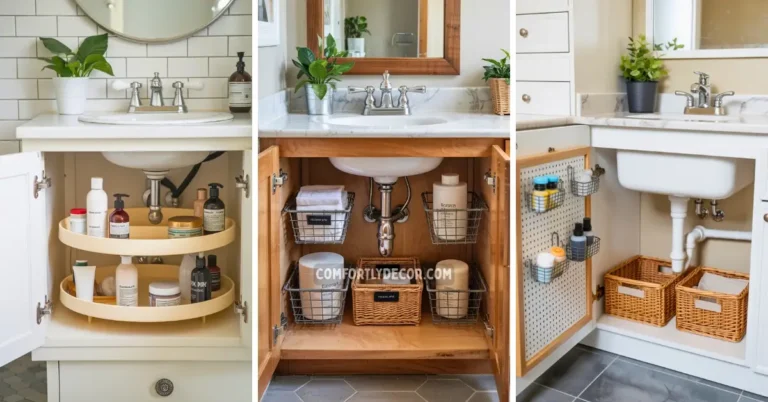
Interior Organization
Since you’ve got those doors off anyway, why not upgrade the inside? Add some pull-out drawers or shelf organizers. Your future self will appreciate being able to find things without playing cabinet Jenga every morning.
DIY vs. Professional: The Real Cost Breakdown
Let’s talk numbers because I know you’re curious.
DIY cabinet painting costs (for an average bathroom):
- Paint and primer: $50-80
- Brushes, rollers, supplies: $30-50
- Sandpaper and cleaning supplies: $20-30
- Total: $100-160
Professional cabinet painting:
- Labor and materials: $800-1,500
- Timeline: 3-5 days
- Guarantee: Usually 2-3 years
The DIY route saves serious money, but it’ll cost you time and energy. FYI, expect to spend a full weekend plus a few evenings getting everything done properly.
Common Mistakes That Lead to Paint Failure
I’ve seen these mistakes destroy otherwise good paint jobs:
- Skipping the cleaning step (paint literally won’t stick to grimy surfaces)
- Not letting coats dry completely between applications
- Using cheap brushes that leave bristles in your finish
- Painting in high humidity (hello, peeling paint in six months)
- Rushing the process (patience is not optional here)
Making Your Paint Job Last
Want your newly painted cabinets to look good for years? Here are my maintenance tips:
Clean regularly with mild soap and water—harsh cleaners will dull the finish over time. Wipe up spills immediately (toothpaste is surprisingly acidic). And for the love of all that’s holy, don’t slam the doors. That beautiful paint job won’t survive constant abuse.
Consider adding soft-close hinges if you don’t have them. They’re not expensive and they’ll prevent the daily door-slamming that chips paint around the hinges.
FAQs
Your Bathroom Transformation Starts Now
Here’s the truth: painting bathroom cabinets isn’t rocket science, but it’s not exactly slapping paint on a wall either. Take your time with the prep work, choose quality materials, and don’t rush the process. The difference between a DIY job that looks amateur and one that looks professional is usually just patience and attention to detail.
IMO, there’s something incredibly satisfying about stepping into your bathroom and seeing those gorgeous cabinets you transformed yourself. No contractor required, no massive budget blown—just you, some paint, and a weekend well spent.
So what are you waiting for? Those cabinets aren’t going to paint themselves!

I am Mindy Medford, a home décor, paint, and design specialist with over a decade of hands-on experience transforming ordinary spaces into cozy, personality-packed havens. Since 2013, I have been helping homeowners discover the art of beautiful yet practical design. I share my love for color, texture, and layout—making stylish interiors & exteriors feel achievable for everyone. Whether it’s picking the perfect paint shade or reimagining a small space, I’m here to guide and inspire.
