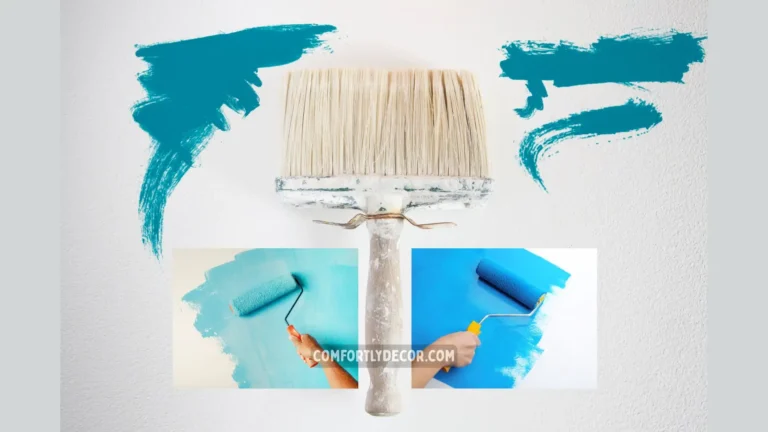
How to Paint A Fiberglass Bathtub
Is your fiberglass bathtub looking a little… sad? Stained, dated, or just plain boring? Before you start sledgehammering your bathroom into oblivion for a full remodel, let me tell you a secret: you can paint it. Yes, you can paint a fiberglass bathtub, and it’s a game-changer.
I know what you’re thinking. “Paint a bathtub? Won’t it just peel off after a week?” Honestly, that was my first thought too. The idea of painting something that’s constantly wet seemed like a recipe for disaster. But after some research and a bit of DIY bravery, I transformed my own dingy tub into something that looks brand new. And guess what? It was way cheaper than replacing it.
So, if you’re ready to give your bathroom a facelift without taking out a second mortgage, you’re in the right place. This guide will walk you through everything, from picking the right materials to the final brush stroke. Let’s get that tub looking fabulous.
Why Bother with a Fiberglass Tub Anyway?
Before we get into the nitty-gritty of painting, let’s talk about why you probably have a fiberglass tub in the first place. Ever wondered why they’re so popular? It’s not just a random choice, I promise.
The Upside of Fiberglass
Fiberglass is a pretty solid choice for bathtubs, mainly because it’s lightweight and affordable. Unlike a cast iron behemoth that requires a team of bodybuilders to install, a fiberglass tub is much easier to get into your bathroom.
Here’s the quick and dirty on its advantages:
- Cost-Effective: They are significantly cheaper than materials like porcelain or cast iron. Your wallet will thank you.
- Durable: While not indestructible, fiberglass holds up well against everyday use and resists most cracks and stains.
- Easy to Maintain: A little soap and water are usually all you need to keep it clean. No fancy, expensive cleaners required.
How it Stacks Up to Other Materials
So, how does fiberglass compare to the other players in the bathroom world?
- Acrylic vs. Fiberglass: These two are often confused. Acrylic is a bit more durable and better at retaining heat, but it also comes with a higher price tag. Fiberglass gives you a similar look for less cash. IMO, it’s a fair trade-off.
- Cast Iron vs. Fiberglass: Cast iron is the heavyweight champion. It’s incredibly durable and holds heat like a dream, but it’s also extremely heavy and expensive. Installing one can be a major project.
- Porcelain vs. Fiberglass: Porcelain tubs are tough against scratches but can chip if you drop something heavy. They’re also pricier and heavier than fiberglass.
Basically, fiberglass hits that sweet spot of affordability, durability, and ease of installation.
Can You Paint a Fiberglass Bathtub?
Yes, you can paint a fiberglass bathtub, but it requires proper preparation and the right materials to ensure a durable finish. With careful application, painting a fiberglass bathtub can give it a fresh, updated look without the need for a full replacement.
Gathering Your Arsenal: Tools and Materials
Alright, let’s get to the fun part: shopping. To tackle this fiberglass bathtub painting project, you need the right gear. Showing up with a can of wall paint and a hopeful attitude just isn’t going to cut it.
Here’s your official shopping list. You can find most of this stuff at your local hardware store.
Essential Materials:
- Epoxy Paint or a Tub Refinishing Kit: This is non-negotiable. Regular paint won’t survive. Look for a two-part epoxy or a specialized acrylic-urethane enamel paint. Kits are great because they come with almost everything you need.
- Epoxy Primer: Crucial for making sure the paint actually sticks.
- Epoxy Putty/Fiberglass Repair Kit: To fill in any chips or scratches before you start.
- Painter’s Tape: To get those crisp, clean lines and protect your fixtures.
- Drop Cloths or Plastic Sheeting: To protect your floor and walls from becoming a modern art installation.
Necessary Tools:
- Sandpaper: You’ll want a couple of grits, specifically medium (around 120-grit) and fine (220-grit or higher).
- Paint Roller: A small, high-density foam roller is perfect for this.
- Paintbrush: A good quality angled brush for cutting in around edges.
- Foam Brush: Handy for getting into tight spots.
Don’t Forget Your Safety Gear (Seriously!):
- Gloves: Epoxy is sticky stuff.
- Safety Goggles: You only get one pair of eyes.
- Respirator/Face Mask: The fumes from epoxy paint are no joke. Ventilation is your best friend.
Expect to spend around $50 to $100 on the paint or kit, and maybe another $50 on the rest of the supplies. It’s still a heck of a lot cheaper than a new tub.
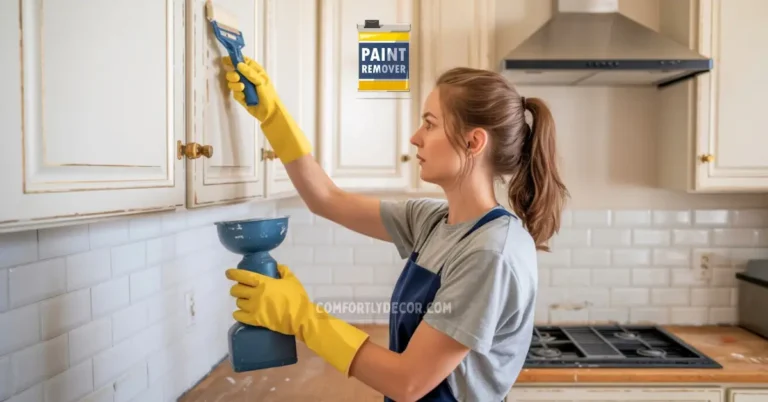
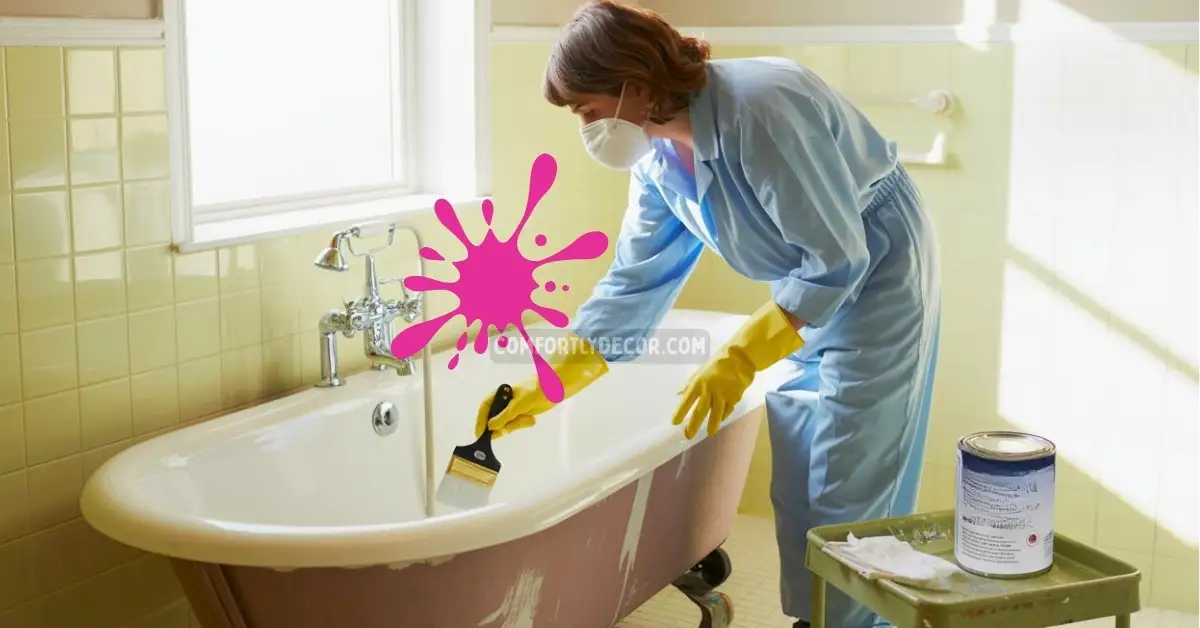
The Most Important Step: Preparation
I cannot stress this enough: preparation is everything. If you skimp on this part, I guarantee your paint will start peeling faster than a sunburned tourist. It’s tedious, I know, but it’s the difference between a professional finish and a DIY disaster.
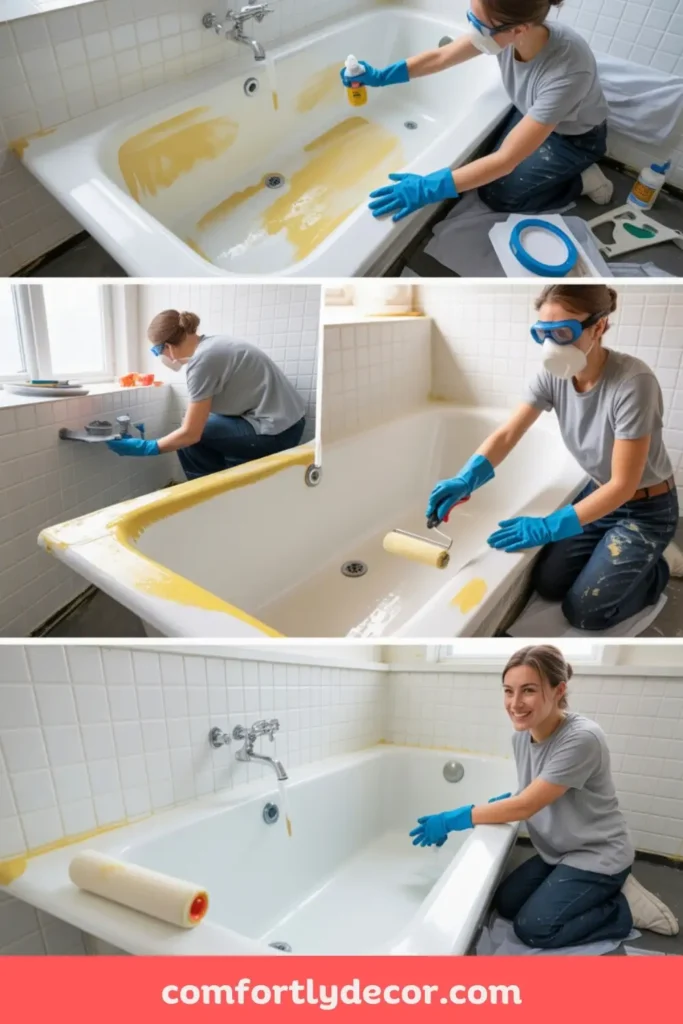
Step 1: Clean Like Your Mother-in-Law is Visiting
First, you need to clean that tub until it shines. We’re talking about removing every last trace of soap scum, body oil, and grime.
- Start with a mild detergent or a bathroom cleaner and hot water.
- For really stubborn grime, a degreaser is your best bet.
- Scrub every inch of the tub with a non-abrasive sponge. Don’t scratch the surface you’re about to paint!
- Rinse thoroughly and let it dry completely. I mean, bone-dry. Use a towel and then let it air-dry for a few hours.
Make sure your bathroom is well-ventilated during this process. Some of those cleaning chemicals can be pretty potent.
Step 2: Sanding for Success
Next up is sanding. I know, more manual labor. But this step is what gives the primer something to grip onto.
- Put on your mask and goggles.
- Using medium-grit sandpaper, lightly sand the entire surface of the tub. You’re not trying to remove the fiberglass, just roughing it up a bit to create a texture for the paint to adhere to.
- Once you’re done, wipe away all the sanding dust with a clean, damp cloth. Any leftover dust will create a bumpy, uneven paint job.
Step 3: Repairing the Battle Scars
Now, inspect your tub for any chips, cracks, or deep scratches. This is your chance to make them disappear.
- Use a fiberglass repair kit or epoxy putty. Follow the instructions on the package to mix and apply the filler.
- Use a putty knife to smooth the filler over the damaged areas.
- Let it dry completely, which could take a few hours.
- Once it’s dry, sand the repaired spots with fine-grit sandpaper until they’re smooth and flush with the rest of the tub.
Priming for a Perfect Finish
You’ve cleaned, sanded, and repaired. Now it’s time for primer. This is the bridge between your old tub surface and the new paint. It’s essential for adhesion and durability.
Applying the Primer
First things first, make sure you’ve taped off everything you don’t want to paint. Use painter’s tape to cover the drain, faucet, and the edges where the tub meets the wall or floor. Cover the floor and surrounding walls with drop cloths.
- Choose a high-quality epoxy primer designed for fiberglass or marine use.
- Apply a thin, even coat of primer to the entire tub. You can use a spray gun for the most even coverage, but a high-density foam roller and a brush work just fine.
- Pay special attention to corners and edges, using your brush to get into any tight spots.
- Let the primer dry completely according to the manufacturer’s instructions. This might take several hours. Don’t rush it!
Once the primer is dry, lightly sand the entire surface with fine-grit sandpaper. This will smooth out any imperfections and prepare the surface for the paint. Wipe away the dust with a damp cloth and let it dry.
The Main Event: Painting the Tub
The moment of truth has arrived. It’s time for the fiberglass bathtub painting to begin! With all that prep work, this part should be smooth sailing.
First Coat of Paint
Open up your epoxy paint or refinishing kit and mix it according to the instructions. FYI, many two-part epoxies have a limited working time once mixed, so be ready to paint as soon as it’s prepared.
- Start by using your brush to “cut in” around the edges, drain, and fixtures.
- Then, use your foam roller to apply a thin, even coat of paint to the rest of the tub.
- Use long, overlapping strokes to avoid roller marks. Don’t press too hard; let the roller do the work.
- Once the first coat is on, step back and admire your work. Then, leave it alone. Let it dry completely. This can take anywhere from a few hours to a full day. Check the paint can for specific drying times.
Applying Additional Coats
One coat is rarely enough for a durable, opaque finish. You’ll likely need a second, and maybe even a third, coat.
- After the first coat is fully dry, lightly sand any bubbles or uneven spots with fine-grit sandpaper. Wipe away the dust.
- Apply the second coat using the same technique as the first. This coat should perfect the coverage and color.
- If needed, repeat the process for a third coat after the second one is completely dry.
Two to three thin coats are much better than one thick, gloppy one. Patience is key here, my friend.
The Finishing Touches
You’re almost there! Just a few more steps to ensure your newly painted tub looks professional and lasts for years.
Caulking and Sealing
After your final coat of paint has cured for at least 24-48 hours, it’s time to seal the deal.
- Remove the painter’s tape carefully. If it pulls up any paint, you can touch it up with a small brush.
- Apply a fresh bead of high-quality, mildew-resistant caulk along the seams where the tub meets the walls and floor.
- Smooth the caulk line with a wet finger or a caulking tool for a clean, professional look. This prevents water from getting behind the tub and ruining your hard work.
Reinstalling Fixtures
Once the caulk is dry, you can reinstall your faucet, drain, and any other hardware you removed. Clean the fixtures before you put them back to avoid getting dirt on your pristine new tub.
Keeping Your “New” Tub Looking New
You didn’t go through all that work just to have your tub look dingy again in six months. Proper care and maintenance are crucial.
- Clean Regularly: Wipe the tub down with a soft cloth and a gentle, non-abrasive cleaner after each use. A simple mix of mild dish soap and warm water is perfect.
- Avoid Abrasives: Do not use scouring pads, steel wool, or harsh chemical cleaners. They will scratch and dull the paint.
- Repair Chips Promptly: If you do get a chip or scratch, touch it up immediately with leftover paint or a repair kit to prevent it from getting worse.
- Rinse and Dry: A quick rinse and wipe-down after a shower can go a long way in preventing soap scum buildup and water spots.
FAQs
Your Bathroom’s New Centerpiece
There you have it. Painting a fiberglass tub isn’t a quick 30-minute project, but it’s a completely manageable DIY task that delivers incredible results. You get the look of a brand-new bathtub for a fraction of the cost and a huge dose of DIY satisfaction. So go ahead, give that old tub a new lease on life. Your bathroom (and your bank account) will thank you.

I am Mindy Medford, a home décor, paint, and design specialist with over a decade of hands-on experience transforming ordinary spaces into cozy, personality-packed havens. Since 2013, I have been helping homeowners discover the art of beautiful yet practical design. I share my love for color, texture, and layout—making stylish interiors & exteriors feel achievable for everyone. Whether it’s picking the perfect paint shade or reimagining a small space, I’m here to guide and inspire.