How to Paint A Ceramic Sink For A Fresh New Look
Ever look at your dingy, stained ceramic sink and wish you could just throw it out a window? I get it. That old sink has probably seen better days, and a full bathroom or kitchen renovation can cost a fortune. But what if I told you there’s a way to give that sink a killer makeover without breaking the bank?
That’s right, we’re talking about painting it. A fresh coat of paint can completely transform your ceramic sink, turning it from a sad, forgotten fixture into a statement piece. It might sound a bit out there, but with the right prep and a little patience, you can pull off a professional-looking ceramic sink makeover yourself. Ready to get your hands dirty? Let’s do this.
First Things First: Prepping Your Workspace
Before you even think about popping open a can of paint, you need to get your workspace ready. Trust me, skipping this step is a recipe for disaster. A little prep now will save you from a massive cleanup headache later.
Get Some Air in There
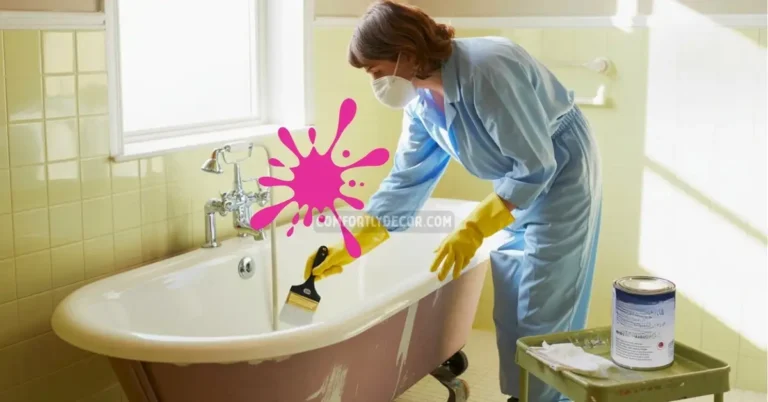
Let’s be real: paint fumes are no joke. The last thing you want is to get a headache (or worse) from inhaling chemicals in a tiny, enclosed bathroom. So, the first rule of sink painting club is proper ventilation.
Crack open every window you can and keep the doors ajar. If you have a box fan, set it up to blow the air out of the room.
I also highly recommend wearing a painter’s mask. It might not be the most fashionable accessory, but your lungs will thank you. Good airflow also helps the paint dry correctly, so it’s a win-win.
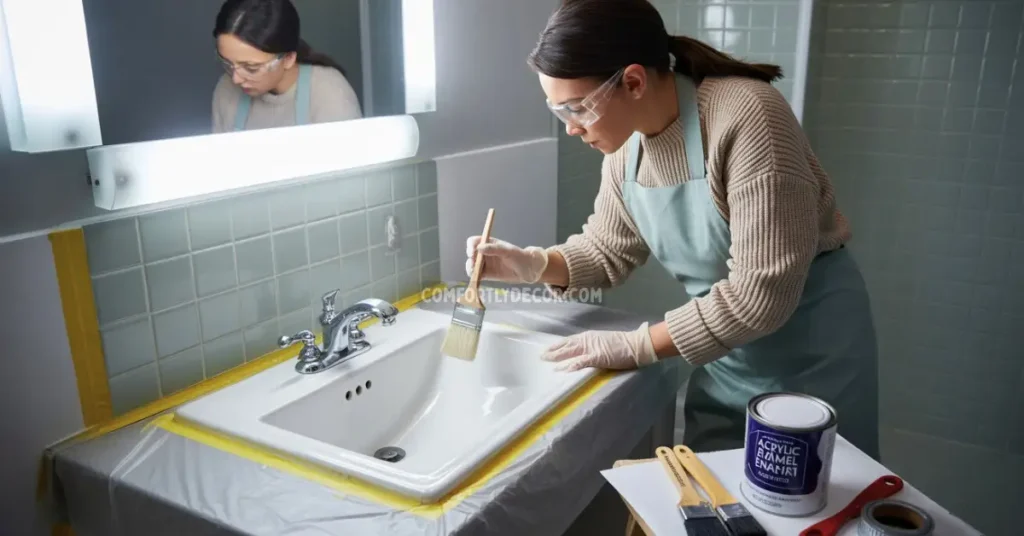
Cover Everything You Don’t Want Painted
Unless you’re going for a Jackson Pollock-inspired bathroom, you’ll want to protect the surrounding surfaces. Drop cloths are your best friend here. Cover the countertops, floor, and anything else you don’t want to become a casualty of rogue paint splatters.
Next, grab some painter’s tape. Carefully tape around the edges of your sink to get those super crisp, clean lines. Make sure you press the tape down firmly to prevent any paint from seeping underneath. There’s nothing more satisfying than peeling off that tape to reveal a perfect edge.
Gather Your Arsenal
Picture this: you’re halfway through painting, one hand is covered in primer, and you suddenly realize you forgot the sandpaper. Ugh, the worst. Avoid that frustration by gathering all your materials before you start.
Here’s a quick checklist of what you’ll need:
- Trisodium Phosphate (TSP) or another heavy-duty cleaner
- Soft sponges and clean rags
- Medium-grit sandpaper (180-220 grit)
- Fine-grit sandpaper (320 grit)
- A high-quality ceramic primer
- Epoxy-based paint (or another paint suitable for ceramics)
- Paintbrushes or foam rollers
- Paint stir sticks
- A painter’s mask
- Drop cloths and painter’s tape
Having everything organized and within arm’s reach makes the whole process feel less chaotic and way more professional. Now, let’s get that sink ready.
The Nitty-Gritty: Prepping Your Ceramic Sink
Proper sink preparation is the single most important part of this project. Seriously, if you cut corners here, your beautiful paint job will start peeling off in a week. We want a finish that lasts, so let’s do it right.
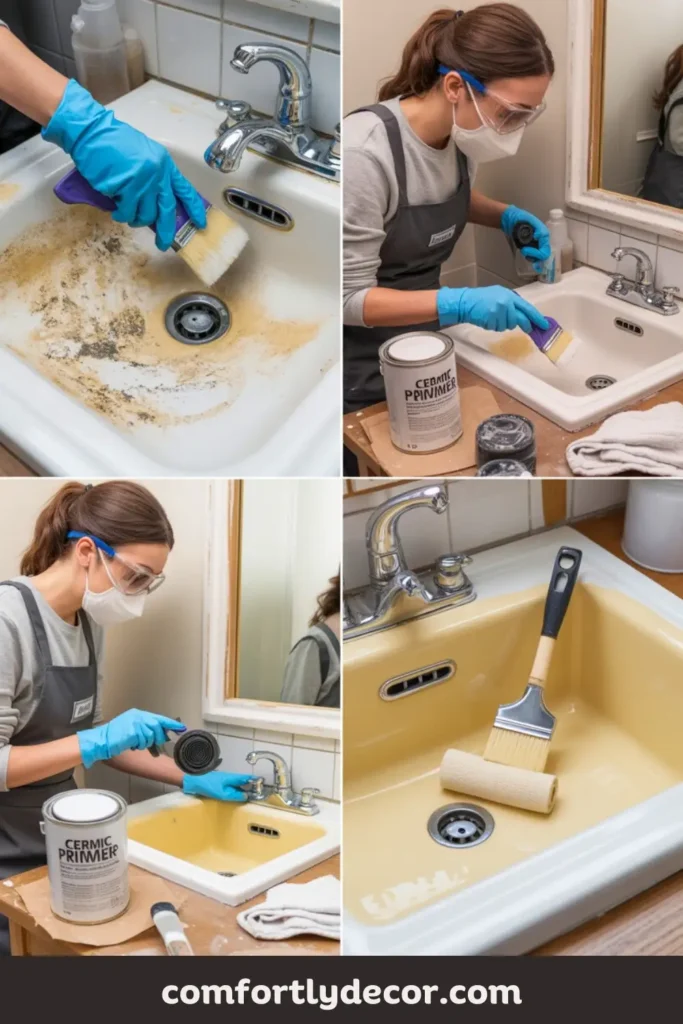
Clean It Like You Mean It
First up, we need to get that sink sparkling clean. Years of soap scum, grease, and grime have built up on the surface, and paint will not stick to that mess.
Grab some Trisodium Phosphate (TSP). This stuff is a powerhouse cleaner that will cut through just about anything. Mix it with water according to the package directions, and scrub the entire sink with a soft sponge.
Once you’re done, rinse it thoroughly with clean water and let it dry completely. Don’t be lazy with the rinsing—any leftover cleaner residue can also mess with paint adhesion.
Sand It Down for a Good Grip
I know, sanding sounds like a chore, but it’s absolutely crucial if you want to refinish your ceramic sink properly. The glossy surface of a ceramic sink is too smooth for paint to grab onto. We need to rough it up a bit.
- Start with medium-grit sandpaper, something around 180-220 grit. Your goal is to get rid of that shine.
- Sand the entire surface, making sure you don’t miss any spots. You’re creating tiny scratches that the primer can lock into.
- Once you’ve dulled the surface, switch to fine-grit sandpaper (around 320 grit) to smooth things out.
- After sanding, wipe away all the dust with a damp cloth. A dust-free surface is essential for a flawless finish.
Prime Time, Baby!
Now for the magic potion: primer. A good ceramic primer is the bridge between the sink and your paint. It ensures the paint sticks and gives you a smooth, even base to work with.
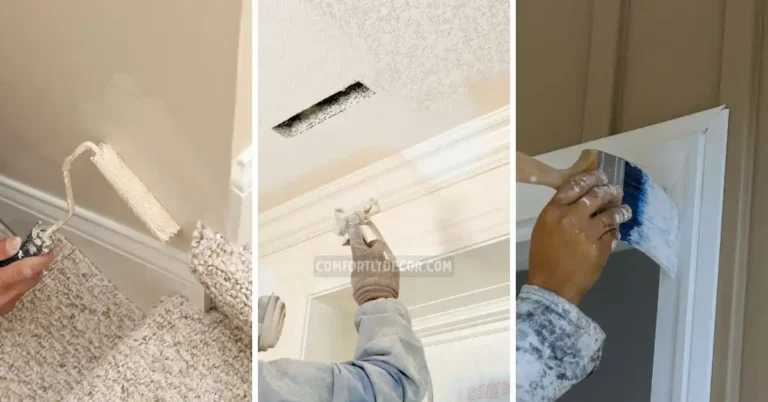
Apply a thin, even coat of primer across the entire sink using a high-quality brush or foam roller. Follow the manufacturer’s instructions for application and drying times. Don’t rush this step! Let the primer dry completely before you even think about opening your can of paint. Would you build a house without a solid foundation? I didn’t think so.
Picking Your Paint: The Main Event
Choosing the right paint is where the fun begins, but it’s also where things can go wrong. Not all paints are created equal, especially when it comes to a high-use, high-moisture area like a ceramic bathroom sink.
Understanding Your Paint Options
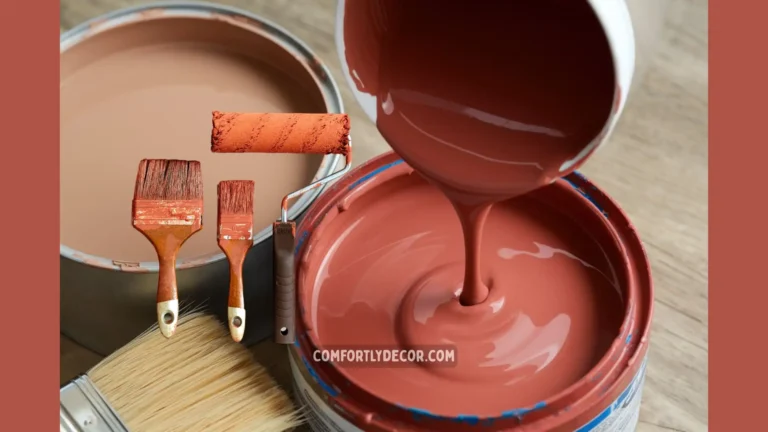
For a project like this, your main contenders are epoxy paint, acrylic paint, and enamel paint. Each has its own strengths and weaknesses.
- Epoxy paint is the king of durability. It creates a hard, waterproof finish that can handle the daily abuse a sink endures.
- Acrylic paint is easier to work with and dries faster, but it’s not as tough as epoxy.
- Enamel paint offers a hard, glossy finish that looks great, but it might need more coats.
IMO, for a sink, you really can’t beat a good two-part epoxy.
The Pros and Cons of Epoxy-Based Paints
Pros
- I’m a huge fan of epoxy-based paints for sink makeovers.
- This stuff is tough as nails.
- It forms a rock-hard, non-porous layer that resists chips, scratches, and stains.
- It’s the closest you’ll get to a factory finish.
Cons
- Epoxy can be a bit tricky to apply.
- You have to mix a resin and a hardener together precisely, and you have a limited time to work with it before it starts to cure.
- It also takes longer to fully cure compared to other paints. But honestly, the durable, high-gloss result is totally worth the extra effort.
What About Other Paints?
If you’re feeling a bit intimidated by epoxy, there are alternatives.
- Products like tub and tile spray paint or
- Appliance epoxy sprays can be a good option. They are designed for high-moisture environments and are generally easier to apply.
Just be aware that they might not be as long-lasting as a two-part epoxy system. If you go this route, make sure you choose a product specifically formulated for ceramic or porcelain. Regular wall paint just won’t cut it here, folks.
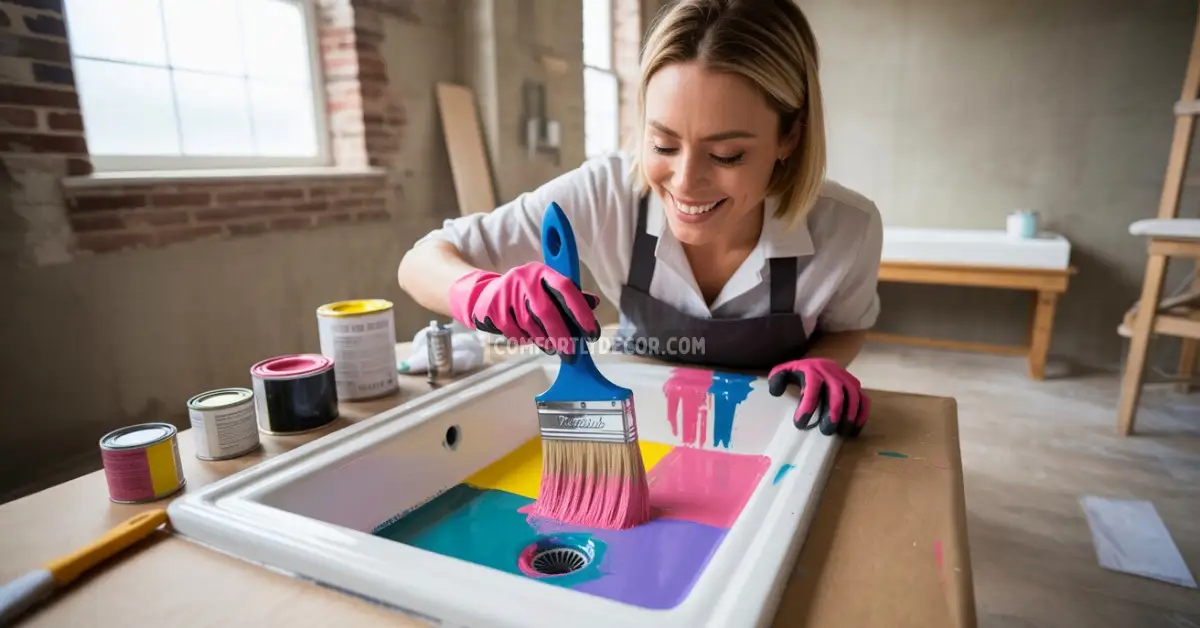
Let’s Get Painting: The Transformation Begins
Alright, your workspace is prepped, your sink is primed, and you’ve got your paint. It’s time to bring your vision to life. This is the most rewarding part of the process!
Applying That Crucial First Coat
Take a deep breath. The first coat sets the tone for the entire paint job. Grab a high-quality paintbrush or a small foam roller and get ready.
- Apply a thin, consistent layer of paint using smooth, controlled strokes.
- Don’t try to get full coverage on the first go.
- A thin coat is less likely to drip and will dry more evenly. Patience is key here.
- If you’re using a two-part epoxy, make sure you’ve mixed it according to the instructions just before you start painting.
Waiting is the Hardest Part
You’ve finished the first coat, and it probably looks a little patchy. That’s totally normal! Don’t panic and try to fix it by slapping on more paint. You need to let that first coat dry.
Check the paint can for recommended drying times between coats. It’s usually around 1-2 hours, but it can vary. Lightly touch a small, inconspicuous spot. If it’s no longer tacky, you’re ready for the next coat. Applying a second coat too soon can ruin the finish, so be patient. This isn’t a race! 🙂
Perfecting the Final Layer
You’re in the home stretch! The final coat is what everyone will see, so let’s make it perfect. This is where you focus on getting that smooth, flawless finish.
Apply the last coat with slow, deliberate strokes to avoid any visible brush marks. Pay close attention to the edges and corners.
Once the final coat is on, just let it be. Let it dry undisturbed in your well-ventilated room. Some people use a heat lamp to help the paint cure, but it’s not a necessity. Just give it time.
Aftercare: Keep Your Sink Looking Fresh
You did it! Your sink looks amazing. But the job isn’t quite over. Proper aftercare is essential to protect your hard work and keep your sink looking fantastic for years to come.
The Agony of Curing Time
Here’s an important distinction: drying time is not the same as curing time. Your paint might feel dry to the touch in a few hours, but it can take up to 7 days (or even longer) to fully cure and harden.
During this curing period, be extra gentle with your sink. Avoid heavy use, don’t drop anything in it, and definitely don’t try to scrub it. Think of it as a delicate butterfly emerging from its chrysalis. Just let it do its thing.
Maintaining Your Masterpiece
Once your sink is fully cured, maintenance is pretty simple. To clean it, use a soft sponge and a gentle, non-abrasive cleaner. Harsh chemicals and abrasive scrubbers are your enemy—they can scratch or even strip the paint.
Wipe up spills and water spots promptly to keep it looking pristine. If you do get a small chip or scratch down the line, you can touch it up with a bit of leftover paint. A little care goes a long way in preserving your beautiful ceramic sink makeover.
FAQs
Ready for Your Sink’s Glow-Up?
Painting a ceramic sink is a project that delivers a huge visual impact for a relatively small investment of time and money. It takes a bit of elbow grease and a lot of patience, but the result is a completely refreshed and personalized space. You get to look at that sink every day and think, “Yeah, I did that.”
So, are you ready to say goodbye to that old, tired sink and hello to a fresh new look? Grab your sandpaper and get to work. Your dream sink is just a few coats of paint away.

I am Mindy Medford, a home décor, paint, and design specialist with over a decade of hands-on experience transforming ordinary spaces into cozy, personality-packed havens. Since 2013, I have been helping homeowners discover the art of beautiful yet practical design. I share my love for color, texture, and layout—making stylish interiors & exteriors feel achievable for everyone. Whether it’s picking the perfect paint shade or reimagining a small space, I’m here to guide and inspire.