Shiny & Bright: How To Make Paint Reflective Like A Pro
Have you ever noticed how road signs glow brilliantly at night or how certain bike helmets shine under headlights? That’s not magic—that’s reflective paint (although it’s kind of magical). Reflective paint is a game-changer for safety, visibility, and creative projects. If you’ve been itching to add some glow to your world, you’re in the right place.
Let’s walk through the steps to create reflective paint at home, explain the materials you need, and share tips to make sure your project shines. Whether you’re working on a nighttime safety project or a fun craft, this post has got you covered.
Alright, ready to get glowing? Let’s do this!
What Is Reflective Paint and Why Use It?
Reflective Paint in Simple Terms
Reflective paint is like regular paint, only better. It contains small reflective particles, often glass beads or metallic powders, that reflect light back to its source. Imagine shining a flashlight on a mirror—that’s how reflective paint works, but on a smaller scale. It’s widely used on road signs, bike paths, and even art projects. And the best part? You can make it yourself!
Why Reflective Paint Is Awesome
Here are a few reasons why reflective paint is something worth trying:
- Safety First: It increases visibility at night, which is perfect for outdoor projects like bike helmets, road markings, or house numbers.
- Multi-Purpose: Use it for both functional and decorative projects.
- Energy Efficiency: Some reflective paints are used in construction to reflect sunlight and keep buildings cool, reducing energy use.
Curious yet? Keep reading—we’re about to show you exactly how to get started.
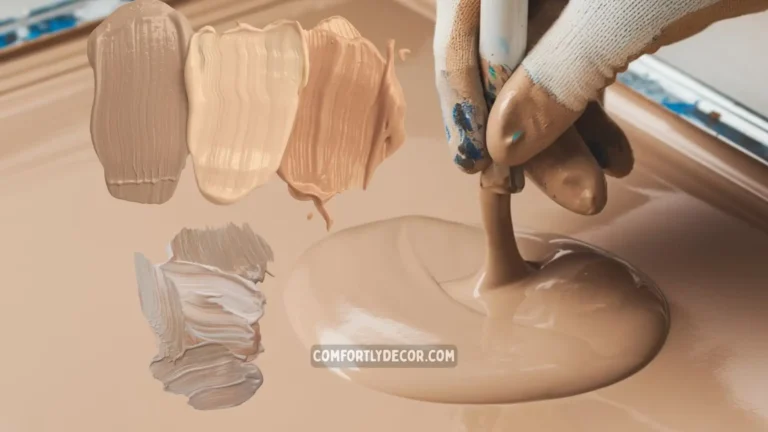
Materials You’ll Need to Make Reflective Paint
Creating reflective paint is easier than you might think. Here’s what you’ll need:
1. Paint Base
- Acrylic Paint: Ideal for craft projects as it blends easily with additives.
- High-Gloss Paint: Perfect for outdoor projects to amplify reflectivity.
- Clear Paint or Varnish: Great for maintaining the original color of the surface while adding a reflective layer.
2. Reflective Additives
- Glass Beads: These are the stars of reflective paint. They bounce light back brilliantly.
- Reflective Powders: Metallic additives can add a glow-like effect if you prefer a powder option.
3. Tools for Mixing and Application
- Mixing bowl or container
- Stirring stick (or a mixer if you’re going big)
- High-quality paintbrush or spray gun for application
Got your supplies? Awesome. Now, let’s prep the canvas.
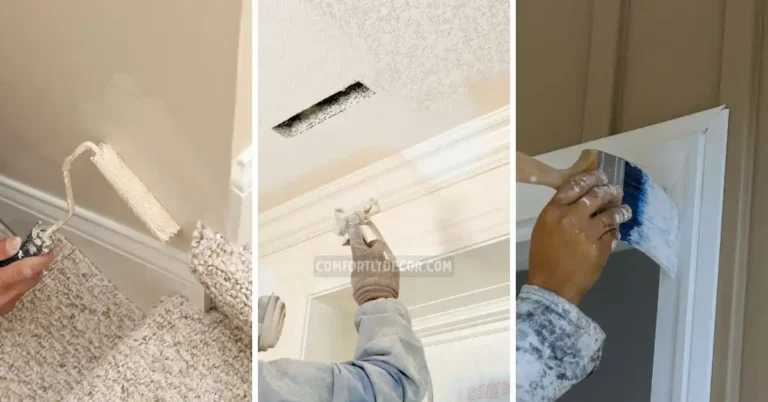
Preparing the Surface for Reflective Paint
Step 1: Clean the Surface
Make sure the surface you’re painting is clean. Use soapy water to remove dirt, grease, or any residue. If the surface is uneven, give it a light sanding.
Step 2: Apply Primer
Think of primer as the glue that holds everything together. It helps the paint adhere better and makes your reflective materials more effective. Choose a primer that matches your surface type (wood, metal, plastic, etc.).
Step 3: Safety First
Before you mix or paint, protect yourself. Wear gloves, goggles, and a mask to avoid inhaling fumes or handling additives directly. And don’t forget to work in a well-ventilated space.
Pro Tip: Reflective materials like glass beads can sometimes get a bit messy. Lay down a tarp or newspaper to save yourself some cleanup time!
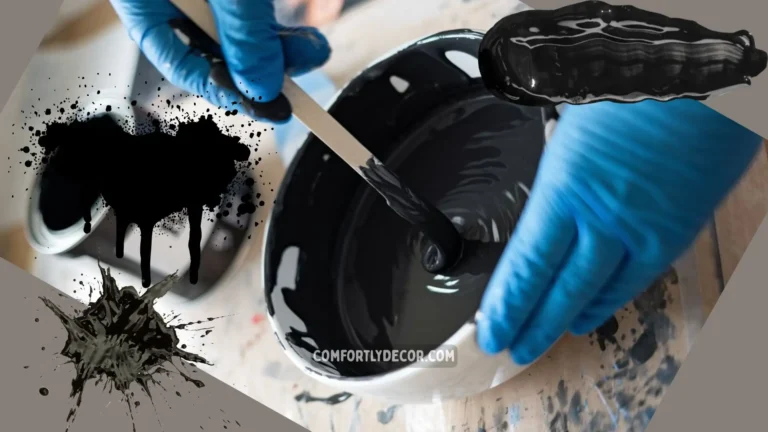
Mixing Reflective Paint
The magic happens here, and trust me, it’s super satisfying.
Step 1: Ratio Matters
For every 500ml (16oz) of paint or varnish, mix in about 100 grams (3.5oz) of reflective glass beads. Want a brighter finish? Add a bit more. Don’t worry if it feels like guesswork at first. You’ll get the hang of it.
Step 2: Stir It Up
Use a stirring stick or hand mixer to blend the paint and glass beads evenly. Make sure there are no clumps of beads stuck at the bottom of your container. Consistent mixing is the key to even reflectivity.
Step 3: Test Your Mix
Before you go all in, test your reflective paint on a small surface. Shine a flashlight on it to see how much light bounces off. Not enough shine? You might need more beads.
Pro Tip: Old jars make excellent mixing containers, especially for small batches!
Application Techniques
Once your reflective paint is ready, it’s time to put it to work.
Brush vs. Spray Gun
- Brush: Better for small, detailed work. Use long, even strokes to avoid streaks.
- Spray Gun: Perfect for large surfaces or when you want a smooth, even finish. Just make sure to spray in a well-ventilated area (your lungs will thank you).
Thin Coats Are Your Friend
Apply thin, even coats rather than one thick layer. This ensures the reflective beads are evenly distributed and improves durability. You may need two or three layers for the best results.
Pro Tip: Allow each coat to dry before applying the next one. Patience = shine.
Drying and Curing
Drying Conditions
Dry in a warm, dry location with good airflow. Room temperature (around 70°F or 21°C) is perfect. Humidity can mess with the drying process, so avoid damp environments.
Curing Time
For the paint to fully cure, you’ll need to wait 24-48 hours. Yes, I know waiting is hard, but rushing this process can make the finish less durable and reflective.
Think of it like baking a cake. Take it out too soon, and you’re left with… well, a mess. 😉
Creative and Practical Uses for Reflective Paint
Reflective paint isn’t just for safety. Here are some fun and functional ways to use it:
- Art Projects: Make glowing wall art or furniture that stands out.
- Home Safety: Paint your house numbers for nighttime visibility without needing extra lighting.
- Bike Gear: Add reflective stripes to helmets or backpacks for safer night rides.
- Event Decor: Use it for signs or decorations that pop under party lights.
The possibilities are endless, so get creative!
Tips for Maintaining Reflective Surfaces
Reflective paint can last a long time if you take care of it.
Cleaning
Regularly wipe down surfaces with a soft cloth and mild soap. This removes dirt that might reduce reflectivity.
Touch-Ups
Over time, you may need to reapply a layer of paint. Keep any leftover paint in a sealed jar to make touch-ups easier.
Pro Tip: Reflective surfaces love clean environments. Dust and grime? Not so much.
FAQs
Light Up Your Next Project
And there you have it! You now know how to make reflective paint, prep your surface, and apply it like a pro. Whether you’re adding visibility to your driveway or jazzing up a craft project, reflective paint is a DIY hero.
Got questions or want to share your glowing masterpiece? Leave a comment below—I’d love to hear about your projects.
Now go sprinkle some light into your world. Happy painting, my friend!

I am Mindy Medford, a home décor, paint, and design specialist with over a decade of hands-on experience transforming ordinary spaces into cozy, personality-packed havens. Since 2013, I have been helping homeowners discover the art of beautiful yet practical design. I share my love for color, texture, and layout—making stylish interiors & exteriors feel achievable for everyone. Whether it’s picking the perfect paint shade or reimagining a small space, I’m here to guide and inspire.