How to Frame A Mirror Without Losing Your Sanity
I used to look at the plain slab of glass in my bathroom and sigh. It gave off serious college dorm vibes. It was functional but it certainly had zero personality. I knew I needed to upgrade it but I did not want to spend hundreds of dollars on a custom piece from a fancy boutique.
So I decided to build one myself.
I will admit that I was intimidated at first. The idea of working with glass usually makes me nervous because seven years of bad luck sounds terrible. But I learned that framing a mirror is actually one of the most rewarding DIY projects you can tackle. It completely transforms a room. Plus I get to brag to my guests that I built it with my own two hands.
First Things First Know Your Enemy
Before you buy a single piece of wood you need to understand what you are dealing with. Mirrors are heavy and fragile. They also hate moisture.
If you are framing a mirror that is already glued to the wall you have a different challenge than framing a loose piece of glass. I will focus on building a frame that sits on top of an existing wall mirror because that is the most common headache people face.
Grab your tape measure and be precise.
Measure the width and height of your mirror. Then measure it again. Then maybe measure it a third time just to be safe. You do not want to cut your beautiful wood only to find out it is half an inch too short. Trust me on this one.
Gathering Your Supplies
You do not need a professional woodshop to pull this off. You just need the right materials. I suggest using a wood like pine or poplar if you plan to paint it. They are affordable and easy to find at any big box store.
Here is what you need to grab
- 1×4 or 1×3 Boards select straight ones or you will regret it later
- Miter Saw or a miter box if you are going old school
- Strong Construction Adhesive specifically made for mirrors
- Painter Tape
- Wood Glue
- Paint or Stain of your choice
- Caulk preferably paintable
- Level
FYI check the back of your mirror adhesive tube. You must ensure it says safe for mirrors. Some adhesives have chemicals that will eat through the silver backing of the mirror and leave you with ugly black spots. That would be a tragedy.
Step 1: Cutting the Frame
Time to make some sawdust! You want your boards to frame the outside of the mirror perfectly.
- Choose your style: Use mitered corners (45-degree cuts) for a professional look, or butt joints for a rustic farmhouse vibe.
- The “Pro” Measurement: Cut your pieces 1/8th of an inch longer than the mirror. This prevents the frame from overlapping the glass too much.
- The Dry Fit: Always lay everything out on the floor first. This is your “moment of truth” to ensure your math was right before applying glue.
Step 2: Assembly & The “Secret” Step
Glue your joints using wood glue. You can reinforce the corners with a pocket hole jig or flat corner braces on the back—since they face the wall, they’ll be invisible!
- The Secret: You must paint the back of the frame—specifically the inside edge that faces the glass.
- Why? If you don’t, you’ll see the reflection of raw, unfinished wood in the mirror. Painting it the same color as the front makes the final result look high-end.
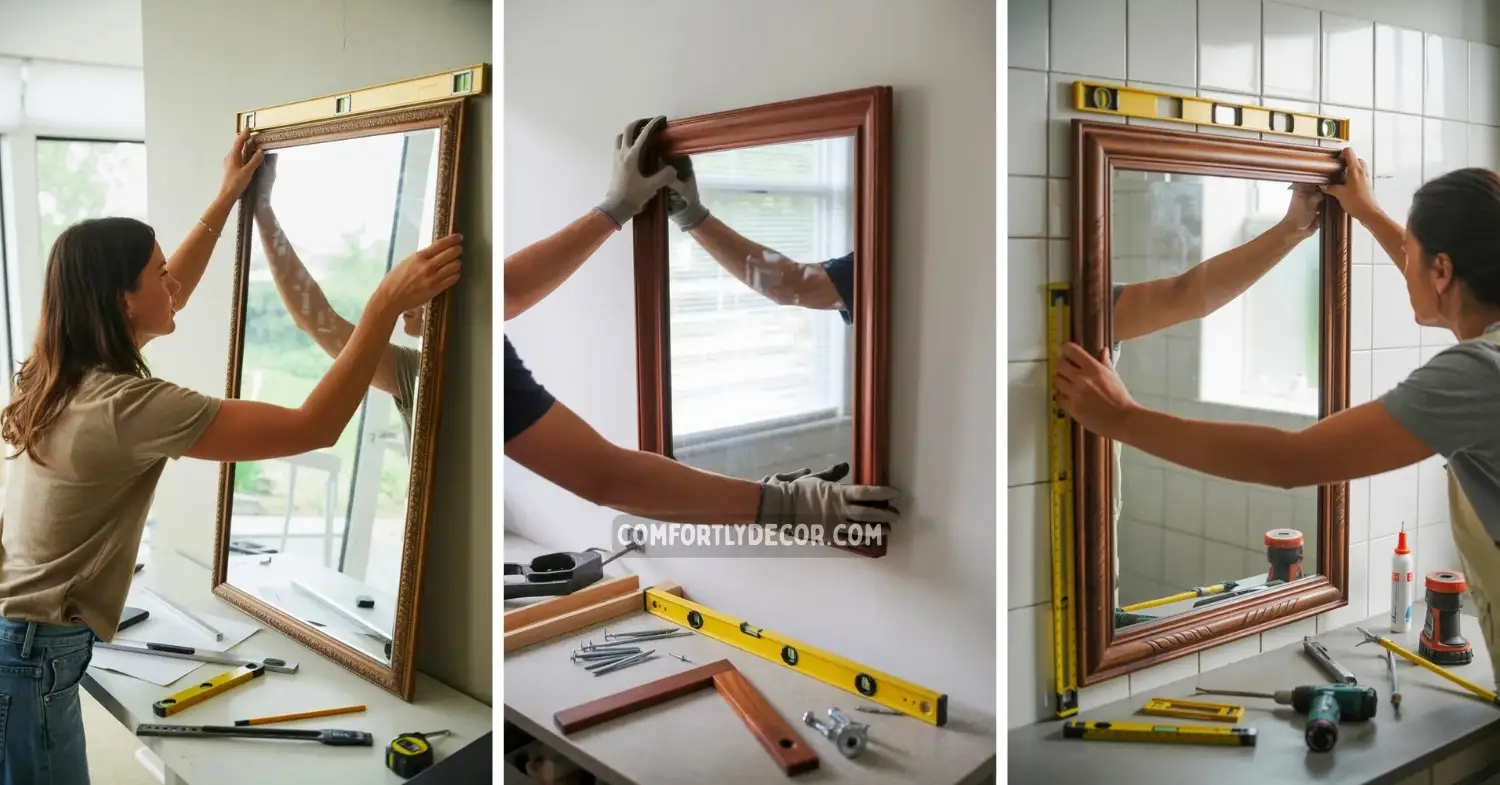
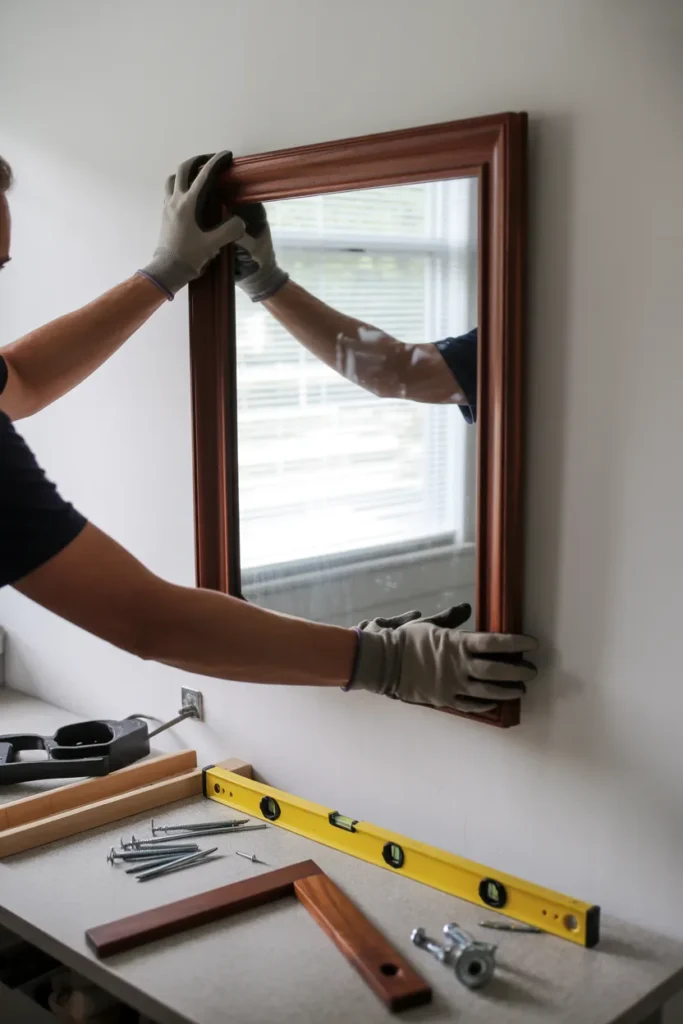
Step 3: Installation
This is where things get sticky. If you are attaching the wood directly to the glass, use your mirror-safe adhesive.
- The Pattern: Apply vertical beads of glue. Horizontal lines or circles trap air and moisture, which can ruin the mirror backing.
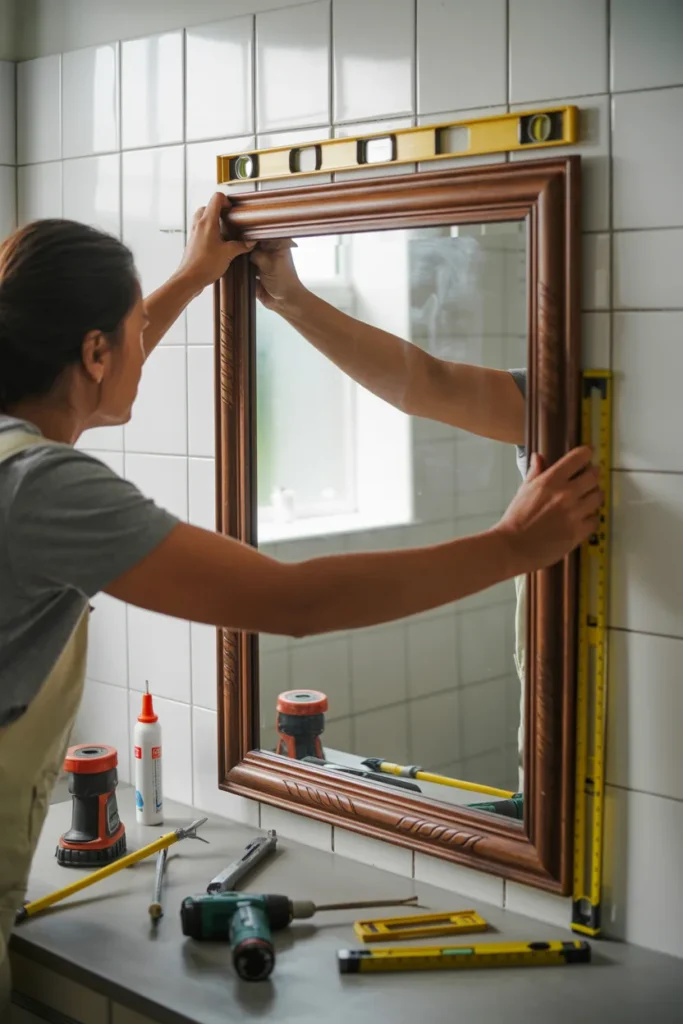
- The Level: Press the frame on and check it with your level immediately.
- The Tape: Use plenty of painter’s tape to hold the frame in place. Let it cure for 24 hours without touching it.
Step 4: Dealing with Mirror Clips
Those plastic clips are annoying, but you have options:
- Option A: Use a router to create a groove in the back of the wood so it sits flush over the clips.
- Option B: If (and only if!) the mirror is already glued to the wall, you can remove the clips entirely.
- Warning: Never remove clips if they are the only thing holding the mirror up!
Step 5: Finishing Touches
Once the glue is dry, peel off the tape and look for any gaps.
- Caulk it: Run a thin bead of paintable caulk where the frame meets the wall.
- Smooth it: Run your finger along the bead for a clean finish.
- Touch up: Dab on a little extra paint if needed.
Step back and enjoy—you just upgraded your bathroom for a fraction of the cost of a new mirror!
FAQs
Your Mirror Deserves A Glow Up
Framing a mirror is one of those projects that has a high impact for low effort. It changes the entire feel of a room from sterile to cozy.
I hope this guide helps you tackle that boring sheet of glass in your hallway or bathroom. Do not let the fear of measuring stop you. You have got this.

I am Mindy Medford, a home décor, paint, and design specialist with over a decade of hands-on experience transforming ordinary spaces into cozy, personality-packed havens. Since 2013, I have been helping homeowners discover the art of beautiful yet practical design. I share my love for color, texture, and layout—making stylish interiors & exteriors feel achievable for everyone. Whether it’s picking the perfect paint shade or reimagining a small space, I’m here to guide and inspire.