How to Fluff A Fake Christmas Tree (Because Flat Trees Are Just Sad)
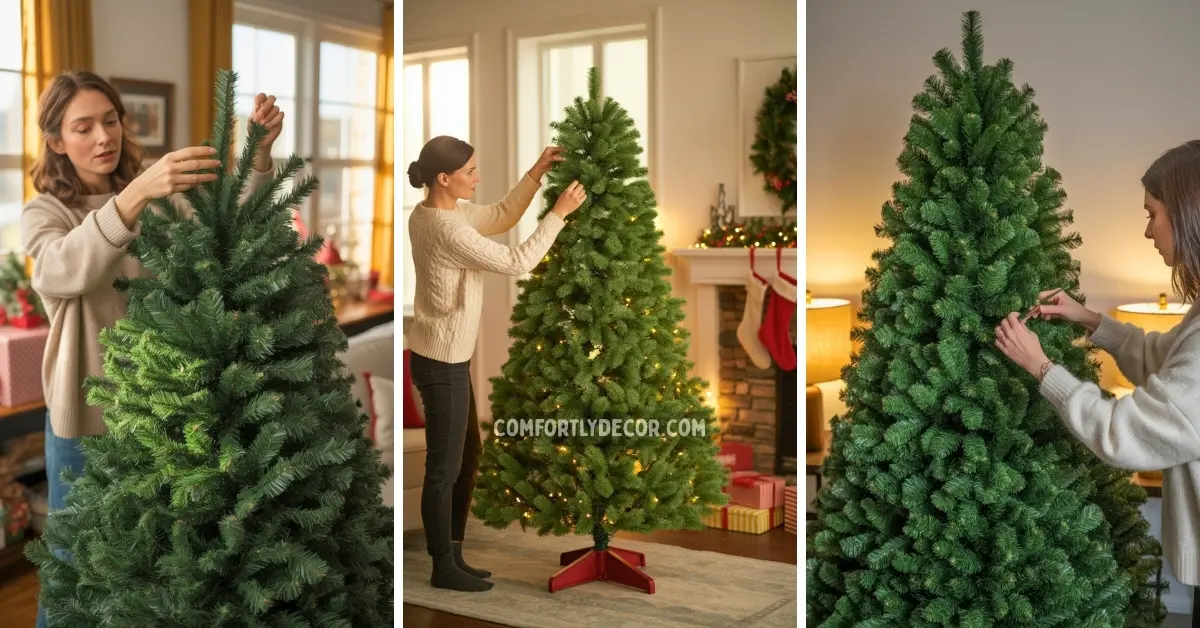
I will be honest, when I unpack my fake Christmas tree each year, it looks like it spent eleven months squished in a box and questioning its life choices. Those flattened, lifeless branches never scream “holiday spirit.” But with a little patience (and a lot of fluffing), I can turn that sad bundle of PVC into something that actually looks lush and festive.
If you have ever wondered how people make their artificial trees look so full and realistic—this is the secret. It is not expensive ornaments or fancy lights. It is all in the fluff.
Step 1: Set the Stage Before You Fluff
Before I even touch the branches, I get everything ready. A little prep goes a long way.
- Choose your spot first: Once you fluff, you will not want to move it.
- Grab gloves: Those fake needles can be scratchy.
- Get good lighting: Natural light helps you see gaps better.
If your tree is in sections (like most), I stack them in order and start from the bottom. The lower branches create your foundation, so they need the most attention.
Step 2: Work From the Inside Out
Most people start fluffing from the outside, but that is a rookie mistake. You want to start at the trunk and work your way outward.
Here is what I do:
- Pull each branch away from the trunk at a slight upward angle.
- Spread the smaller twigs in different directions. Some up, some sideways, a few downward.
- Step back every few minutes to check balance.
The goal is to fill every empty space. Think of it like styling your hair, volume comes from the roots, not just the ends.
Step 3: Shape With Intention
Not all branches should point the same way. I like to create a natural randomness, just like a real pine tree.
Here is how I break it down:
- Inner branches: Point slightly upward to reflect light inward.
- Middle branches: Go straight out for fullness.
- Outer tips: Curve gently downward for a soft, realistic silhouette.
By the time I finish, the tree looks less “plastic factory” and more “forest chic.”
Step 4: Be Patient
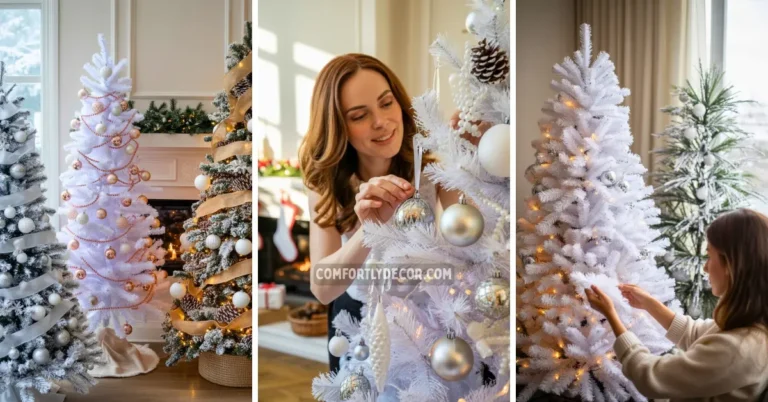
Fluffing is not glamorous, but it is worth every minute. I once timed myself, it takes me about 45 minutes for a 7-foot tree. Put on a Christmas playlist, grab some cocoa, and take your time.
Do not rush it. Every branch you shape adds fullness. You will see the difference immediately, it is like watching your tree breathe again.
Step 5: Add Finishing Touches for Volume
Even after a good fluff, some trees need a little boost. Here are a few tricks I use:
- Add extra greenery picks or pine sprays between gaps.
- Fluff each layer before adding lights or ornaments.
- Use garland strategically to cover any stubborn bald spots.
Sometimes, I even blend in a few real pine branches for that scent and texture. It is a small touch that makes a huge impact.
Turning a Flat Fake Tree Into a Full-Blown Holiday Masterpiece
The first time I truly took my time fluffing, I could not believe the difference. My once flat tree looked rich, full, and alive. It is the kind of transformation that makes guests ask, “Wait, is that real?”
So if your artificial tree is looking a little tired this year, give it some love. A good fluff can turn “cheap” into “charming” faster than you can say peppermint mocha.
FAQs

I am Mindy Medford, a home décor, paint, and design specialist with over a decade of hands-on experience transforming ordinary spaces into cozy, personality-packed havens. Since 2013, I have been helping homeowners discover the art of beautiful yet practical design. I share my love for color, texture, and layout—making stylish interiors & exteriors feel achievable for everyone. Whether it’s picking the perfect paint shade or reimagining a small space, I’m here to guide and inspire.
