Transform Your Space – How To Divide A Wall With Two Paint Colors
Adding a creative flair to your living space doesn’t always require a significant overhaul. Something as straightforward as dividing a wall with two paint colors can breathe new life into your home and elevate your interior’s aesthetic appeal. This easy-to-achieve design approach not only adds depth and dimension to a room but can also create a unique focal point that speaks to your personal style.
But how do you do it right? Whether you’re a DIY enthusiast, a homeowner hunting for budget-friendly upgrades, or a renter craving fresh ways to personalize your space, this comprehensive guide walks you through every step. From planning and preparation to expert tips and creative ideas, get ready to master this painting technique.
Planning and Preparation
Before you pick up a paintbrush, thoughtful planning is key. To ensure your project hits the mark, consider the following elements.
Choosing the Right Paint Colors
The magic of a two-tone wall begins with selecting the perfect shades. The colors you choose can set the mood of the room and influence its overall vibe. For instance:
- Light, neutral shades like white or pale gray can make smaller spaces appear more open and airy.
- Rich, darker shades like navy or forest green add depth and a cozy ambiance, perfect for larger spaces or living rooms.
Want to get adventurous? Pair a bold accent color, such as mustard yellow or teal, with a grounding neutral for an eye-catching contrast. Whatever you choose, ensure the colors complement your existing decor.
Considering the Function of the Room
Colors should resonate with the function of the space. For instance:
- A relaxed bedroom could feature calming tones like soft pastels or muted earth colors, enhancing tranquility.
- A lively dining room might benefit from a vibrant combination like terracotta and blush, adding energy for entertaining guests.
- For functional kitchen walls, durable and washable hues for high-traffic areas will help maintain their charm.
Creating a Cohesive Color Scheme
Your two-tone wall should harmonize with the rest of your home. Use a color scheme that flows naturally from one room to another. Test your chosen shades with paint samples to see how they look in various lighting conditions throughout the day.
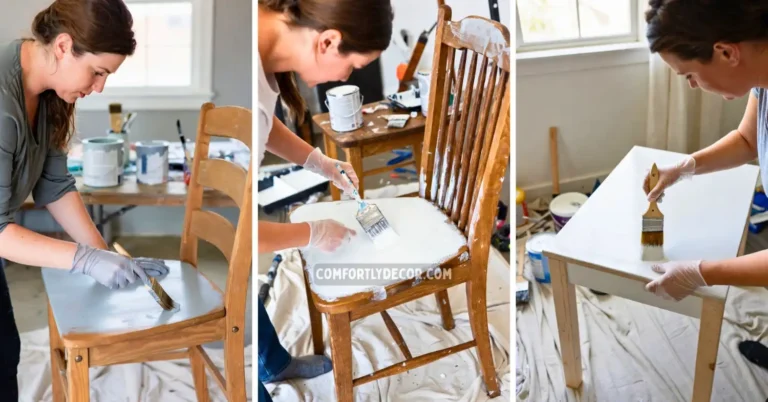
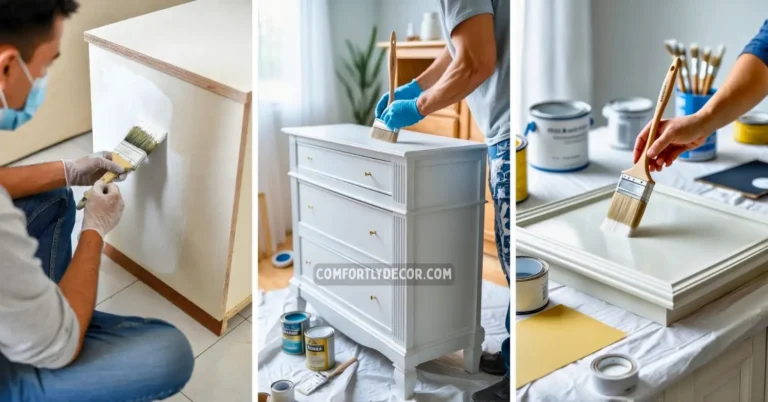
Essential Tools and Materials
Having the right tools and materials will ensure the success of your project. Here’s what you’ll need:
- Painter’s tape for creating crisp edges.
- Paint rollers and brushes for smooth application.
- Drop cloths to protect furniture and flooring.
- Chalk line and level for marking straight lines.
- Primer to enhance color vibrancy and longevity.
- Spackle and sanding block to prep the wall by filling cracks and smoothing surfaces.
Invest in high-quality materials. Trust us, clean lines and a polished finish are worth it!
Step-by-Step Guide
Now that you’re prepped, it’s time to bring your vision to life. Follow these steps to create a stunning two-tone wall.
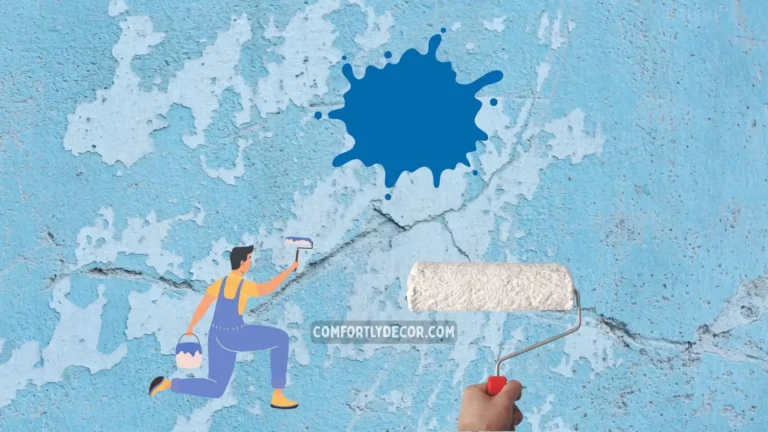
#1. Prepare the Wall Surface
A clean and well-prepped surface is the foundation of a flawless paint job. Start by washing the wall with soap and water to remove any dirt, grease, or residue that could interfere with the paint application.
Once the wall is clean and dry, inspect it for any imperfections. Fill cracks, holes, or dents with spackle, and sand the area until it’s smooth and level with the rest of the wall. Wipe away dust from sanding, ensuring the surface is completely clean.
Finally, apply a coat of primer to create an even base that helps your chosen paint colors pop and adhere better for a longer-lasting finish. This step is especially important if you’re painting over dark or uneven colors.
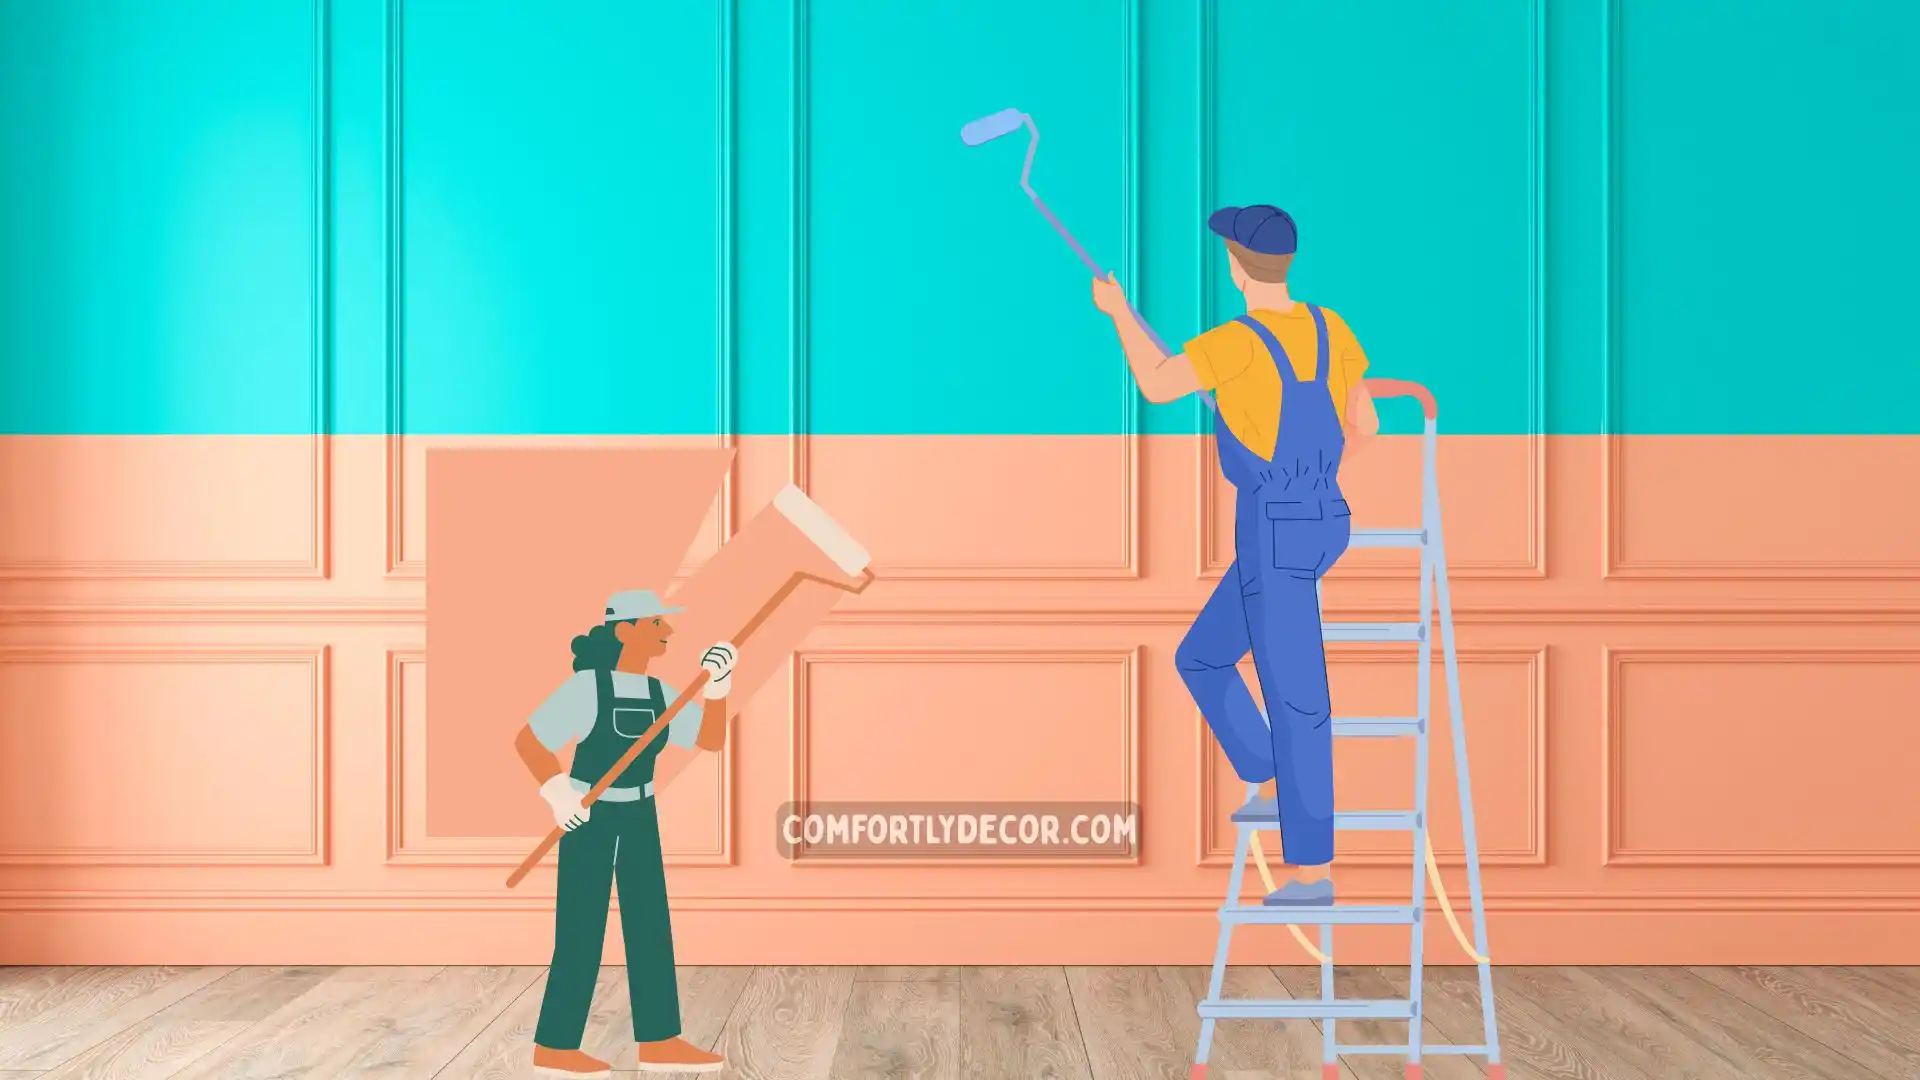
#2. Mark the Division Line
Precision is key when dividing a wall into two colors. Use a level to ensure your line is perfectly straight, then mark the division line with a chalk line or painter’s tape. Whether you’re opting for a horizontal divide, vertical split, or a creative diagonal design, taking the time to measure and outline carefully will give your wall a professional, polished appearance.
For a horizontal split, consider marking the line at eye level or slightly above for a balanced, visually pleasing result.
#3. Paint the First Color
Begin with the lighter color, as it’s easier to paint over with darker tones if needed. Use a roller to cover larger sections of the wall quickly and evenly. Switch to a smaller brush to handle edges and corners with precision.
Apply the paint in smooth, even strokes to avoid streaks or uneven coverage. Allow the first coat to dry completely—this typically takes at least 24 hours, depending on the type of paint and humidity levels. Patience here is crucial to avoid smudging or mixing colors in later steps.
#4. Apply Painter’s Tape
Once the first color is fully dry, carefully attach painter’s tape along the chalked division line. Press down firmly along the edge of the tape to seal it and prevent any paint from seeping underneath.
This step ensures a crisp, clean line between the two colors. Double-check the tape placement before moving on to avoid any mishaps.
#5. Paint the Second Color
Now it’s time to paint the second color on the remaining section of the wall. Use a roller for large, open areas and switch to a small brush for detailed edges or tight corners. Work slowly and methodically to avoid overlapping onto the first color.
Depending on the paint’s coverage, you may need to apply a second coat. Allow the paint to dry thoroughly between coats for the best results.
#6. Remove the Tape Carefully
For the sharpest, cleanest lines, remove the painter’s tape while the second coat of paint is still slightly wet. Pull the tape away at a 45-degree angle to avoid peeling any paint off the wall.
If you waited for the paint to dry fully, use a utility knife to gently score along the tape’s edge before removing it. Stand back and admire your stunning, two-tone wall with its crisp, professional-grade finish!
Tips and Tricks for Best Results
- Prevent Paint Bleed: Seal the edge of your painter’s tape with the first paint color before applying the second.
- Use a Quality Roller to avoid streaks and achieve a seamless finish.
- Work in Natural Light for better visibility when selecting and applying colors.
- Address Mistakes Quickly by keeping a wet cloth handy to touch up smudges.
Creative Ideas for Inspiration
Looking for ways to customize your two-tone wall? Here are some creative twists worth exploring:
- Horizontal Gradient: Blend two shades to create an ombre effect for a soothing, modern vibe.
- Geometric Designs: Experiment with triangles, squares, and other shapes for a bold, contemporary take.
- Chair Rail Divide: Add a decorative trim or molding between the colors for a classic, polished look.
- Diagonal Split: Tilt the division line for a unique and energizing design.
Pair these designs with complementary furniture and decor to bring your room together in a visually cohesive way.
FAQs
Your Next Design Adventure
Transforming a plain wall into a two-toned masterpiece is both rewarding and practical. By following this guide, you’ll add sophistication, personality, and depth to your space—all while keeping things achievable for DIYers of every skill level.
Are you itching to try this technique? Go for it! Share your before-and-after photos and inspire others to elevate their home decor.

I am Mindy Medford, a home décor, paint, and design specialist with over a decade of hands-on experience transforming ordinary spaces into cozy, personality-packed havens. Since 2013, I have been helping homeowners discover the art of beautiful yet practical design. I share my love for color, texture, and layout—making stylish interiors & exteriors feel achievable for everyone. Whether it’s picking the perfect paint shade or reimagining a small space, I’m here to guide and inspire.