Step-by-Step Guide to Applying Epoxy Wall Paint Like A Pro
Are you looking to give your walls a sleek, modern finish that lasts? Epoxy wall paint might be the right choice for you. Favored for its durability and aesthetic appeal, epoxy paint has become a popular solution for both residential and commercial spaces. But its application can feel overwhelming without the right guidance.
This comprehensive guide will walk you through everything you need to know about epoxy wall paint, from understanding its composition to mastering the application process. Whether you’re a seasoned DIY-er or new to home improvement projects, these steps will help ensure professional-grade results.
What Makes Epoxy Wall Paint Special
Understanding Epoxy Paint
Epoxy wall paint isn’t your average wall covering; it’s a high-performance coating made up of two key components:
- Epoxy Resin: Provides strength and adhesive properties.
- Hardener: Creates a chemical reaction with the resin, forming a durable finish.
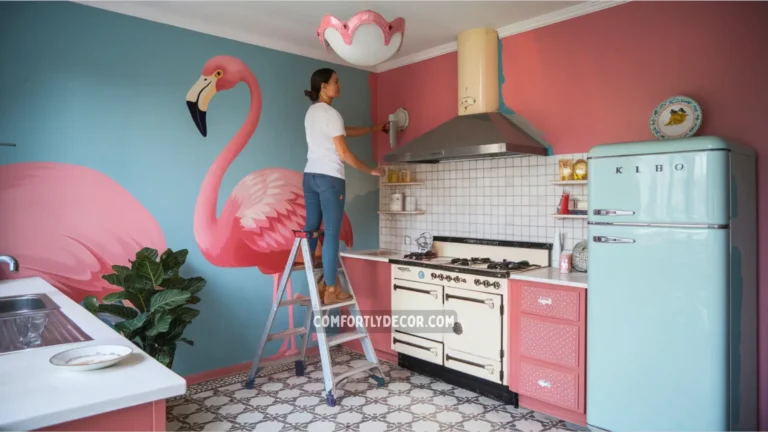
This unique composition makes epoxy paint incredibly tough, resistant to moisture, chemicals, and scratches. Whether you’re revamping your garage, kitchen, or office, epoxy will add both functionality and style.
Key Benefits of Epoxy Wall Paint
- Durability: Protects walls from daily wear and tear.
- Aesthetic Appeal: Offers a glossy, modern finish.
- Easy Maintenance: Simple to clean, making it ideal for busy households or commercial spaces.
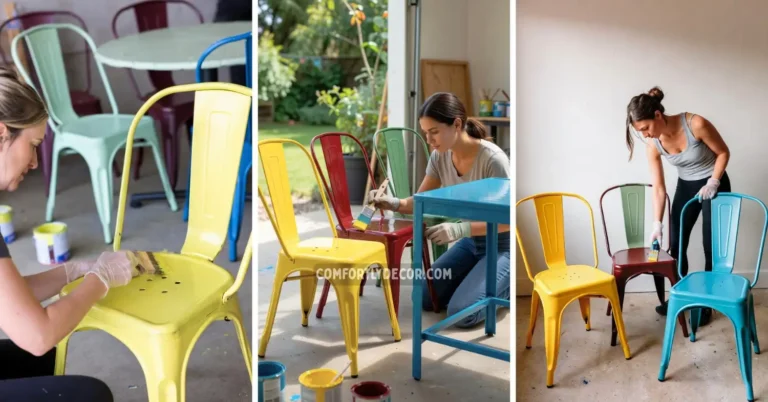
- Customization: Available in various colors and effects, like marbling or metallic finishes.
Preparing for Epoxy Wall Painting
Gather the Right Materials
Before you start, it’s essential to collect all the necessary tools:
- Epoxy wall paint (and its hardener)
- Paint roller with medium nap
- Brushes for edges and corners
- Mixing container
- Sandpaper (120-150 grit)
- Drop cloths or plastic sheets
- Painters’ tape
- Protective gear, including gloves, goggles, and a mask
Ensure Safety
Epoxy paint emits strong fumes, so always work in a well-ventilated area. Wear gloves, goggles, and a mask to protect your skin, eyes, and lungs. Keep pets and children away from the workspace.
Preparing the Wall Surface
Proper preparation is key to achieving a flawless finish:
- Clean the Walls: Remove dust, grease, or debris with an abrasive cleaner and a damp cloth. Allow the surface to dry completely.
- Sand the Surface: Use sandpaper to smooth out any bumps or imperfections. This improves paint adhesion.
- Repair Damage: Fill holes or cracks with a suitable filler and sand them smooth once dry.
- Mask the Area: Use painters’ tape to protect edges and cover nearby furniture or floors with drop cloths.
Priming the Walls for Better Adhesion
Why Priming Matters
Primer enhances epoxy paint adhesion and ensures an even application. It also helps cover imperfections, giving your walls a smooth base.
Applying Primer
- Choose a primer compatible with epoxy paint. Latex-based primers are great for drywall, while oil-based primers work well for tough surfaces like metal or previously painted walls.
- Apply primer in even strokes using a roller for large areas and a brush for edges and corners.
- Allow the primer to dry completely (usually 4-6 hours) before proceeding.
Mixing and Applying Epoxy Paint
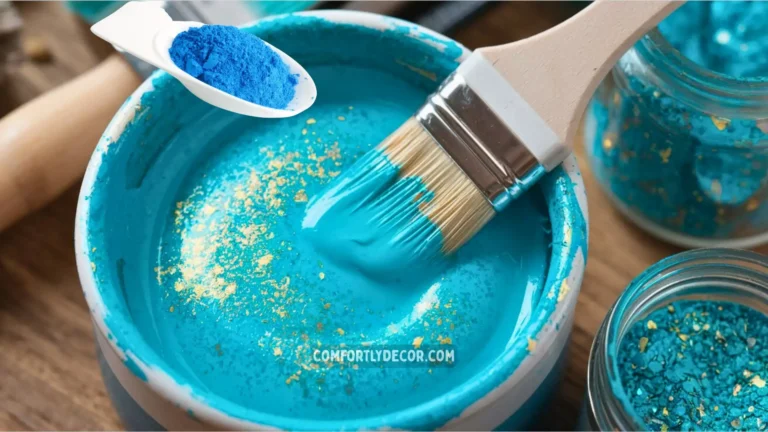
Mixing the Paint Properly
Follow the manufacturer’s instructions carefully:
- Combine the epoxy resin and hardener in the specified ratio.
- Mix the components thoroughly in a clean container to ensure uniform color and texture.
- Be mindful of the pot life (the time available to use the paint before it hardens). Typically, it ranges from 30 to 45 minutes.
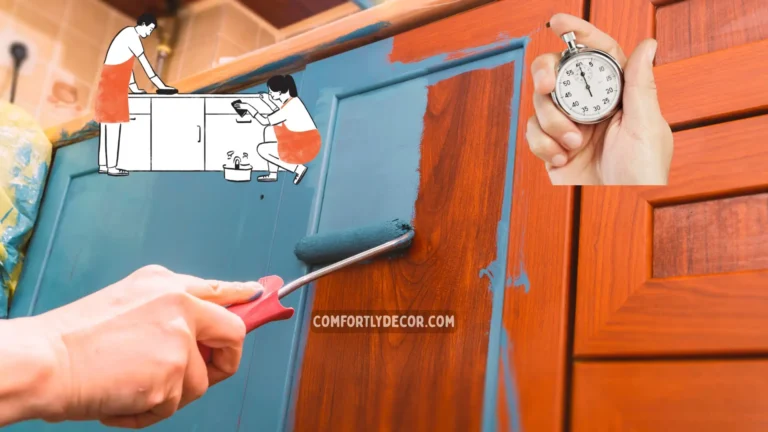
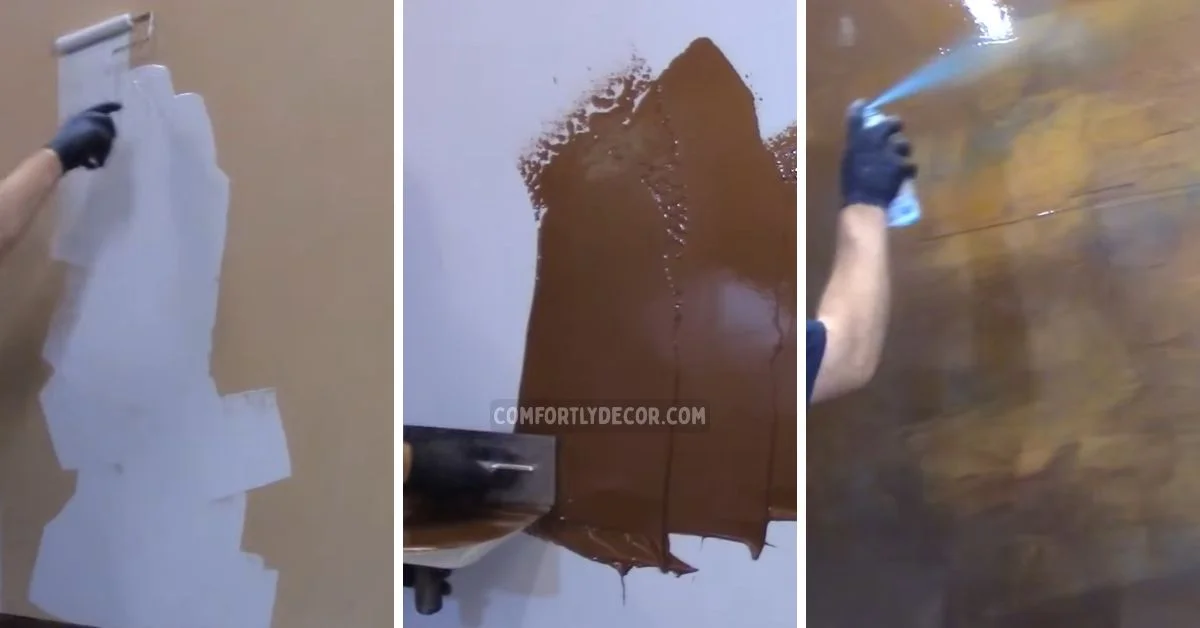
Step-by-Step Application
- Cut-In First: Use a brush to paint corners and edges before tackling larger areas.
- Roll the Paint:
- Apply the paint using a roller in thin, even coats.
- Use a vertical or zig-zag motion, overlapping strokes to avoid lines or streaks.
- Address Bubbles:
- If air bubbles appear, a heat gun can be used to remove them while the paint is still wet.
- Allow to Dry:
- Wait for at least 24 hours before applying a second coat.
- Ensure the first layer is completely dry for optimal adhesion.
For best results, apply multiple thin coats rather than one thick layer. This enhances durability and creates a uniform finish.
The Curing Process and Final Steps
Understanding Curing
Curing is the process where epoxy reaches its full strength and durability. This usually takes 2-6 days, depending on factors like temperature and humidity. Avoid touching or exposing walls to moisture during this period to prevent imperfections.
Maintenance Tips for Longevity
- Regular Cleaning: Wipe walls with a soft cloth and mild soap to maintain the glossy finish.
- Avoid Abrasives: Harsh cleaners or tools can damage the surface.
- Touch-Ups: Minor scratches or chips can be fixed by applying a small amount of epoxy on the affected area.
Troubleshooting Common Issues
- Bubbles:
- These may form due to improper mixing or surface contamination.
- Use a heat gun to eliminate bubbles during the application phase.
- Uneven Finish:
- Caused by skipping the priming step or using an inconsistent painting technique.
- Sand lightly and reapply paint.
- Poor Adhesion:
- Ensure proper surface preparation and,
- Use a compatible primer to prevent peeling or flaking.
FAQs
Why Epoxy Wall Paint Will Transform Your Space
Epoxy wall paint is more than just a coating; it’s an upgrade that provides durability, low maintenance, and a high-end aesthetic. Whether you’re looking to refresh kitchen walls, add a polished look to your garage, or create a sleek commercial space, epoxy ensures stunning and long-lasting results.
Are you ready to transform your walls with epoxy paint? With this guide, you have everything you need to get started. Roll up your sleeves, gather your tools, and enjoy the satisfaction of creating a professional-level finish right in your own space!

I am Mindy Medford, a home décor, paint, and design specialist with over a decade of hands-on experience transforming ordinary spaces into cozy, personality-packed havens. Since 2013, I have been helping homeowners discover the art of beautiful yet practical design. I share my love for color, texture, and layout—making stylish interiors & exteriors feel achievable for everyone. Whether it’s picking the perfect paint shade or reimagining a small space, I’m here to guide and inspire.