How to Paint A Bedside Table
Have a drab, scuffed-up bedside table that’s begging for a makeover? You’re in luck. Transforming your bedside table isn’t just satisfying; it’s also easier than you think! Whether you’re aiming for a funky splash of color, a timeless classic vibe, or something ultra-modern, this guide will walk you through all the steps—from prep work to the glossy finishing touch.
No experience? No problem. With the right tools, a little patience, and this step-by-step guide, that lackluster bedside table will become a showstopper. Let’s get started.
Why Refresh Your Bedside Table?
Bedside tables are more than just bedroom furniture. They’re functional, integral to your room decor, and (dare I say it?) a canvas for expression. Painting one can:
- Save money compared to buying new furniture.
- Match it perfectly to your current aesthetic.
- Reignite your love for something that would’ve ended up discarded.
Not to mention, it’s a fun and creative DIY challenge. Plus, who wouldn’t want to wake up next to a personalized masterpiece?
What You’ll Need
Before getting into the nitty-gritty of painting, gather everything you need. Trust me, there’s nothing worse than being mid-project and realizing you’re missing something important.
Tools
- Sandpaper (120-220 grit): A smooth surface is a happy surface.
- Screwdriver or drill.
- Painter’s tape to protect areas you don’t want to paint.
- Drop cloths or old newspapers (because you don’t want paint splatters everywhere).
Materials
- Primer for a flawless base.
- Paint in your color of choice (chalk, latex, or spray).
- Paintbrushes or foam rollers of varying sizes.
- Finish (like varnish or a clear coat) to seal the deal.
With everything at hand, you’re set up for success.
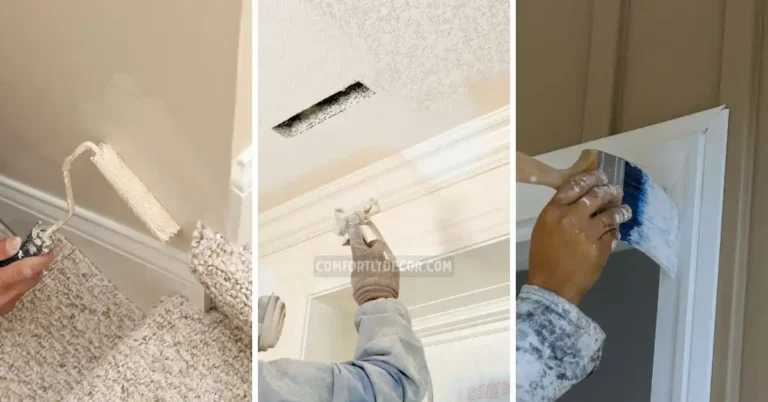
Prep Work Makes the Dream Work
Before slapping on your paint, a little prep goes a long way. Skipping this can lead to streaky finishes or (worse) chipping paint down the line.
1. Clean the Table
Your bedside table has probably accumulated mystery gunk over the years. Mix some warm, soapy water, grab a microfiber cloth, and scrub all surfaces. Avoid soaking it, especially if it’s solid wood. Once clean, pat it dry.
2. Remove Handles and Drawers
Take off any hardware like knobs or drawer pulls. Trust me, it’s the easiest way to avoid an uneven paint job. Can’t remove the hardware? Tape over it.
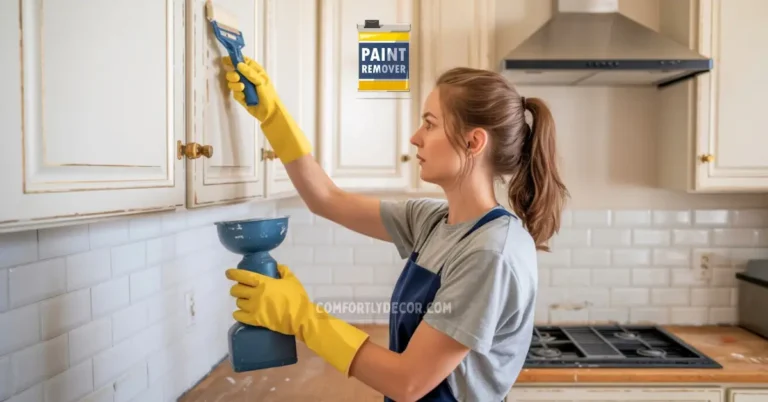
3. Sand Like a Pro
Lightly sand all surfaces of the table to remove old finishes and create a smooth base. Stick to the 120-220 grit range for a clean job. Pro tip? Sand in the direction of the wood grain to avoid scratches. Once you’re done, wipe the surface with a tack cloth to remove dust.
4. Prime to Shine
Primer is your best friend. It prepares the surface, helps paint stick better, and provides a smooth, professional finish. Brush on an even coat of primer, allowing it to dry completely before sanding lightly again for the smoothest results.
Painting Your Bedside Table
Now for the fun part. Don’t stress if you’re not a pro painter. Follow these steps, and you’ll have a beautiful bedside table in no time.
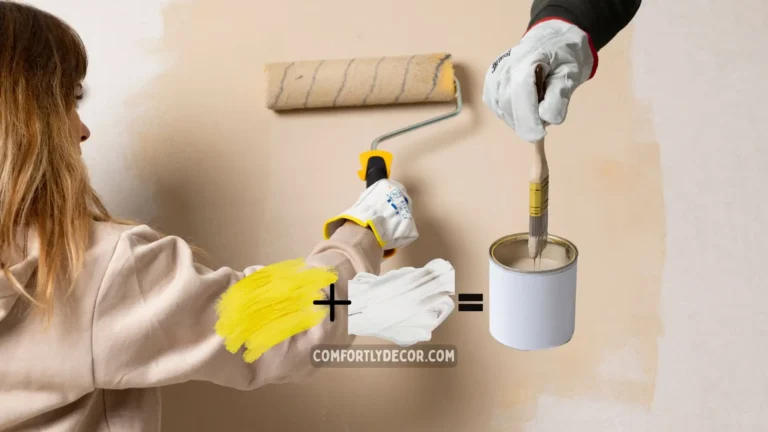
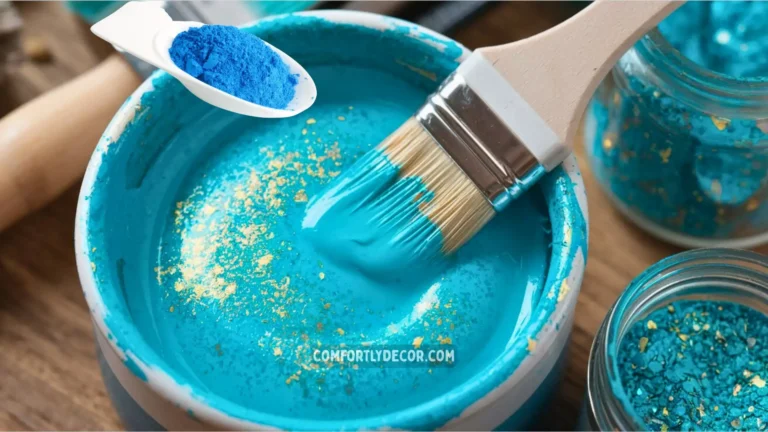
1. Choose Your Paint
- Chalk Paint is great for a vintage or matte finish.
- Latex Paint offers durability and comes in endless colors.
- Spray Paint is quick, smooth, and best for detailed surfaces. Just be sure to work in a well-ventilated area or outside.
Go for water-based paints if you want easy clean-up. Also, decide on a finish (matte, satin, or glossy).
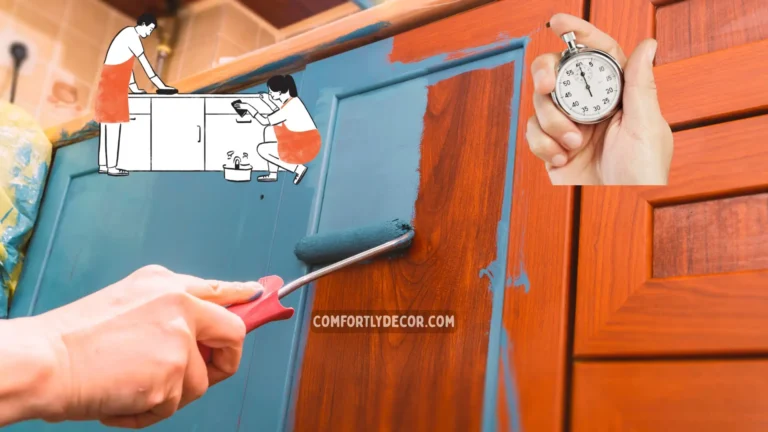
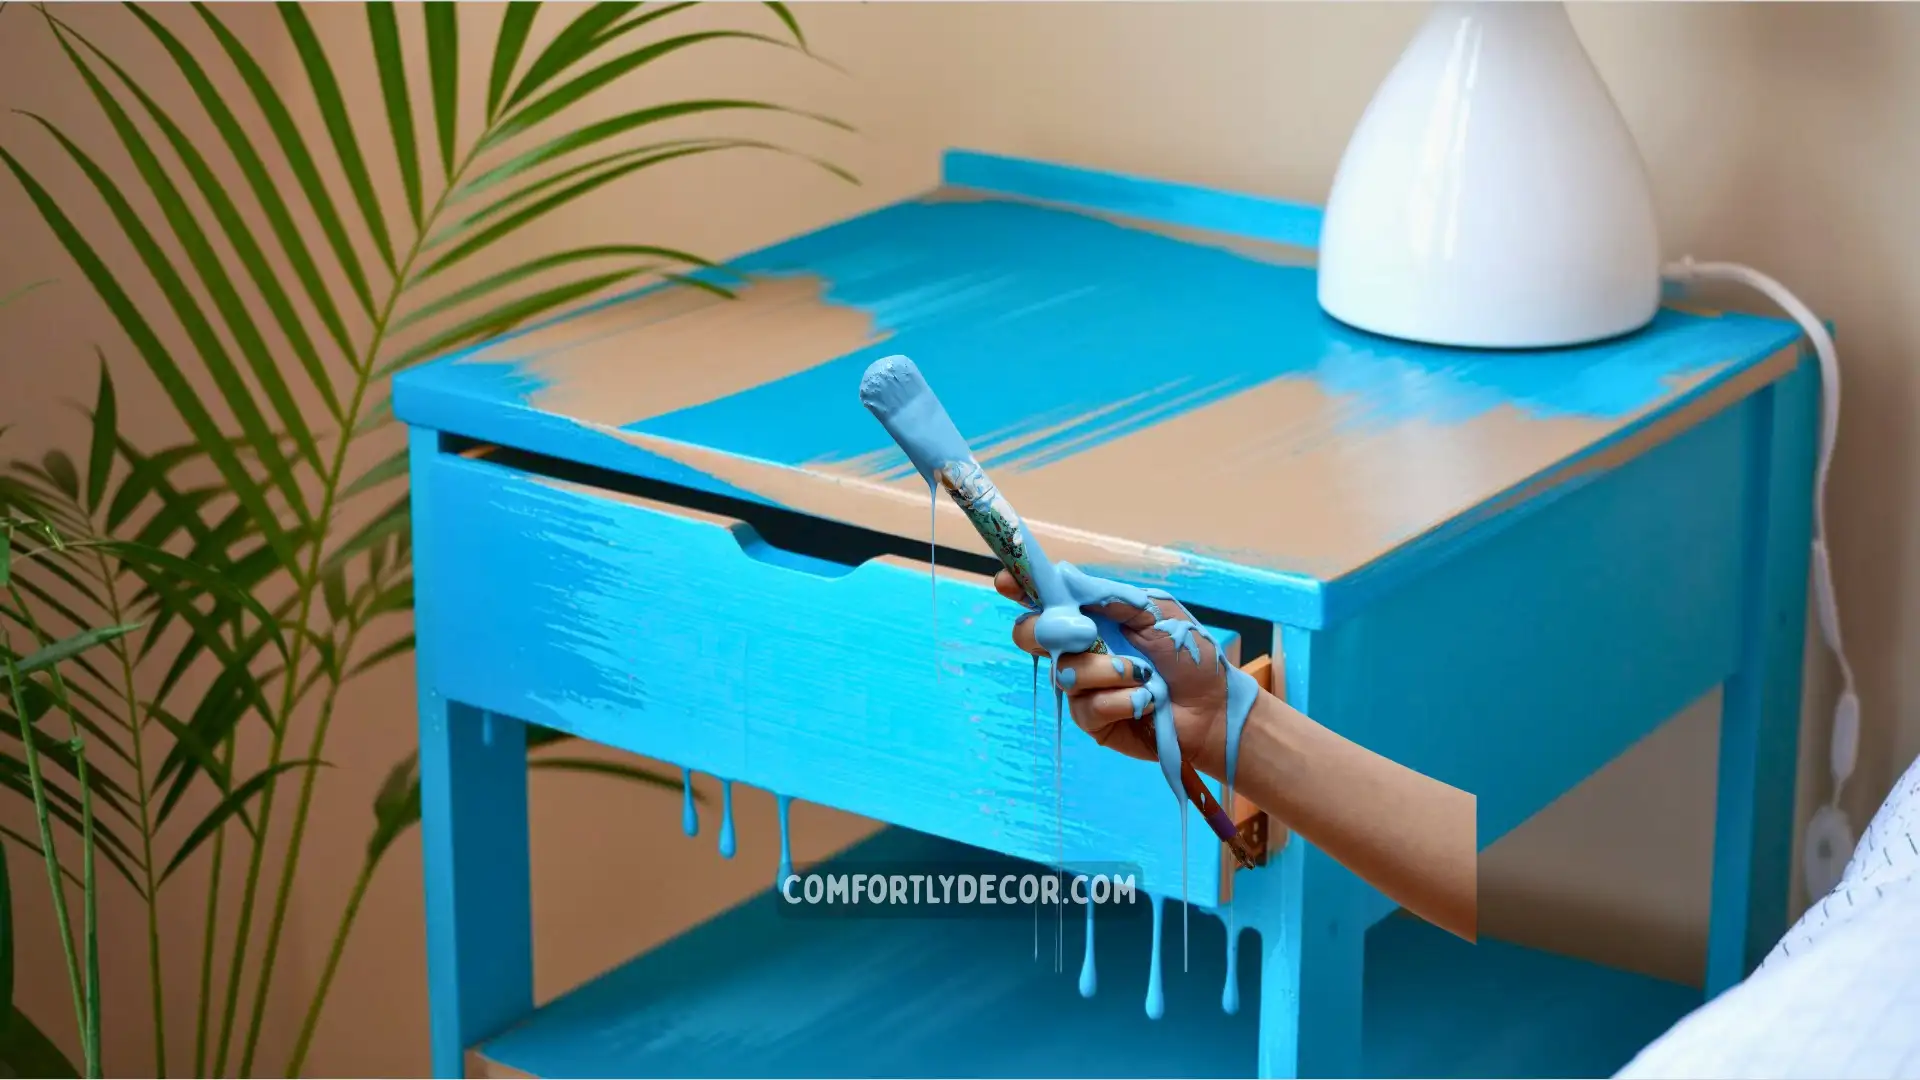
2. Apply the First Coat
Using a brush (or roller for flat surfaces), apply an even coat of paint. Long, even strokes work best. Avoid globbing on too much paint to prevent runs.
3. Don’t Skip the Second Coat
Once the first coat dries completely, lightly sand it to smooth out imperfections and ensure the next layer adheres properly. Add your second coat, and watch the color pop.
4. Finishing Touch
After painting, allow the final layer to dry completely before moving to finishing. Rushing here is tempting, but patience pays off.
Sealing and Protecting Your New Look
A good finish doesn’t just make your table look incredible; it also protects it from scuffs and wear.
Choose a Finish
- Wax for a soft, vintage feel.
- Clear Coat for a shiny, contemporary look.
- Varnish for long-lasting durability.
Apply your chosen finish in thin, even coats. Most require about 24 hours to fully dry.
Time to Reassemble and Style
Once everything is dry, reassemble your table:
- Reattach hardware or install shiny new knobs for a fresh look.
- Make sure drawers and doors fit snugly.
- Check for any paint touch-ups you might have missed.
Now, place your revamped bedside table in its new home. Style it with a plant, books, and a cozy lamp for that Pinterest-worthy aesthetic.
Tips for Long-Term Care
Want your newly painted bedside table to look Instagram-worthy for years? Here’s how:
- Avoid placing heavy items directly on the surface.
- Use coasters to prevent water rings.
- Wipe it down with a soft, damp cloth for easy cleaning.
FAQs
Wrapping It Up
And voila! Your bedside table is now a stunning, unique piece that elevates your space. Whether you chose a bright, bold color or a neutral, subtle tone, that little table now carries your personality.
P.S. Have other furniture in need of a makeover? Use the same process to refresh chairs, dressers, and more. Painting furniture isn’t just about aesthetics; it’s craft therapy. Happy painting!
Vibe Up Your Space With Comfort & Color — your go-to destination for stylish home decor that blends comfort with color. Create cozy corners and vibrant vibes in every room and space at your home!