How to Paint Texture on Walls Step by Step
Transform your walls from plain and boring to textured masterpieces. Textured walls can add depth, character, and even practicality by hiding imperfections. Whether you’re a DIY enthusiast, a homeowner covering up wall inconsistencies, or someone looking to personalize your living space on a budget, this step-by-step guide has you covered.
From understanding wall textures to applying advanced techniques, we’ll walk you through how to paint textured walls with confidence.
What Are Textured Walls and Why Choose Them?
What Are Textured Walls?
Textured walls feature raised surfaces that create a more dynamic visual effect as opposed to flat walls. The texture can mimic natural materials, patterns, or just add dimension for increased appeal.
Common Types of Texture Styles
- Popcorn Texture: A rough, bumpy texture often found on ceilings.
- Orange Peel: A light texture with a subtle dimpled effect.
- Knockdown: Created by applying texture material and knocking it down with a trowel to smooth out peaks.
- Stucco: Rugged and uneven, resembling natural stone-like patterns.
Pros and Cons of Textured Walls
| Pros | Cons |
|---|---|
| Hides imperfections like cracks, dents, or uneven areas. | Harder to clean compared to smooth walls. |
| Adds character and personality to your space. | Can be challenging to paint over or alter later. |
| Creates visual depth and dimension. |
Methods for Creating Textures
There are different techniques to texture walls depending on your desired outcome.
1. Rolling: Use a thick nap roller along with specially formulated textured paint to ensure an even and consistent application. This method works great for covering large surfaces quickly while adding a subtle, uniform texture to walls or ceilings.
2. Sponging: Perfect for creating intricate, irregular patterns, sponging involves dabbing a sponge into paint and gently pressing it onto the surface. This technique is ideal for adding depth and dimension, and you can use multiple colors for a layered effect.
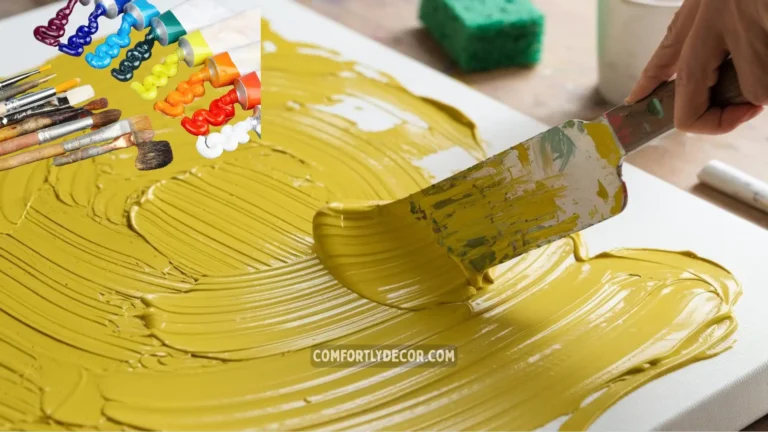
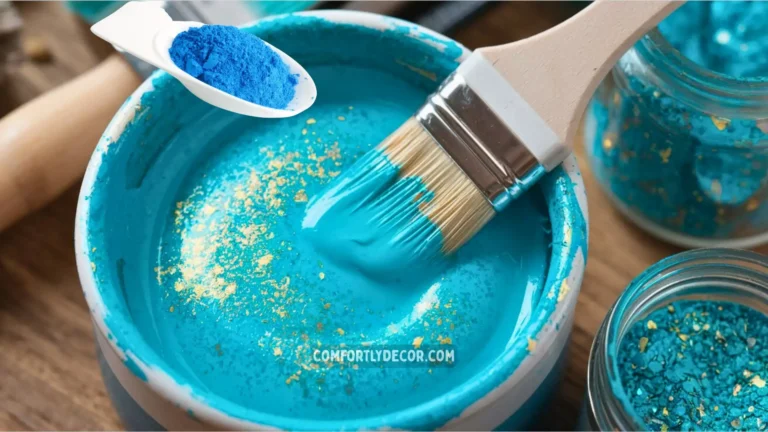
3. Mixing Materials: For a truly customized texture, mix sand, powdered stone, or other texturing agents directly into the paint. This approach lets you control the level of texture and is great for achieving unique finishes that stand out.
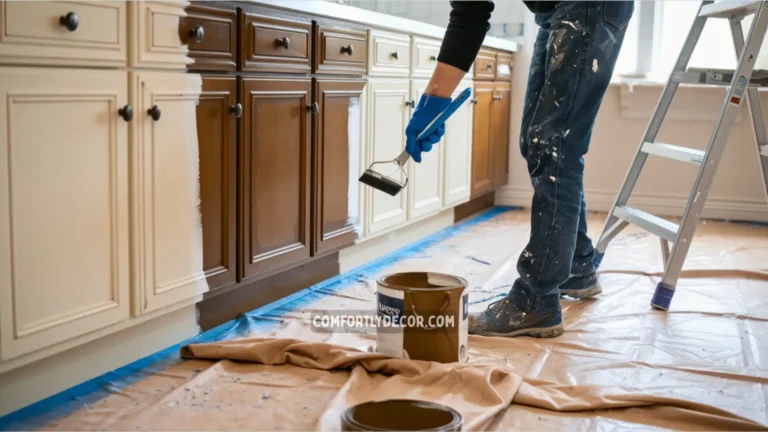
Preparing for Painting
To ensure a flawless finish, preparation is key. Skipping these steps can lead to uneven paint application.
Materials and Tools You’ll Need
Here’s what you’ll need to handle textured painting like a pro:
- High-quality paintbrushes
- Thick nap rollers
- Primer for textured surfaces
- Drop cloths or plastic sheeting
- Painter’s tape
- Cleaning supplies (damp cloth, mild detergent)
- Optional texture sprayer or sponges for advanced techniques
Clean Your Walls
Start by cleaning your walls to remove dust and grime. Textured surfaces tend to trap dirt, so a thorough cleaning with a damp cloth or mild detergent is necessary.
Repair Any Damage
Inspect your walls for cracks, dents, or holes. Use a spackling compound to fill them and smooth them out with a putty knife. This will create a more even foundation for the texture and paint.
Prime the Surface
Priming is a must for textured walls. A high-build primer designed specifically for textured surfaces improves paint adhesion and helps achieve even coverage. If possible, tint your primer to match your paint color for a better finish.
Choosing the Right Paint
When selecting paint for textured walls, keep these things in mind.
Types of Paint
Latex Paint: This water-based paint is a popular and versatile option for textured walls due to its smooth application and quick drying time. It’s easy to clean with just soap and water, making it a convenient choice for both beginners and professionals.
Latex paint also comes in a variety of finishes, from matte to glossy, allowing you to achieve the perfect look for your space.
Oil-Based Paint: Known for its exceptional durability and resistance to wear and tear, oil-based paint is ideal for high-traffic areas or surfaces that need extra protection. While it offers a rich, smooth finish that lasts for years, it does require more effort for cleanup, typically involving mineral spirits or paint thinner.
It’s a great choice for those willing to put in the extra work for a long-lasting result.
Finishes
Choose your finish carefully based on the room’s function and design goals.
Matte Finish: Perfect for creating a smooth, sophisticated appearance, matte finishes hide imperfections like dents and cracks, making them a great choice for older walls or surfaces with minor flaws. They provide a modern, understated look that works well in living rooms, bedrooms, and other low-traffic areas.
Semi-Gloss Finish: Known for its durability and light-reflecting qualities, semi-gloss finishes are easy to clean and resistant to moisture, making them ideal for high-traffic areas such as hallways, kitchens, and bathrooms. This finish adds a subtle shine while standing up to everyday wear and tear.
Investing in high-quality paint ensures better coverage and durability over time.
Step by Step Guide to Painting Textured Walls
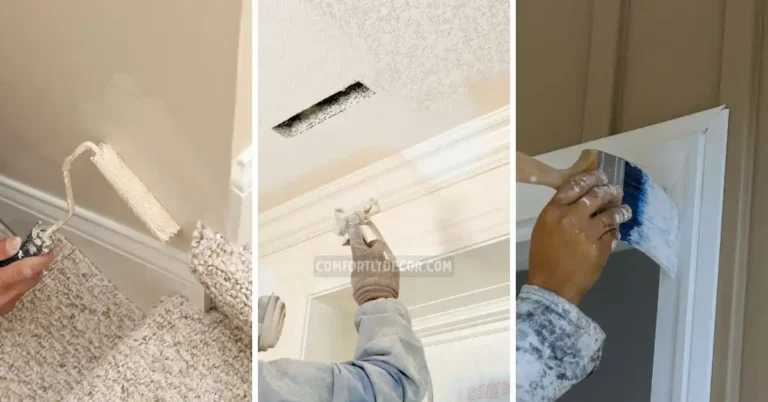
Cutting in the Edges
Start by cutting in around edges, trim, and corners with a high-quality angled brush. This step creates crisp, clean lines and ensures those hard-to-reach spots that a roller can’t cover are painted.
Take your time to apply the paint carefully, as this will set the foundation for a polished finish. Use painter’s tape if needed to protect baseboards or adjoining walls for an even cleaner look.
Painting the Wall Surface
Once the edges are done, move on to the wall surface with a paint roller. Choose a roller with a thick nap if you’re painting textured walls or a thinner nap for smooth surfaces. Pour paint into a tray, load the roller evenly, and start rolling in a large “W” or “M” pattern to spread the paint.
Roll slowly and apply even pressure to fill in the texture without missing spots. Work in small sections to maintain a wet edge and prevent lap marks, which can occur when paint starts drying unevenly.
Add Additional Coats if Necessary
For deeper, richer color or textured walls, one coat of paint might not be enough. Allow the first coat to dry completely—this usually takes a few hours depending on the paint type and room conditions—before applying a second coat.
A second or even third coat ensures a smooth, even finish and vibrant color. Take the time to inspect the wall after each coat to check for any missed spots or uneven areas, and touch up as needed for a professional-grade result.
Advanced Techniques and Tips
Create Intricate Textures
For unique and creative designs, try using sponges, combs, or stencils to craft eye-catching patterns. Sponges can add a soft, organic feel, while combs create defined lines or waves.
Stencils are perfect for repeating patterns or adding specific decorative elements, making your walls or ceilings stand out.
Mix Materials
For a truly custom look, experiment by mixing fine sand, powdered drywall compound, or even mica flakes directly into your paint. These materials create a textured surface as you apply, allowing you to achieve anything from a subtle, grainy finish to a bold, rough texture.
This technique works especially well for feature walls or areas where you want to draw attention.
Texture Sprayers
If you’re tackling a large wall or ceiling, a texture sprayer can save you time and effort. These tools provide an even application of texture, whether you’re working with a popcorn, knockdown, or orange peel finish.
They’re especially useful for covering big areas quickly and achieving professional-looking results without the need for extensive manual effort.
Troubleshooting Common Issues
Noticed some challenges during your painting process? Here’s how to tackle common problems.
Paint Not Adhering:
If your paint isn’t sticking well, it could be due to poor surface preparation, such as insufficient cleaning or failure to use a primer. Dirt, grease, or glossy surfaces can prevent proper adhesion.
To fix this, clean the area thoroughly, sand it lightly to create a better surface for the paint to grip, and apply a high-quality primer before repainting.
Uneven Coverage:
Uneven paint coverage often happens when the roller’s nap length isn’t suited to the surface texture or if the paint hasn’t been applied evenly. Choose a roller with the appropriate nap for your surface—short nap for smooth surfaces and longer nap for rougher ones.
Apply consistent pressure when rolling, and don’t be afraid to add additional coats until the color looks even and uniform.
Mistakes or Drips:
Accidents like paint drips or smudges are common but can be fixed easily. For fresh mistakes, quickly use a damp cloth to wipe away the paint before it dries.
If the paint has already dried, gently sand down the area to smooth out the drip, then touch up with a fresh layer of paint for a seamless finish. Taking your time during application can also help prevent these issues.
FAQs
Elevate Your Home Design
Textured walls make your home more than just a living space; they become a canvas for expression and creativity. The depth, dimension, and personality you can achieve with textures are unparalleled, and the painting process is easier than you think with a little preparation and effort.
Whether you’re looking for subtle sophistication or dramatic flair, our step-by-step guide ensures your textured wall project will be a success.
Start transforming your space one brushstroke at a time. Grab your tools, pick the perfect paint, and get started this weekend!
Vibe Up Your Space With Comfort & Color — your go-to destination for stylish home decor that blends comfort with color. Create cozy corners and vibrant vibes in every room and space at your home!