Fix Paint Scratches on Your Wall – A Comprehensive DIY Guide
Paint scratches on walls are something every homeowner or renter will encounter at some point. Whether caused by moving furniture, playful toddlers, or the claws of a mischievous pet, these scratches can be an eyesore that disrupts the beauty of your space. The good news? You don’t need to be a professional to fix them. With the right technique, tools, and know-how, you can restore your wall to its former glory.
This guide will walk you through the common types of wall scratches, how to fix them step by step, and even how to protect your walls in the future.
Understanding the Different Types of Wall Scratches
Knowing the type of scratch on your wall is crucial for choosing the right repair method.
Shallow Scratches
- Description: Shallow scratches only affect the surface paint layer, leaving the wall underneath intact.
- Causes: These may come from light scuffs, accidental bumps, or minor abrasions.
Deep Gouges
- Description: Deep gouges break through the paint layer and may even damage the underlying drywall.
- Causes: Often caused by heavy furniture scraping against the wall or accidental impacts.
Cracks
- Description: Cracks appear due to structural settling or changes in humidity levels. While not technically scratches, they often require the same repair techniques.
Identifying the depth and type of wall damage will help you decide the best material and approach for fixing it.
Preparing to Fix Paint Scratches
Before you roll up your sleeves, preparation is key. Skipping these steps can lead to a poor finish that highlights imperfections rather than concealing them.
Materials You’ll Need
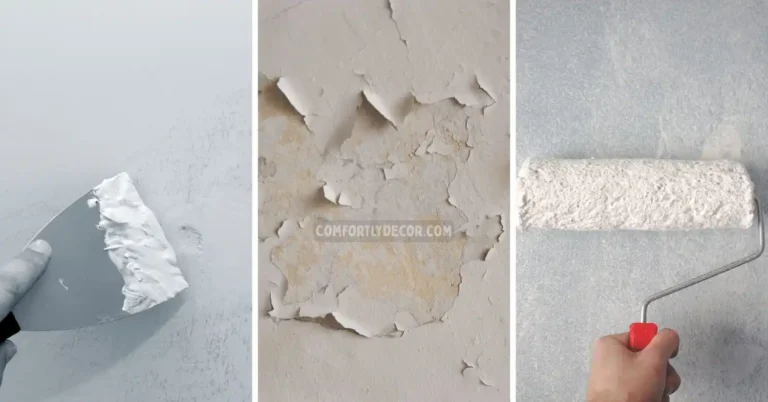
- Putty Knife: Essential for evenly spreading spackling compound.
- Spackling Compound: Used for filling scratches and holes.
- Fine-Grit Sandpaper (220 grit): For smoothing irregularities.
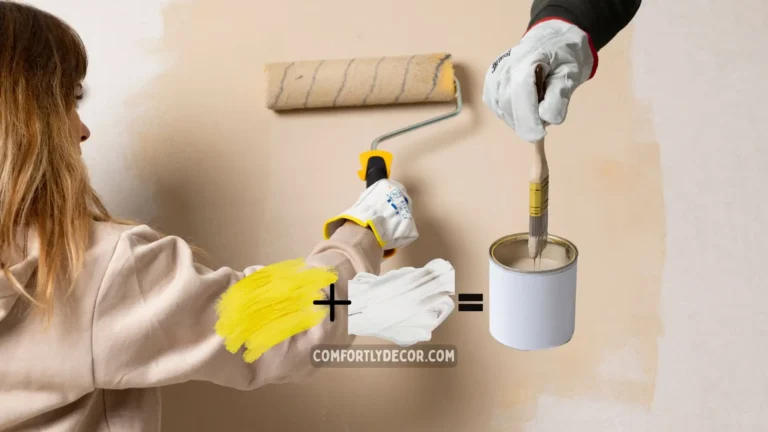
- Matching Wall Paint and Primer: To blend repairs seamlessly into the wall.
- Cleaning Supplies (Sponge and Mild Detergent): Ensures proper adhesion of materials.
- Drop Cloth: Keeps your flooring protected from dust and paint.
Clean the Damaged Area
Begin by cleaning the area around the paint scratch. This ensures that all dust, grease, or dirt is removed, which helps the paint and primer stick better.
- Use a sponge soaked in warm soapy water to wipe down the scratched area.
- Rinse with clean water to remove soap residue, then dry with a clean cloth.
- Place a drop cloth below your work area to catch any debris.
Fixing Shallow Scratches
Step 1 – Gently Sand the Area
Use fine-grit sandpaper to smooth the scratched area. This removes loose paint and evens out the surface for a seamless finish. Wipe away any dust with a damp cloth.
Step 2 – Apply Primer
Using a small brush, apply a thin layer of primer over the sanded area. Primer ensures the new paint adheres properly and matches the surrounding finish. Allow it to dry completely.
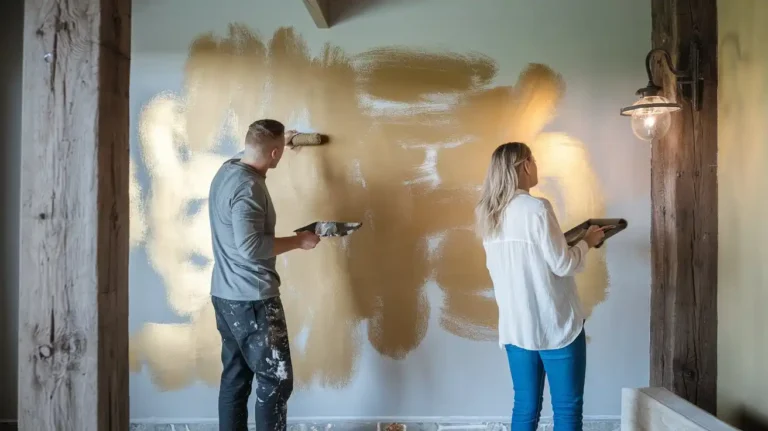
Step 3 – Paint the Area
Dip a small brush into the pre-matched paint and apply a thin, even coat over the primed area. Feather the edges to blend the fresh paint into the existing wall color. Allow this to dry, then apply a second coat if needed.
Fixing Deep Gouges
Step 1 – Clean and Prep
Clean the gouge thoroughly to remove dirt and debris. This ensures the spackling compound adheres properly.
Step 2 – Fill with Spackling Compound
Using a putty knife, fill the gouge with spackling compound. Spread the compound smoothly across the scratch, slightly overlapping the edges for a seamless blend.
Allow the compound to dry completely. For deeper gouges, consider applying a second layer and sanding between applications.
Step 3 – Sand for Smoothness
Once dried, use fine-grit sandpaper to smooth the repaired area. Feel for any bumps or uneven textures; a completely smooth surface is vital for a flawless finish.
Step 4 – Apply Primer and Paint
After smoothing the area, apply a coat of primer and allow it to dry. Follow this by painting the area with matching wall paint, ensuring a smooth transition by feathering the edges. Apply a second coat if needed.
Preventing Future Scratches
Once your wall looks as good as new, you’ll want to keep it that way.
Use Protective Pads
Attach adhesive pads or felt protectors to the bottom of chairs, tables, and other furniture. These pads create a buffer between the furniture and your walls, preventing scuffs and scratches when the items are moved or bumped.
They are easy to apply and come in various sizes to suit different furniture types, ensuring both your walls and furniture are well-protected.
Be Mindful When Moving Items
When moving furniture or décor, always use caution to avoid accidental impacts with walls. For heavier items, consider using furniture sliders to reduce the risk of dragging or scraping against surfaces.
If possible, lift items entirely off the floor to maintain control and prevent dents or marks on walls. Planning your movements in advance can also help you navigate tight spaces safely.
Clean Walls Regularly
Dust and dirt can accumulate over time and act as abrasive particles that may scratch or damage your walls. Regularly cleaning your walls with a soft cloth or sponge helps keep them spotless and prevents long-term wear.
For painted walls, use a gentle cleaning solution that won’t strip the paint while removing grime. Keeping surfaces clean not only enhances their appearance but also prolongs their durability.
FAQs
Keeping Your Walls at Their Best
Fixing paint scratches on your wall doesn’t just improve your home’s aesthetic; it also preserves its value. Whether you’re renting or in your forever home, taking the time to make those repairs pays off.
Remember, tackling these fixes yourself isn’t just cost-effective; it’s downright satisfying. Few things are as rewarding as taking pride in your own handiwork.
Now that you have the knowledge to restore and protect your walls, why wait? Start tackling those scratches today, and enjoy a flawless finish that enhances your space!
Vibe Up Your Space With Comfort & Color — your go-to destination for stylish home decor that blends comfort with color. Create cozy corners and vibrant vibes in every room and space at your home!