How to Strip Paint Off Wood
I remember finding a stunning vintage dresser at a garage sale. It had great bones but someone had covered it in awful neon green paint. I thought I could strip that paint off in an afternoon. I was so wrong.
Stripping paint is messy and tedious work but the results are always worth the effort. You might think about painting over it but please do not do that. You want that beautiful natural grain to show. I will guide you through the process so you do not lose your mind.
Safety Comes First
Lead-based paint is a serious issue that must be addressed first.
- Homes or furniture built before 1978 likely contain lead.
- Use a simple test kit from your local hardware store to confirm.
- Lead dust can cause severe health problems—never skip this step.
Important: If the test is positive, do not sand the paint—it releases toxic dust. Instead, use a chemical stripper to keep everyone safe.
Choosing Your Paint Removal Method
Different methods work for different projects. Here’s a quick guide:
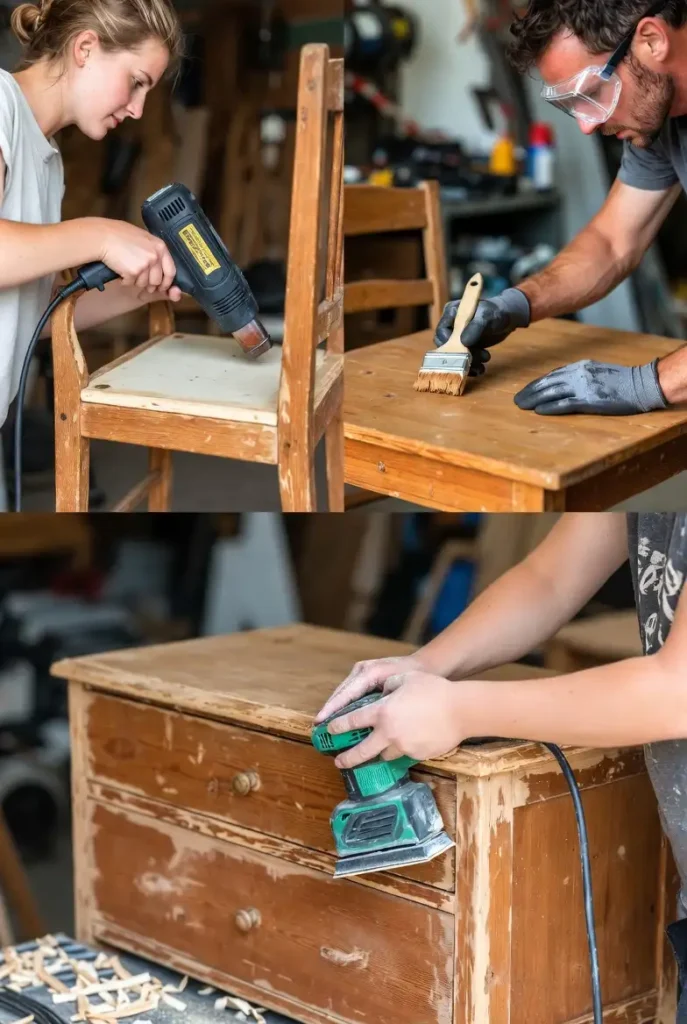
- Heat Gun: Best for big, flat surfaces—fast and effective.
- Chemical Strippers: Ideal for detailed areas or stubborn spots.
- Sanding: Use as a last resort or for final finishing touches.
Try a combination of methods for the best results. It’ll save you time and effort.
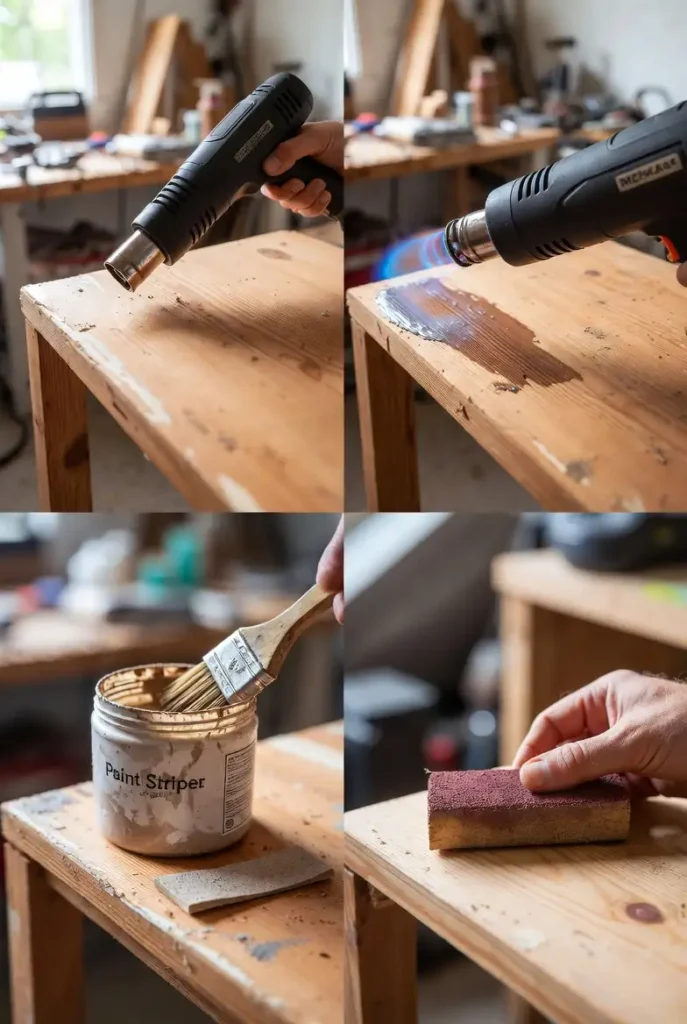
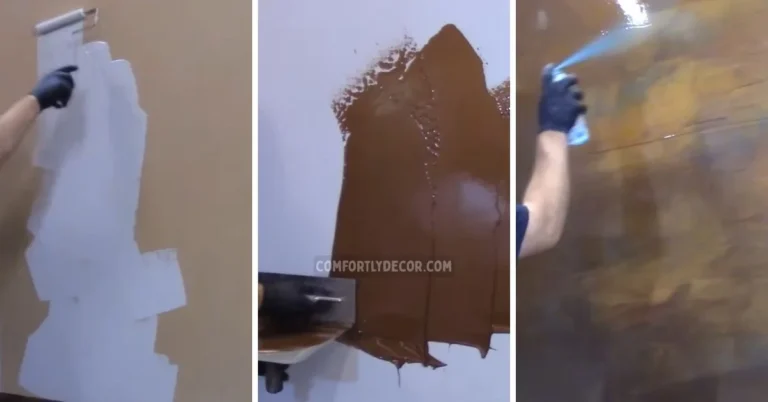
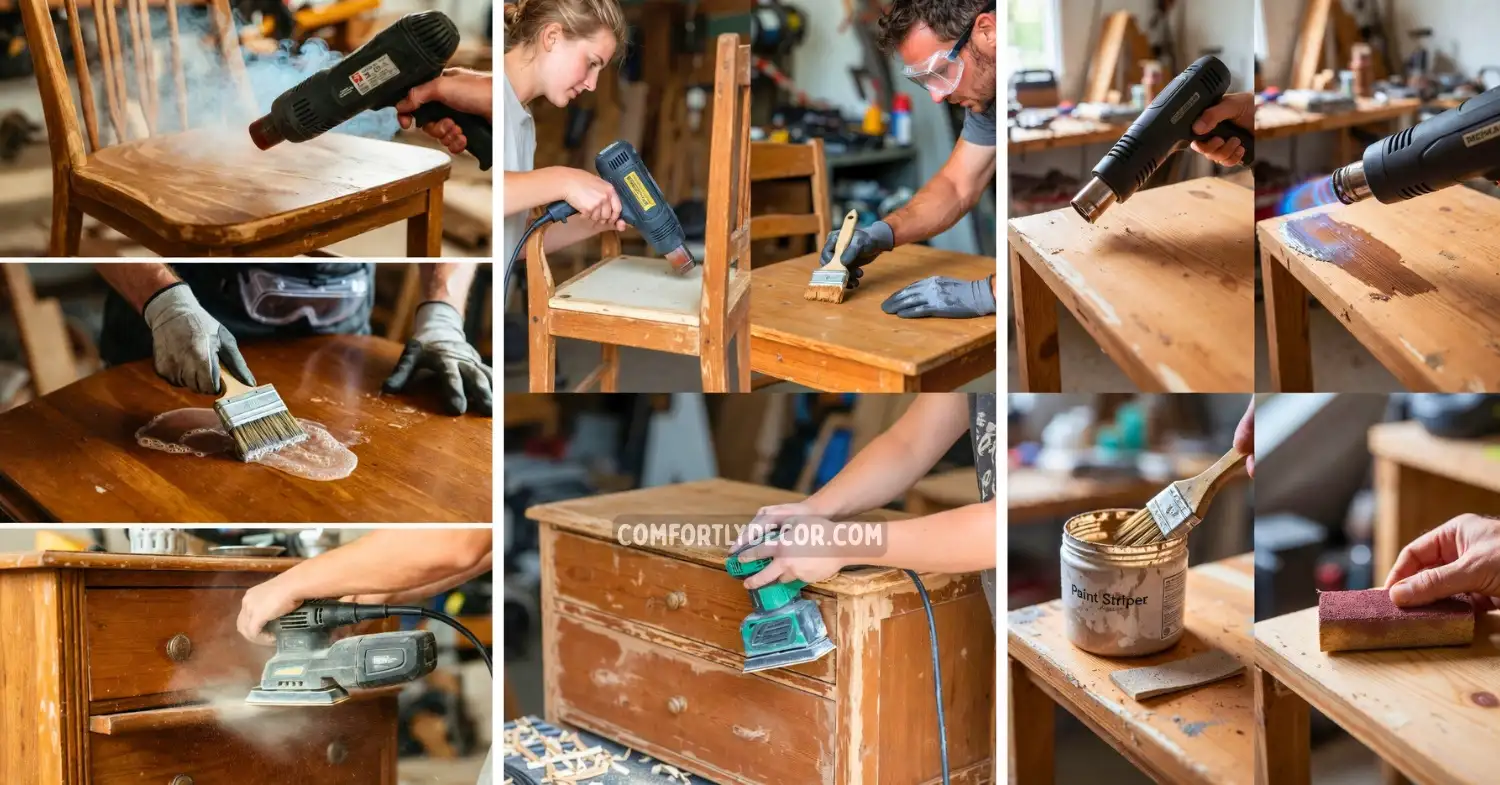
The Heat Gun Method
Using a heat gun is fast and satisfying. Follow these steps:
- Hold the heat gun a few inches from the surface.
- Move it slowly to prevent scorching the wood.
- Watch the paint bubble, then scrape it off with a metal scraper.
- Use a drop cloth to manage the mess.
Pro Tip: This method is perfect for thick layers of paint.
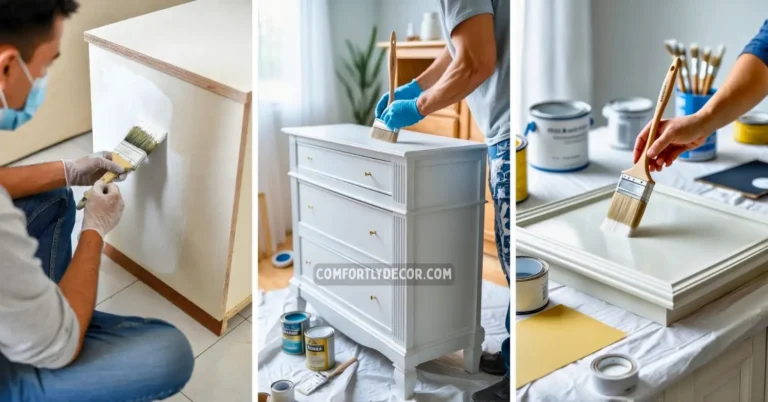
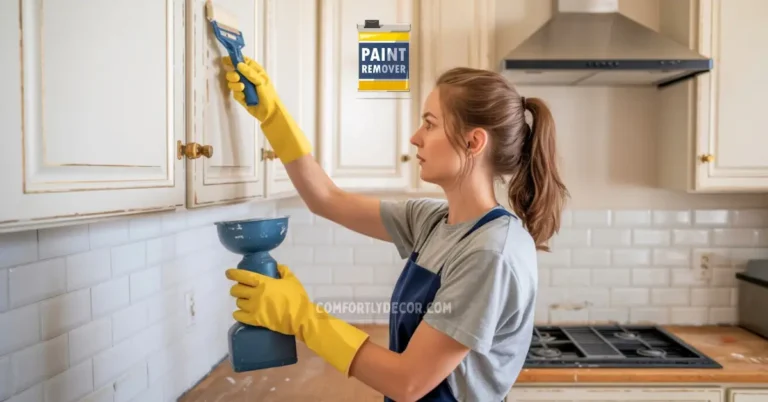
Using Chemical Strippers
For intricate carvings or stubborn spots, chemical strippers work wonders.
- Choose a citrus-based gel—it smells better than traditional solvents.
- Apply a thick layer with a brush.
- Let it sit for at least 30 minutes until the paint wrinkles.
- Use a plastic scraper to lift the sludge without damaging the wood.
This method takes patience but cleans deep into the wood pores for a smooth finish.
Sanding: The Final Step
Sanding is best for fine-tuning or as a last resort.
- Use an orbital sander after removing most of the paint.
- Start with coarse grit to remove leftover paint.
- Switch to finer grits for a smooth finish.
- Always sand with the grain to avoid scratches.
Safety Tip: Wear a dust mask and safety glasses—paint dust gets everywhere.
Cleaning Up the Residue
Once the paint is gone, sticky residue may remain.
- Use mineral spirits and fine steel wool to scrub the surface.
- Pour the spirits onto the wood and gently scrub.
- Wipe everything down with a clean rag.
- Let the wood dry completely before sanding or applying a finish.
Reminder: A clean surface ensures your new finish sticks properly.
FAQs
Final Thoughts
Restoring old wood furniture is a labor of love, but it’s worth the effort.
- You’ve saved a piece of history and revealed its natural beauty.
- Take a moment to admire the bare wood—it’s amazing.
- Now, stain or seal it to highlight the grain and protect it.
Grab a cold drink—you’ve earned it! Stripping paint is hard work, but the results speak for themselves. Ready for your next project?

I am Mindy Medford, a home décor, paint, and design specialist with over a decade of hands-on experience transforming ordinary spaces into cozy, personality-packed havens. Since 2013, I have been helping homeowners discover the art of beautiful yet practical design. I share my love for color, texture, and layout—making stylish interiors & exteriors feel achievable for everyone. Whether it’s picking the perfect paint shade or reimagining a small space, I’m here to guide and inspire.