How to Spray Paint Bathroom Fixtures in 5 Easy Steps
Are you bored of your bathroom but not ready to spend thousands on renovations? Don’t worry—I’ve got you covered! A quick and affordable update can be achieved with DIY spray painting. Yes, you can turn your old, tired bathroom fixtures into modern, Pinterest-worthy accents with some spray paint, a little patience, and a lot of creativity.
Spray painting bathroom fixtures is a straightforward and budget-friendly project that anyone can tackle, even if you’re DIY-challenged. Not only does it breathe new life into your home, but it also gives you the satisfaction of a project well done. From selecting the right materials to ensuring longevity, I’ll walk you through everything to nail this project.
Why Spray Paint Your Bathroom Fixtures
Why even bother spray painting fixtures? Isn’t that overkill?
Not at all! Spray painting is a game-changer for transforming a space without committing to a full remodel. If you’re someone who loves a quick win, this is it.
Here’s why you should consider it:
- Affordability: Spray paint costs pennies compared to replacement fixtures or bathroom renovations.
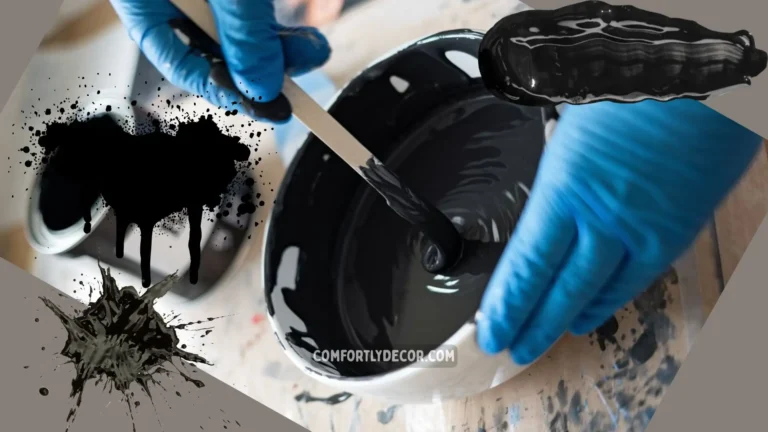
- Personalization: From matte black to gleaming gold, you can tailor the look of your space with unique finishes.
- Ease: You don’t need to be an expert or spend hours at it. The process is beginner-friendly.
Fun fact? I first learned (the hard way) to tape off EVERYTHING when spray painting my faucets. Rookie mistake—I ended up with specks of black on my lovely white tiles. Lesson learned.
But hey, if I could do it, so can you!
Choosing the Right Materials
The foundation of any good DIY project lies in the materials. Don’t skimp here, trust me!
What to look for:
1. Spray Paint:
- For Metal Fixtures (like faucets): Use Rust-Oleum’s Metal Spray Paint or similar.
- For Plastic Fixtures (like showerheads): Opt for paint labeled specifically for plastics.
2. Primer:
- Essential for ensuring your paint adheres well and lasts longer. Look for metal or plastic-specific primers.
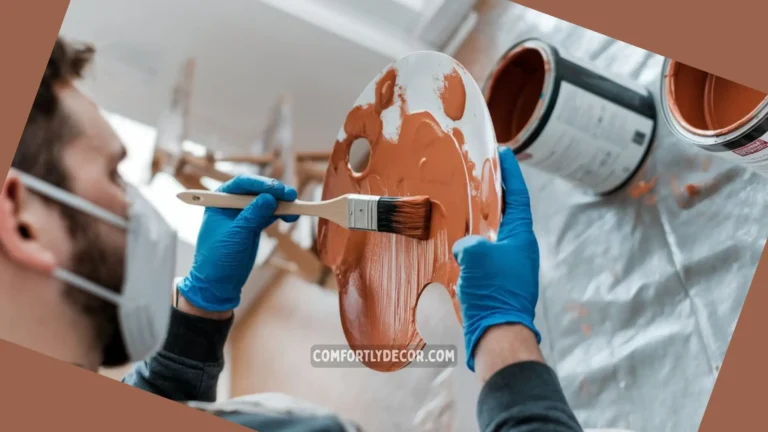
3. Safety Gear:
- A pair of rubber gloves will keep your hands paint-free.
- Respirator or mask (not just any ol’ mask!) to protect you from harmful fumes.
- Eye protection to shield against rogue paint sprays.
Pro tip? Always check the paint can’s label for surface compatibility. The last thing you want is chipping after a week. 😬
Step-by-Step Guide to Spray Painting Bathroom Fixtures
Step 1: Prep Like a Pro
Good prep work = flawless finish. No shortcuts here!
- Clean Thoroughly: Use warm soapy water to scrub down the fixtures. Remove gunk, grease, or any residue.
- Sand the Surface: Lightly sand with medium-grit sandpaper (around 220 grit) to help the paint grip. Skip this, and your paint might peel faster than you can say “DIY fail.”
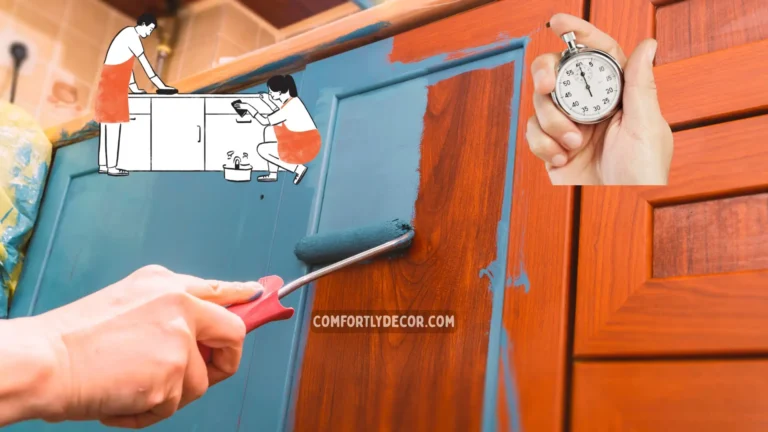
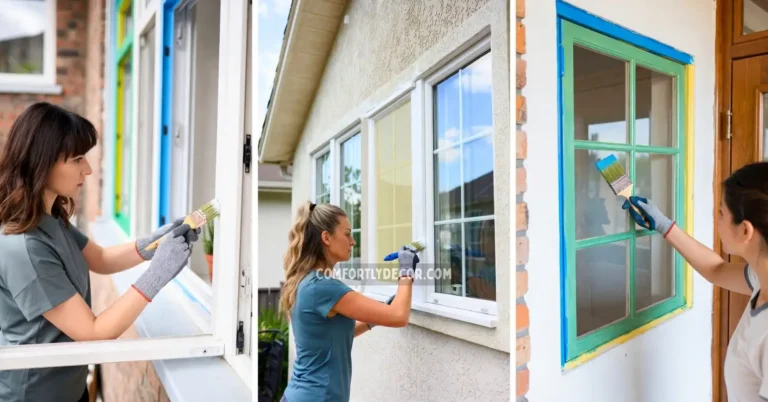
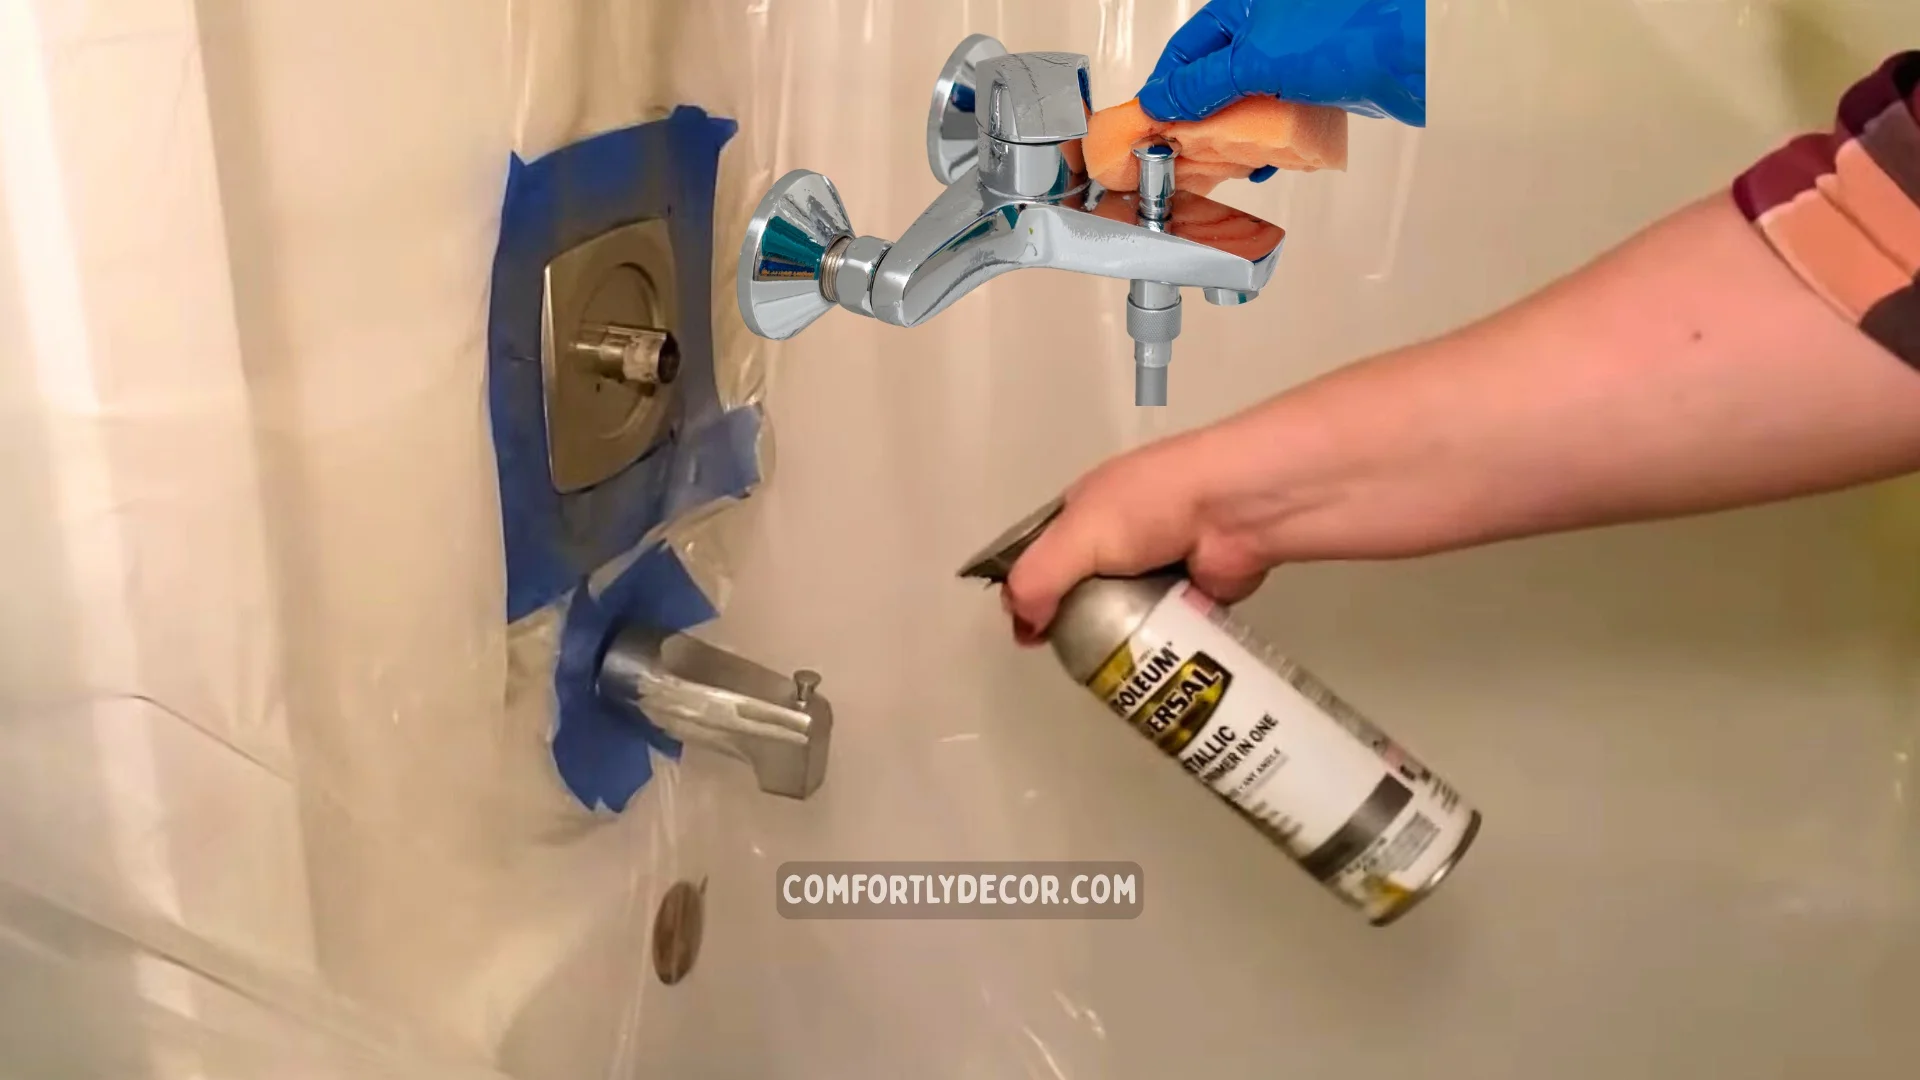
- Mask Off Areas: Grab painter’s tape and cover anything you don’t want to paint. I’m serious—even the tiniest spot left uncovered can result in stray sprays.
Step 2: Apply Primer
This is the unsung hero of long-lasting paint jobs.
- Shake the can well and spray in light, even coats.
- Allow the primer to dry completely before moving on. Patience is your friend here.
Step 3: Start Painting
Finally, the fun part!
- Hold the can 6-12 inches from the surface.
- Use light, even strokes, and spray in thin layers. Drippy paint screams amateur hour.
- Wait 15-20 minutes between coats. Most fixtures need at least 2-3 coats for full coverage.
Pro tip: When in doubt, less is more! Thick layers can lead to runs and uneven finishes.
Step 4: Seal the Deal
Use a clear topcoat to protect your hard work from moisture and wear. Same method as the paint step, but slightly more satisfying because your masterpiece comes to life!
Step 5: Reassemble Fixtures
Once everything dries (give it 24-48 hours), reattach the fixtures. Voila, your bathroom is glowing!
Ensuring Longevity
Now that your bathroom looks like a million bucks, how do you make it last?
Key tips to keep your fixtures looking fresh:
- Only use mild soaps or soft cloths when cleaning. Harsh cleaners = chipped paint 😕.
- Touch up any chips ASAP using the same spray paint to avoid a worn look.
- Apply a quick coat of topcoat every few years for a renewed shine.
This extra TLC goes a long way in keeping your fixtures Instagram-ready!
FAQs
A Final Thought on DIY Success
Spray painting bathroom fixtures isn’t just a project; it’s a fun way to add personality to your home and sharpen those DIY skills. It’s budget-friendly, beginner-approved, and totally worth it.
What are you waiting for? Grab your tape, paint, and gear, and get started. Oh, and don’t forget to tag us in your before-and-after photos—we’d love to see your transformations!
Happy painting! 🎨

I am Mindy Medford, a home décor, paint, and design specialist with over a decade of hands-on experience transforming ordinary spaces into cozy, personality-packed havens. Since 2013, I have been helping homeowners discover the art of beautiful yet practical design. I share my love for color, texture, and layout—making stylish interiors & exteriors feel achievable for everyone. Whether it’s picking the perfect paint shade or reimagining a small space, I’m here to guide and inspire.