How to Refinish Hardwood Floors
Refinishing hardwood floors sounds like a massive headache to most people. You might picture dust coating every single surface of your house or the smell of polyurethane lingering for days. I get it. I used to think the same thing until I actually tackled my hallway last year. The truth is that while it takes some elbow grease, the transformation is absolutely worth every drop of sweat.
You save a huge amount of cash doing it yourself rather than hiring a pro. Plus you get the bragging rights of looking at a gleaming floor and saying I did that. This guide walks you through the exact process I used so you can avoid the mistakes I almost made. Let us get those floors looking brand new again.
Prep Your Space Properly
Don’t just jump in with a sander and hope for the best. Preparation is everything when it comes to refinishing. Here’s how to get it right:
- Clear the room completely. Remove every piece of furniture, take down any curtains or blinds, and even clear the art off the walls. Everything must go unless you want it covered in a fine layer of wood dust.
- Check for protruding nails or staples. Skipping this step will shred your sandpaper in seconds (I learned this the hard way and wasted about $20 in five minutes). Use a nail set to punch any nail heads below the surface of the wood.
Gather Your Tools and Safety Gear
You need the right gear to do this job without losing your mind or your hearing. Renting a drum sander and an edger is nonnegotiable. Do not try to do this with a palm sander unless you plan on finishing sometime next decade. You also need a buffer for the final stages.
Safety is crucial here. You need a good respirator mask because wood dust is terrible for your lungs. Ear protection is a must since those machines scream like a jet engine. Here is a quick list of what else you need to grab before starting.
- Drum sander and edger rental
- Sandpaper in varying grits (coarse to fine)
- Wood filler and a putty knife
- Vacuum with a filter
- Lambswool applicator or synthetic pad
- Stain (optional) and finish (polyurethane)
Step 1: The First Pass with the Sander
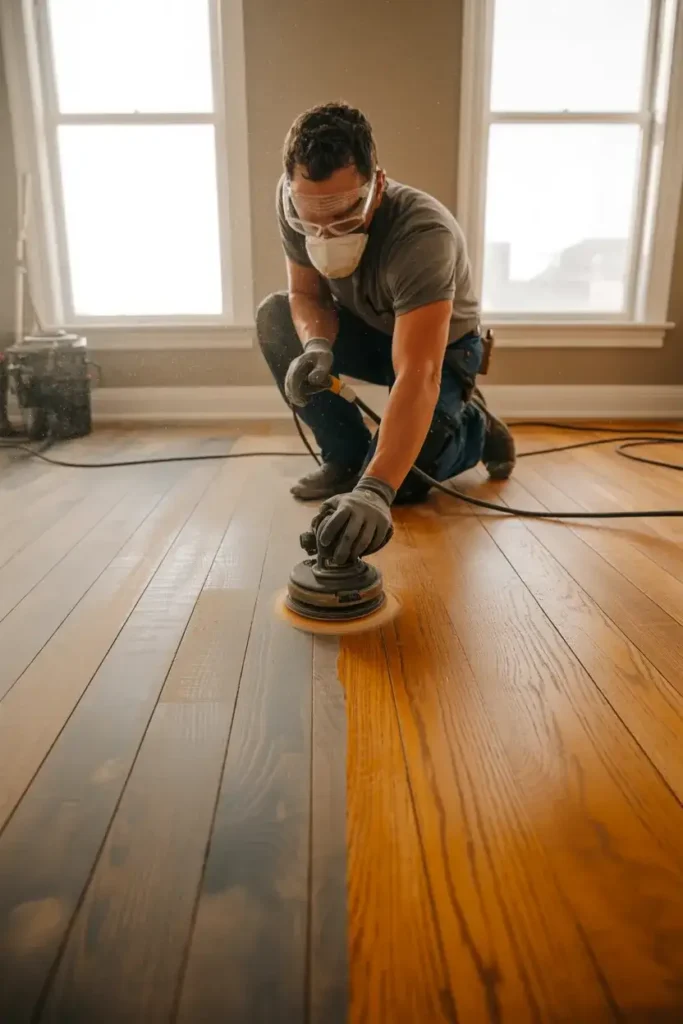
This is where the magic (and the noise) starts. The goal here is to strip off the old finish and level out the wood.
- Load the sander: Use coarse grit paper, like 36 or 40 grit, especially if your floors are in rough shape.
- Sanding direction: Always move with the grain of the wood.
- Maintain momentum: Keep the machine moving at a steady pace.
- Crucial tip: Never stop the sander while the drum is touching the floor. If you pause, you’ll gouge the wood. Lift the drum as you approach a wall.
Step 2: Tackling the Edges and Corners
The large drum sander can’t reach the edges, so the edger is up next. This machine is powerful, so grip it tight.
- What it does: The edger removes the finish along the baseboards where the drum sander missed.
- Hard-to-reach spots: You will likely need to hand-scrape the corners where even the edger can’t reach.
- Take your time: It’s better to go slow and avoid leaving swirl marks than to rush. Use the same grit sequence as the main floor to keep the texture consistent.
Step 3: Moving Through the Grits
After the coarse pass, repeat the process with medium and then fine grit paper to get that smooth-as-butter feel.
- Grit progression: A typical sequence is 36 grit, then 60, finishing with 80 or 100 grit. This removes scratches from the previous, coarser pass.
- Clean between grits: Vacuum thoroughly after each sanding stage. A stray piece of coarse grit can leave deep scratches.
- Pro-tip: After vacuuming, wipe the floor with a tack cloth to pick up every last speck of dust. Cleaning is just as important as sanding.
Step 4: Buffing for a Perfect Finish
Don’t jump to staining just yet. Screening the floor with a buffer is a critical step for a professional-looking result.
- Why buffer? This process blends the sanding marks from the drum sander and the edger, ensuring the stain and finish absorb evenly.
- What to use: Use a mesh screen (usually 100 or 120 grit) on a floor buffer.
- Avoid the “picture frame” effect: Skipping this step can result in the edges of the room looking different from the center after staining.
Step 5: Applying Stain (Optional)
If you love the natural color of your wood, you can skip this. If you want to change the color, now’s the time.
- Test first: Always test your stain color in an inconspicuous area, like a closet. Different wood species absorb stain differently.
- Application: Use a rag or applicator pad, working in small sections.
- Wipe off excess: Do not let the stain pool or dry on the surface, as this will create a blotchy mess. Let it dry completely before the next step.
Step 6: Sealing with Polyurethane
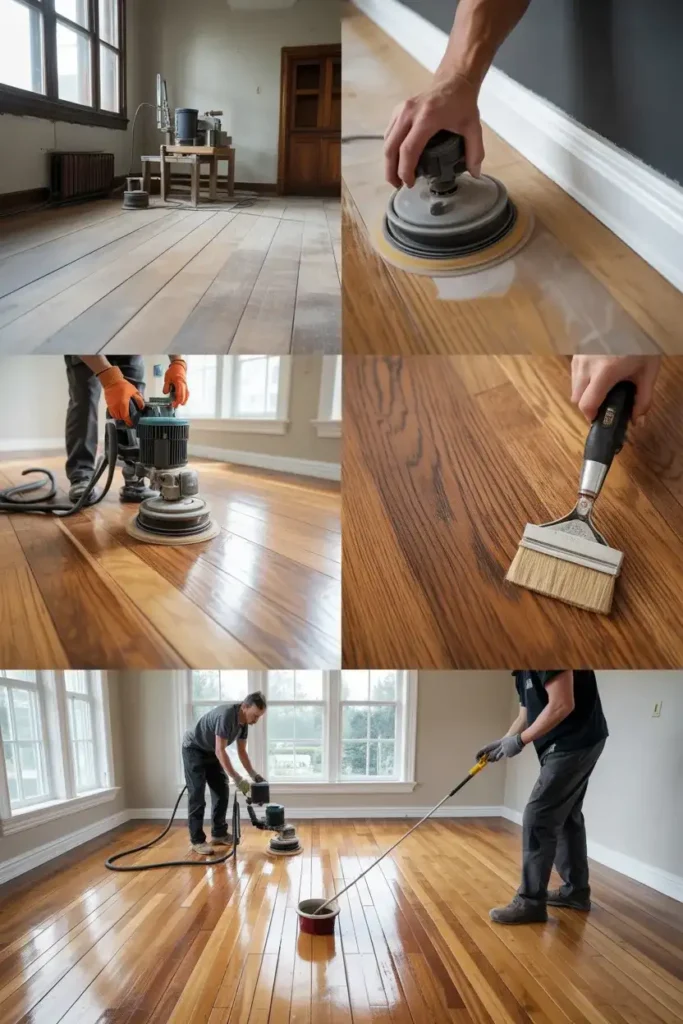
This is the final protective layer.
- Choose your finish: You have two main choices: oil-based or water-based polyurethane.
- Oil-based: Adds a warm, amber glow and dries slowly.
- Water-based: Stays clear, dries fast, and has a lower odor.
- Application technique: Use a high-quality applicator and work with the grain. Maintain a “wet edge” to avoid lap marks.
- Number of coats: Apply three coats for optimal durability. Lightly sand (screen) between coats, but always check the manufacturer’s instructions, especially for water-based products.
FAQs
Enjoy Your New Floors
Refinishing your hardwood floors is a big project but the payoff is huge. You transform your space and add real value to your home. Just remember to take your time with the prep and sanding. The finish is only as good as the sanding job underneath it. So grab that sander and get to work. Your house will thank you for it.

I am Mindy Medford, a home décor, paint, and design specialist with over a decade of hands-on experience transforming ordinary spaces into cozy, personality-packed havens. Since 2013, I have been helping homeowners discover the art of beautiful yet practical design. I share my love for color, texture, and layout—making stylish interiors & exteriors feel achievable for everyone. Whether it’s picking the perfect paint shade or reimagining a small space, I’m here to guide and inspire.