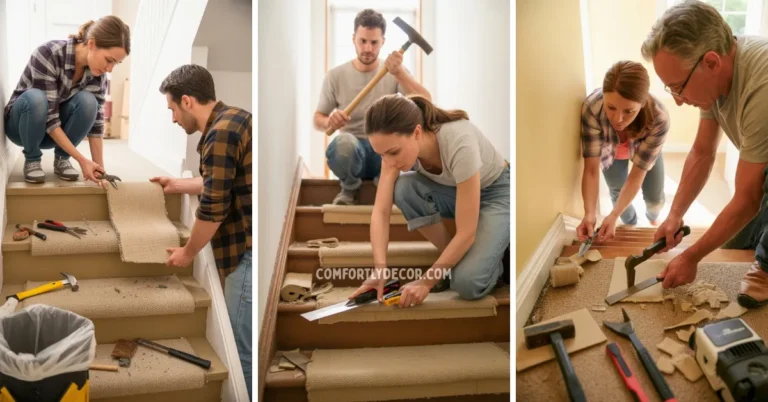
How To Panel Staircase: A Simple Guide
Staircase walls get a lot of traffic and often look a bit bland. I decided to give mine a facelift with some paneling. It was a project that completely transformed the space from boring to brilliant.
Paneling adds depth character and a touch of elegance. Plus it is surprisingly durable which is great for a high traffic area like a staircase. Ready to give your staircase a serious upgrade? I will walk you through the entire process.
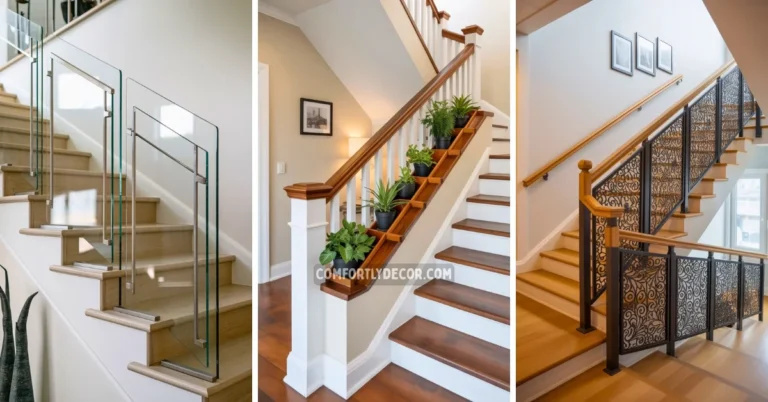
Picking Your Paneling Style
First things first you need to decide on a style. There are a few popular options for staircase paneling each with its own vibe. I think choosing the right one sets the tone for your whole project so no pressure right?
Board and Batten
This is a classic look. It uses vertical boards called battens spaced over wider flat boards. Board and batten gives a clean traditional feel.
It is quite versatile and works well in many home styles. I find it adds a nice architectural detail without being too fussy.
Beadboard
Beadboard is another timeless choice. It consists of narrow vertical planks with a small ridge or “bead” between them.
This style gives a charming cottage or coastal feel. It can make a staircase feel cozy and inviting. IMO it is a great way to add texture.
Wainscoting
Wainscoting is a broader term that often covers the lower portion of a wall. It can be simple or ornate with raised or flat panels.
I love wainscoting for its formal elegant appearance. It brings a level of sophistication to a space that is hard to match.
Modern Slats
If you prefer a contemporary look modern slats are the way to go. These are thin vertical wood strips that create a sleek linear pattern.
This style is minimalist yet impactful. I think it is perfect for adding a touch of modern design to your staircase.
A Step By Step Guide To Staircase Paneling
Now for the fun part the actual installation. I will break it down into simple steps. Just follow along and you will have a stunning paneled staircase in no time.
Measure Everything Twice
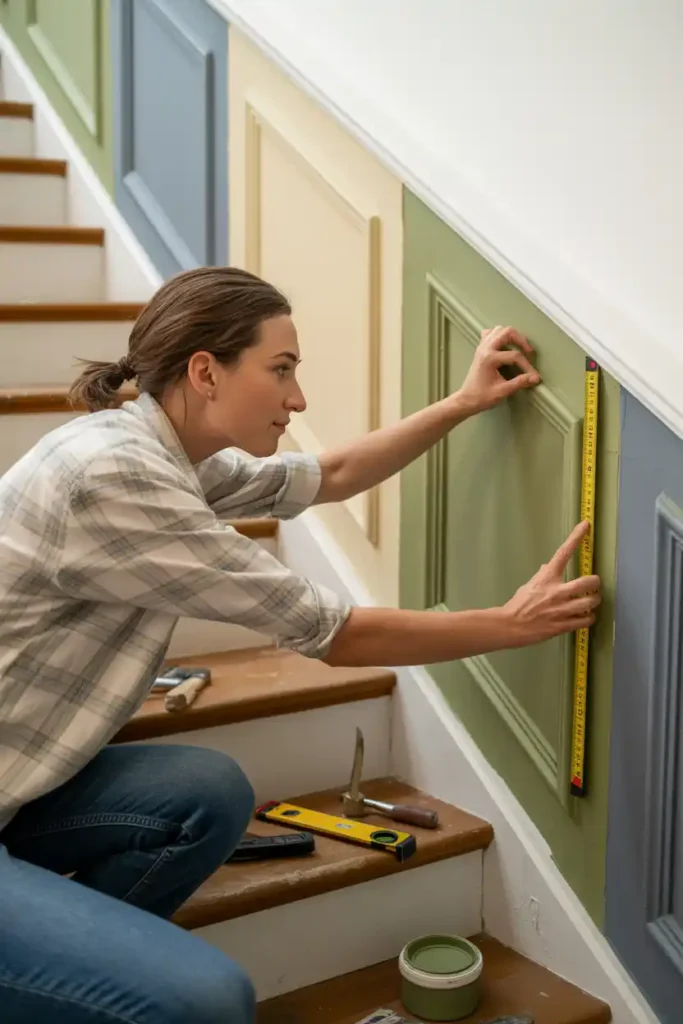
Accuracy is your best friend here. I learned this the hard way on a different project. You need to measure the angles of your stairs and the length of the wall precisely.
Use a good quality angle finder and tape measure. Record all your measurements carefully. This step is crucial for getting those cuts just right.
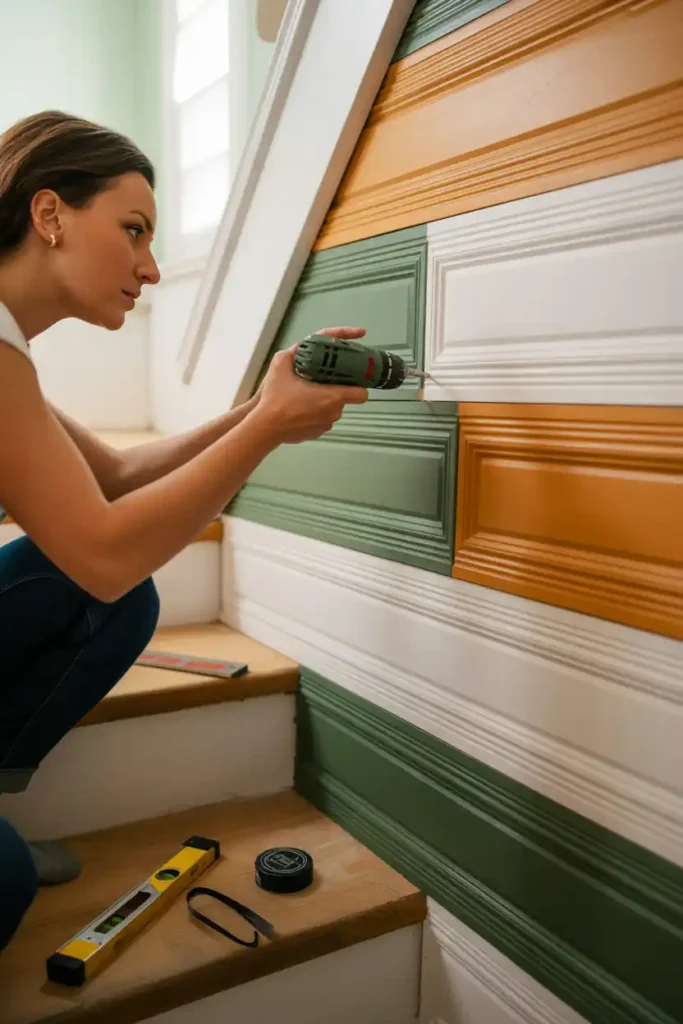
Cut The Panels
With your measurements in hand it is time to cut the panels. A miter saw is essential for this job especially for the angled cuts. You need to cut the panels to fit the rise and slope of the stairs.
Take your time with this. Double check your angles before each cut. It is better to be slow and steady than to waste material.
Secure The Panels
Once your panels are cut you can attach them to the wall. I recommend using a strong construction adhesive on the back of each panel.
Press it firmly against the wall. Then use a nail gun with brad nails to secure it in place. A level will be your best buddy here to ensure everything is straight.
Add Trim And Molding
To give your staircase paneling a polished look you need to add trim and molding. This covers the edges and seams.
I like to use a simple trim that complements the paneling style. Cut the trim pieces to fit and attach them with adhesive and nails just like you did with the panels.
Sand Caulk And Paint
The final step is all about the finish. Sand any rough spots on the panels and trim. Fill any gaps or nail holes with caulk for a seamless look.
Once the caulk is dry you are ready to paint. Choose a durable paint that can withstand the wear and tear of a staircase.
Tools And Materials Checklist
Before you start make sure you have everything you need. There is nothing worse than having to stop mid project for a trip to the store. Here is a quick list of the essentials.
- Panels of your choice
- Miter saw
- Construction adhesive
- Level
- Nail gun and brad nails
- Caulk
- Sandpaper
- Paint primer and brushes or rollers
Finishing Touches
With your staircase paneling installed and painted you can stand back and admire your work. I find that this project makes a huge impact on the overall look and feel of a home. It adds a custom touch that really elevates the space. You have taken a plain staircase and turned it into a beautiful architectural feature. Well done.
FAQs

I am Mindy Medford, a home décor, paint, and design specialist with over a decade of hands-on experience transforming ordinary spaces into cozy, personality-packed havens. Since 2013, I have been helping homeowners discover the art of beautiful yet practical design. I share my love for color, texture, and layout—making stylish interiors & exteriors feel achievable for everyone. Whether it’s picking the perfect paint shade or reimagining a small space, I’m here to guide and inspire.