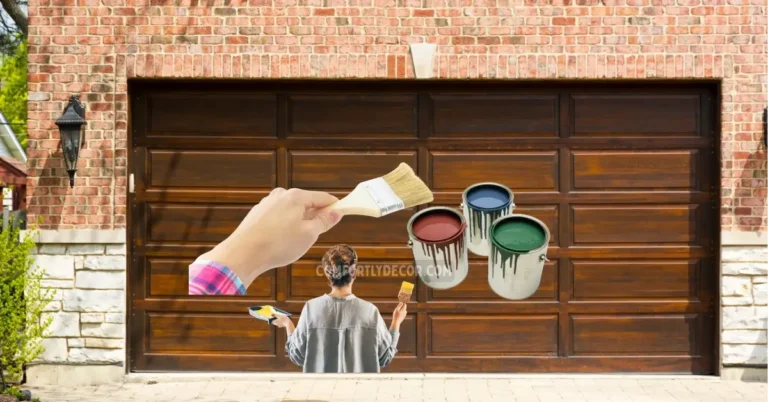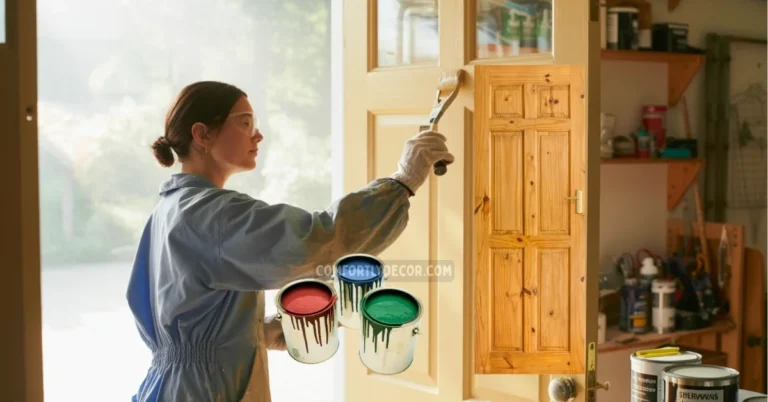
How to Paint Wood Furniture
You probably have a tired old dresser or a scratched coffee table sitting in the corner of your room right now. I know the feeling well because I have been there plenty of times myself. It stares at you and begs for a makeover but you keep putting it off because the process seems overwhelming.
Guess what? It is actually much easier than you think to transform that piece of junk into a treasure. I am going to walk you through the entire process step by step so you can finally tackle that project this weekend.
Assess Your Furniture and Gather Supplies
Before diving in, take a close look at your furniture:
- Is the wood raw or does it have a shiny finish?
- Are there deep scratches, or is it smooth?
Knowing this helps you choose the right sandpaper grit and primer. For instance, skipping these steps can lead to issues like paint peeling off later. Learn from my mistake—prep is everything!
Gather your supplies beforehand:
- Sandpaper (various grits for stripping and smoothing)
- Primer and paint of your choice
- Brushes, rollers, drop cloths, and painter’s tape
Preparation is half the battle. Having everything ready saves time and headaches.
Prep Work Is Key
Proper prep makes all the difference. Here’s what to do:
Clean Thoroughly
- Use soapy water or a degreaser to clean dirt, oils, and wax off the surface.
- Skipping this step risks paint bubbling or flaking later.
Sand the Surface
- Scuff up the surface just enough for the primer to stick.
- Begin with medium grit for rough areas, then finish with a fine grit for smoothness.
- Wipe away dust with a tack cloth or damp rag before priming.
Safety First
If your furniture might have lead paint (common before 1978):
- Avoid sanding or scraping without precautions.
- Contact the National Lead Information Center at 1-800-424-LEAD for guidance.
Prime Like a Pro
Priming isn’t optional! It:
- Blocks stains from bleeding through your paint.
- Helps paint adhere better, especially on slick surfaces.
- Saves you from applying multiple coats of paint.
How to Prime
- Use long, smooth strokes for application.
- A foam roller works great for flat surfaces, while a brush is best for corners.
- Let the primer dry completely before painting.
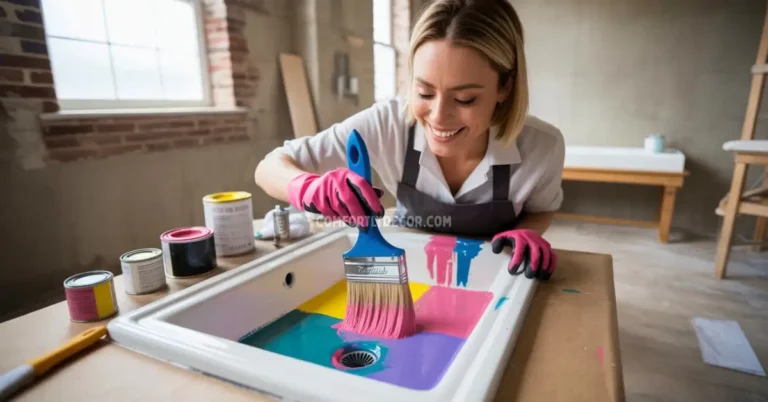
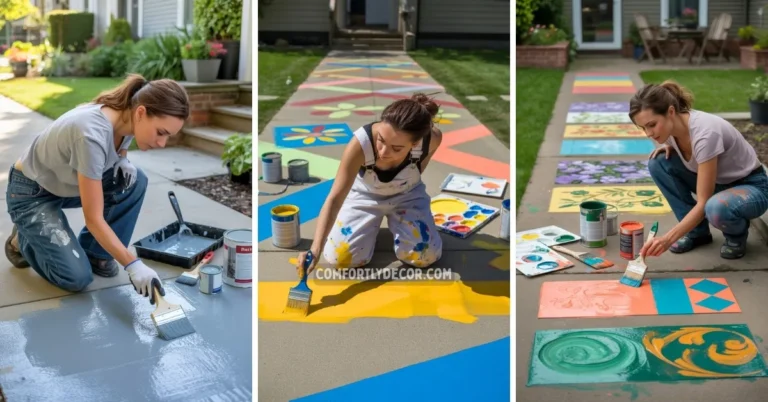
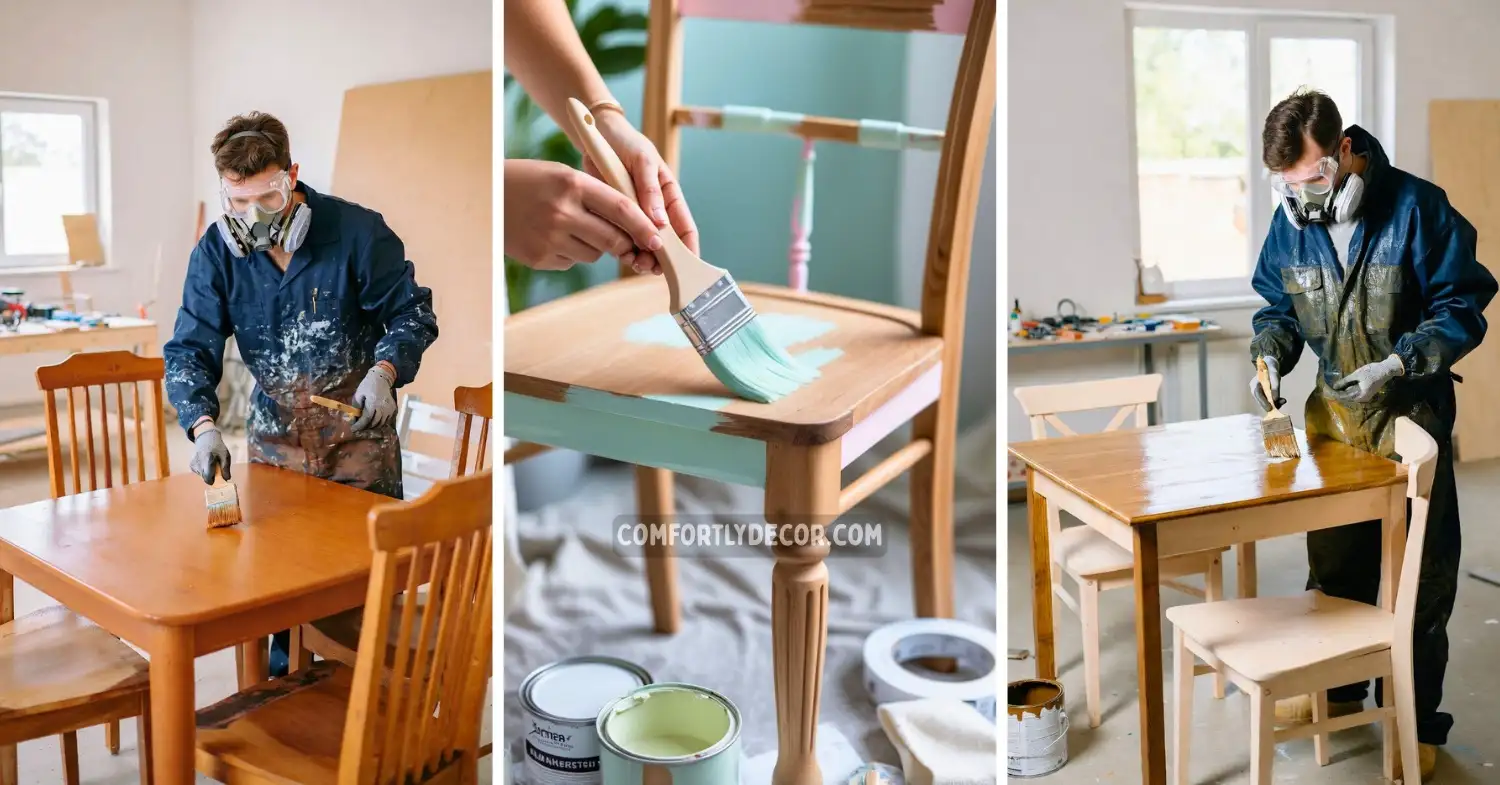
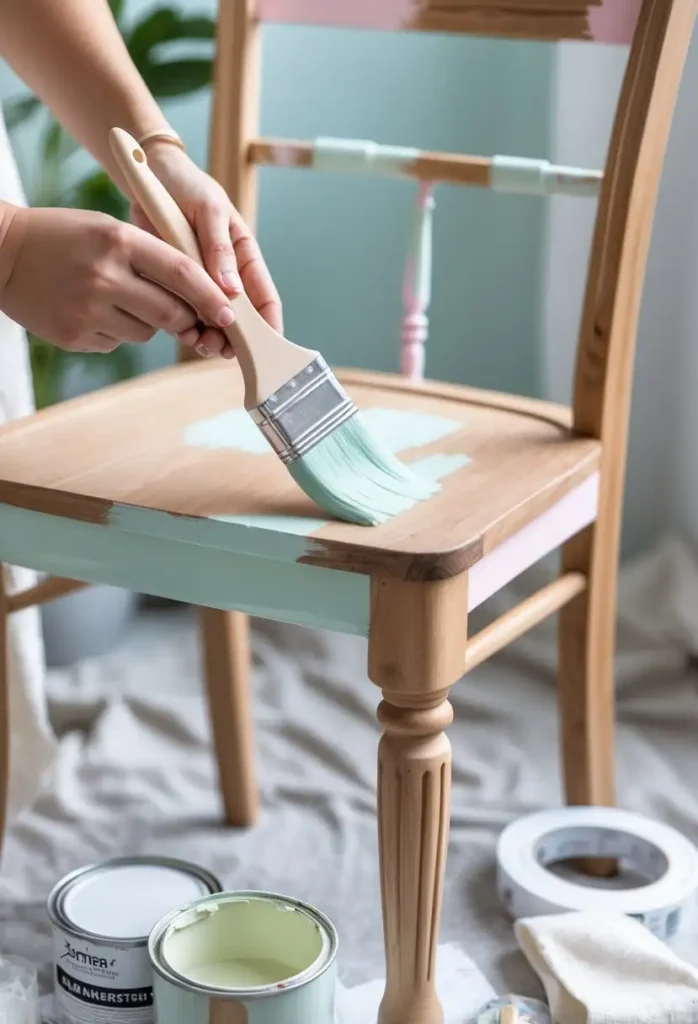
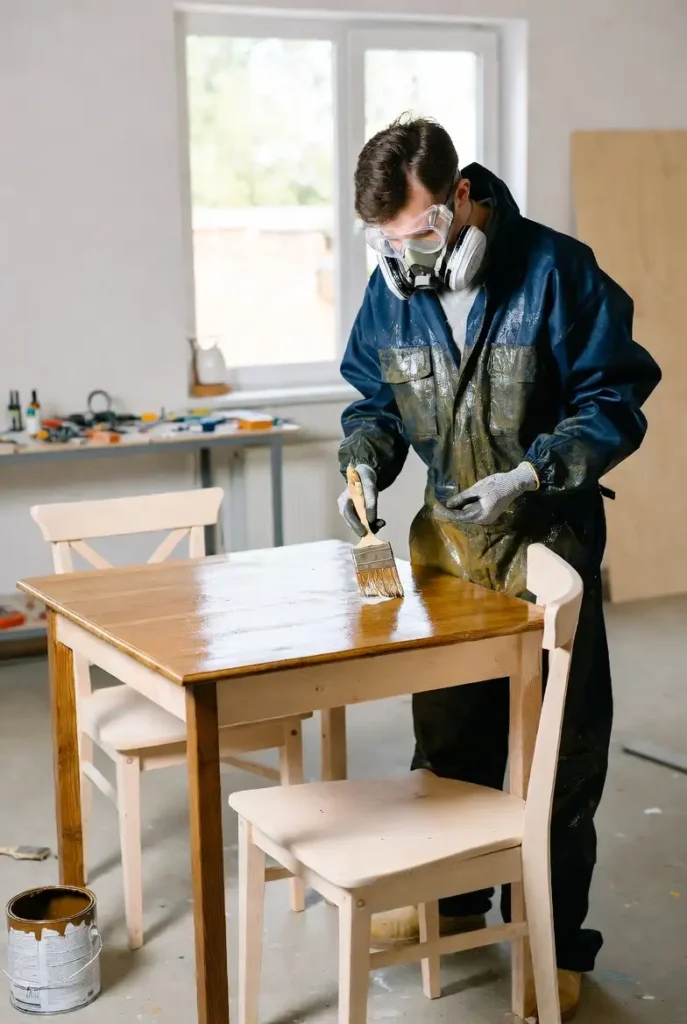
Painting Your Masterpiece
Now for the fun part—adding color!
Painting Tips
- Stir the paint thoroughly before starting.
- Use a high-quality brush for edges and details.
- Apply thin, even coats with a roller for flat areas.
- Two to three light coats give better results than one thick coat.
Between Coats
- Sand lightly with fine grit sandpaper to smooth bumps or dust.
- Wipe away dust before applying the next coat.
- Be patient—let each coat dry fully before moving on.
Protect Your Finish
Once the paint is dry, protect your work with a topcoat.
Topcoat Tips
- Use a water-based polycrylic (it won’t yellow over time).
- Apply gently with a foam or synthetic brush.
- Avoid overworking the topcoat to prevent cloudiness or bubbles.
- Let the topcoat cure for a few days before using the furniture.
Add the finishing touch by reattaching or replacing hardware. Stand back and admire your work—it’s a rewarding moment!
Common Mistakes to Avoid
1. Rushing Dry Time
- Wet paint is delicate. Handle it too soon, and you risk fingerprints or dents.
- Follow the paint can’s drying instructions and allow extra time in humid conditions.
2. Using the Wrong Tools
- Cheap brushes lead to streaks and bristle shedding.
- Invest in quality brushes—they’ll last for years if cared for properly.
Troubleshooting Your Paint Job
Things don’t always go as planned. Here’s how to fix common issues:
- Bleed-Through Stains: Apply another coat of primer.
- Peeling Paint: Sand the area and clean thoroughly before repainting.
- Drips:
- If wet, brush them out immediately.
- If dry, sand or scrape the area smooth, then touch up with paint.
Remember, even mistakes are part of the learning process. Stick with it, and you’ll create a piece you’re proud of!
FAQs
Final Thoughts on Painted Furniture
Painting wood furniture is one of the most rewarding DIY projects you can do. It saves money and keeps old furniture out of landfills and gives you a custom piece for your home.
Remember that preparation is just as important as the painting itself. Take your time and enjoy the process and do not be afraid to make mistakes. You can always sand it down and try again if you mess up. Now go grab a brush and get started on that project.

I am Mindy Medford, a home décor, paint, and design specialist with over a decade of hands-on experience transforming ordinary spaces into cozy, personality-packed havens. Since 2013, I have been helping homeowners discover the art of beautiful yet practical design. I share my love for color, texture, and layout—making stylish interiors & exteriors feel achievable for everyone. Whether it’s picking the perfect paint shade or reimagining a small space, I’m here to guide and inspire.