How To Paint Pressed Wood Kitchen Cabinets With Ease
Transforming your kitchen doesn’t have to mean ripping out all your cabinets and buying new ones. If your kitchen cabinets are made of pressed wood, they’re perfectly good candidates for a stylish facelift with the simple magic of paint. Sure, pressed wood gets a bad rap for being tricky to paint (hello, moisture sensitivity!), but with the right knowledge and some TLC, you can achieve a flawless and durable finish.
Let’s walk through everything you need to know to turn your pressed wood kitchen cabinets from drab to fab.
What is Pressed Wood and Why is it Tricky to Paint?
Pressed wood (also called engineered wood) is basically wood fibers or particles combined with adhesives and compressed into a budget-friendly, durable material. Think particleboard or medium-density fiberboard (MDF). While it’s robust and ideal for cabinets, it does have one Achilles’ heel—it doesn’t play well with moisture. That’s why proper preparation, priming, and painting techniques are extra critical to ensure a smooth and lasting finish.
Now, grab your paintbrush (and maybe a coffee because this is going to be fun), and let’s get started!
Preparation is Key (Seriously, Don’t Skip This)
Inspecting the Cabinets
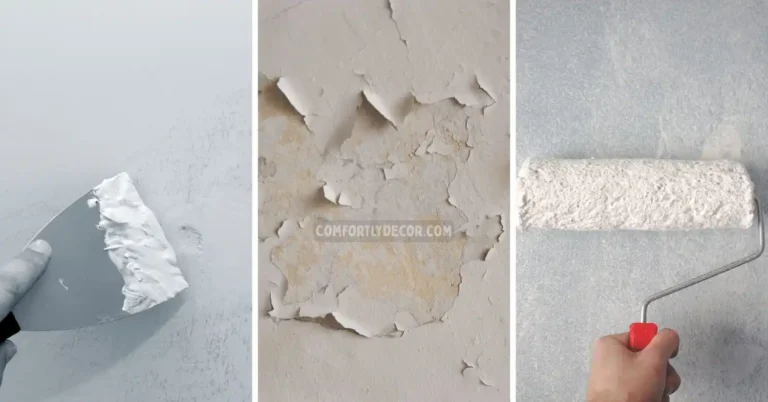
First things first, take a close look at your cabinets. Do you see any cracks, dents, or peeling edges? Fixing these issues upfront is crucial; paint won’t cover up damage, no matter how thickly you slather it on. Use wood filler to patch up imperfections, and reattach any loose pieces.
Cleaning the Surface
Greasy cabinets are a no-go for painting. Use a degreasing cleaner (dish soap works wonders) to remove oil, dirt, and grime. Wipe them down with a damp cloth afterward to ensure no cleaner residue is left to sabotage your paint job. Need a pro tip? Pay extra attention to the areas around the handles where grime loves to hang out.
Sanding the Surface
If you’re thinking, “But sanding takes forever!” don’t worry—we’re not here to waste your time. Sanding is non-negotiable if you want your paint to stick. Use fine-grit sandpaper (around 150–220) and lightly scuff the surface to create some texture for the paint to grip onto. Pressed wood usually has a smooth finish that can be stubbornly resistant to paint without this step. Wipe away dust with a tack cloth before moving on.
Choosing the Right Paint and Primer
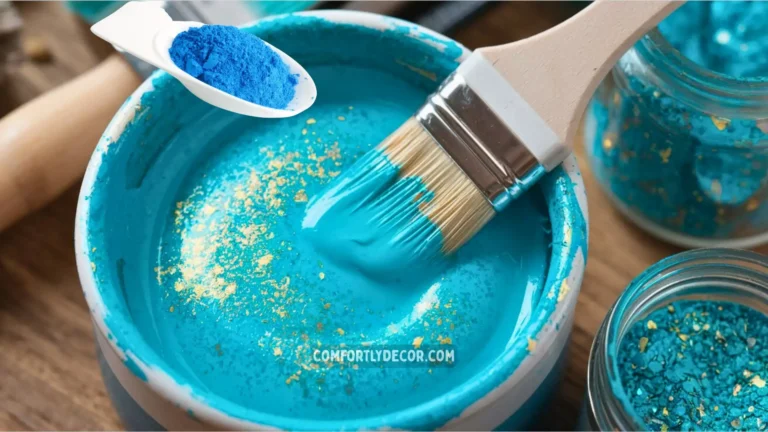
Picking the Perfect Paint
Not all paints are created equal, and when it comes to pressed wood, you need one that’ll stick and stand the test of time. Here are your best options:
- Latex Paint: Water-based and super easy to work with. Perfect for kitchens as it’s low odor and dries quickly.
- Oil-Based Paint: Great for durability and a smoother finish but beware of the fumes and longer drying times.
- Acrylic Paint: Another user-friendly option with vibrant color options and good durability.
Go for a satin or semi-gloss finish for your cabinets. Why? These finishes strike the perfect balance between aesthetic appeal and easy cleaning.
The Magic of Primer
If you want your paint job to last, a high-quality primer is your secret weapon. It’ll ensure a strong bond and help prevent the pesky tannins in pressed wood from bleeding through. Look for primers labeled “stain-blocking” or “adhesion-promoting.” Apply a single, even coat and adhere to drying times like your kitchen depends on it (because it does).
The Painting Process
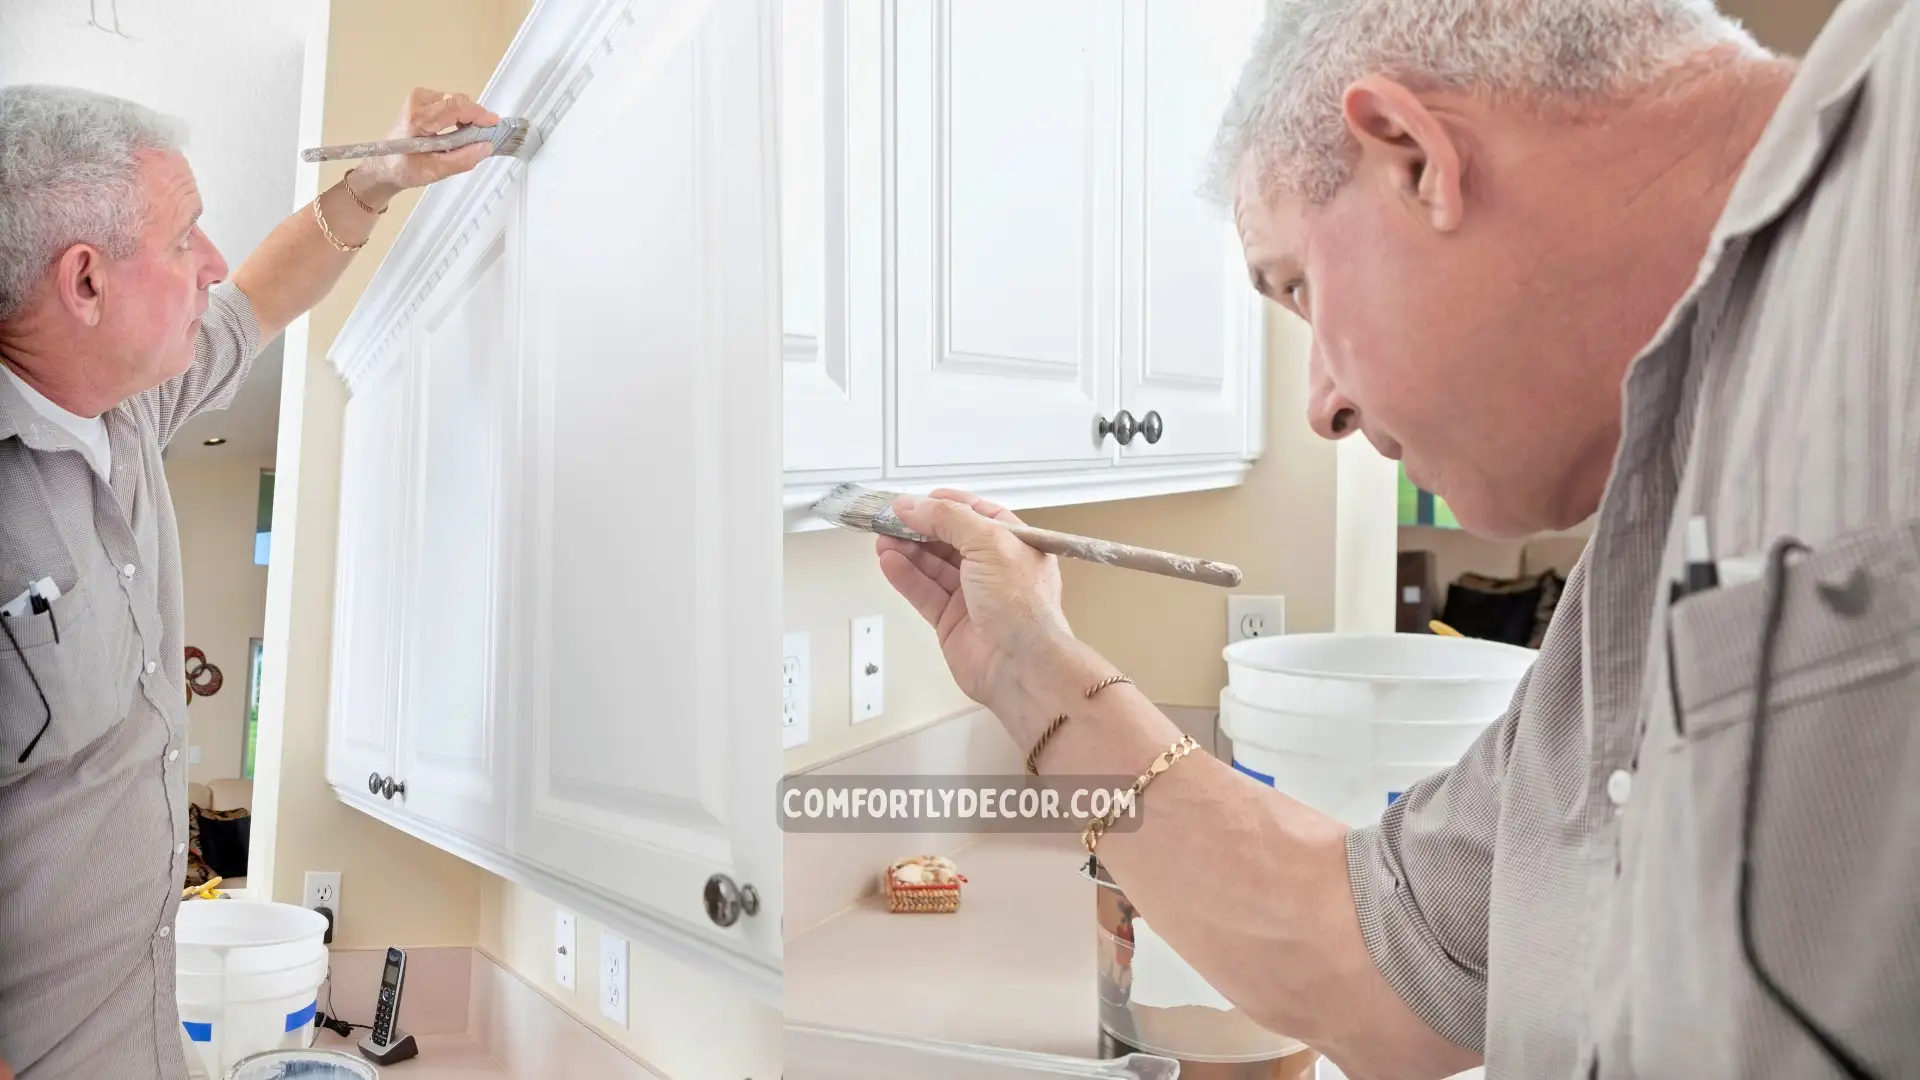
Applying the First Coat
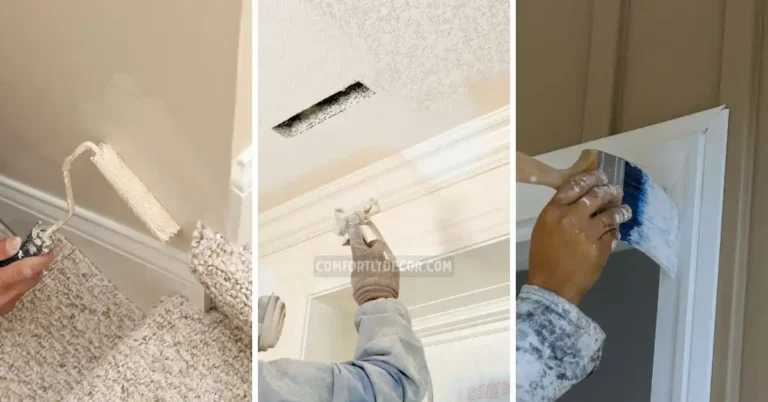
Now comes the fun part! Use a brush for edges and corners, and a foam roller for the flat surfaces to get that smooth, streak-free finish. Apply the paint in thin, even coats rather than one thick coat to avoid drips and uneven coverage. Pro tip? Work in long, overlapping strokes for the best results.
Don’t Skimp on the Coats
One coat won’t cut it. Once the first coat is completely dry (patience, my friend), sand lightly with fine-grit sandpaper to smooth out any rough patches. Then, wipe down the surface and go in with the second coat. You may need a third coat depending on the paint you chose and the original color of your cabinets.
Seal the Deal with a Topcoat
Want cabinets that can withstand kitchen chaos? Finish them with a clear protective topcoat. Polyurethane or polycrylic are fantastic options. These sealants will protect your paint job from scratches, stains, and moisture, keeping your cabinets looking fresh and fabulous for years.
Layering and Drying
Proper layering and drying are critical to achieving a smooth and durable finish. Allow each coat of paint to dry completely before applying the next layer. This prevents smudging and ensures even coverage. Follow the paint manufacturer’s guidelines for drying times, as these can vary between products.
Finishing Touches and Maintenance
Adding a Protective Topcoat
To enhance durability and longevity, apply a protective topcoat after your paint has dried. A clear topcoat, such as polyurethane or polycrylic, creates a barrier against wear and tear. Use a brush or foam roller for an even application, and consider applying multiple coats for maximum protection.
Cleaning and Maintaining Painted Pressed Wood
Keeping your painted pressed wood in excellent condition requires regular maintenance. Wipe down surfaces with a soft, damp cloth and avoid abrasive cleaners that could damage the finish. Address spills promptly to prevent stains and maintain the integrity of the protective coating.
Alternative Options for Refinishing Pressed Wood
Staining Pressed Wood
If painting isn’t your preference, staining pressed wood is a fantastic alternative. Stains penetrate the material, highlighting its natural grain and offering a warm, classic look. Choose a gel stain designed for pressed wood and follow with a clear sealant for added protection.
Other Refinishing Techniques
Beyond painting and staining, techniques such as decoupage or applying veneer can transform pressed wood furniture. Decoupage allows for creative and personalized designs using decorative papers, while veneers provide a sleek, polished finish that mimics high-quality hardwood surfaces. These options can add personality and charm to your refinished piece.
FAQs
Wrapping It Up
And voilà! Your pressed wood kitchen cabinets are now painted to perfection. Not only have you given your kitchen a new look, but you’ve also saved some serious cash by skipping a full cabinet replacement.
Remember, the key to success is all in the prep work, the right paint, and taking your time with each step. Have fun, get creative with your color choices, and most importantly, enjoy your newly refreshed space.
Feeling inspired but still a little hesitant? Try out a small piece of furniture first to get the hang of the process. Or, if you’re ready to go all-in, don’t forget to share before-and-after photos because we love a good DIY transformation (and also because you’ll absolutely crush it).
Happy painting!

I am Mindy Medford, a home décor, paint, and design specialist with over a decade of hands-on experience transforming ordinary spaces into cozy, personality-packed havens. Since 2013, I have been helping homeowners discover the art of beautiful yet practical design. I share my love for color, texture, and layout—making stylish interiors & exteriors feel achievable for everyone. Whether it’s picking the perfect paint shade or reimagining a small space, I’m here to guide and inspire.