How to Paint Laminate Furniture And Actually Make It Stick
I remember staring at this incredibly ugly laminate dresser I bought for five dollars. It had that slick and shiny fake wood finish that screams cheap dormitory furniture. I wanted to paint it but everyone told me that paint slides right off plastic surfaces. They were wrong.
I learned that you can absolutely paint laminate if you use the right materials and have a little patience. You do not need to be a professional to get a factory finish on your cheap IKEA finds.
Why Paint Usually Fails on Laminate
Laminate is not wood. It is a printed sheet of plastic glued onto particle board. Paint hates plastic because there is no texture for it to grab onto. If you slap regular wall paint on a laminate bookshelf I promise you it will scratch off with a fingernail next week.
Adhesion is the name of the game here. You have to trick the paint into sticking to a surface that was designed to repel everything.
Most people skip the prep work because they are excited to see the new color. I get it because prepping is boring. But if you try to paint directly over that glossy sheen the paint will bead up and look terrible. You need to break that seal and create a surface that paint can bond to physically.
Gather Your Supplies
You do not need a ton of fancy tools but do not skip the primer. I cannot stress this enough because the wrong primer will ruin the project. Here is what I keep in my kit.
- Bonding Primer like INSL X STIX or Zinsser BIN
- High quality synthetic paint brush
- Microfiber foam roller for smooth surfaces
- 220 grit sandpaper
- Degreaser or TSP substitute
- Your choice of enamel paint
Step 1: Clean it Like You Mean it
Imagine all the finger oils and furniture polish that have built up on that surface over the years. Paint will fail if it sits on top of grease. I scrub the entire piece down with a good degreaser or a TSP substitute. Make sure it is bone dry before you move on. I usually wipe it down twice just to be safe because I am paranoid about peeling paint.
If you paint over dust or oil the paint adheres to the dirt instead of the furniture. Then the dirt lifts off and takes your beautiful new paint job with it. Spend ten minutes scrubbing and you will thank yourself later.
Step 2: The Sanding Debate
To sand or not to sand
I know what you are thinking. Do I really have to sand this thing? IMO you should. You do not need to strip it down to the particle board. Just give it a light scuff sand with 220 grit sandpaper.
This creates tiny scratches that give your primer something to hold onto. It takes ten minutes and saves you a headache later.
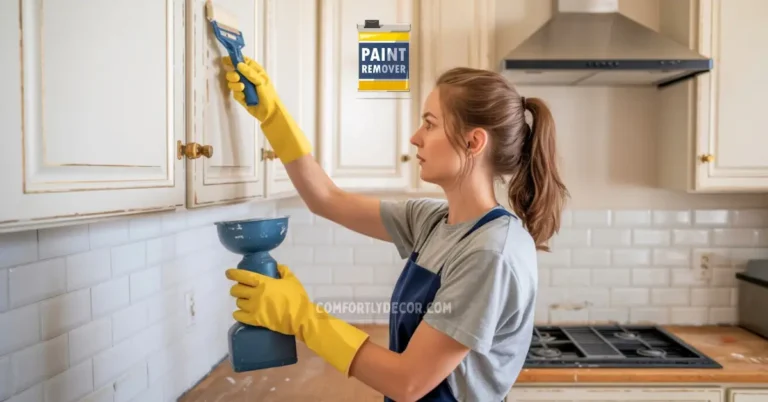
The liquid deglosser alternative
If you absolutely hate sanding you can try a liquid deglosser. I have used it on intricate legs where sandpaper cannot reach. It chemically dulls the finish.
Just wipe it on and wait the specified time. It smells a bit strong so open a window. This works well but I still trust sandpaper more for flat surfaces.
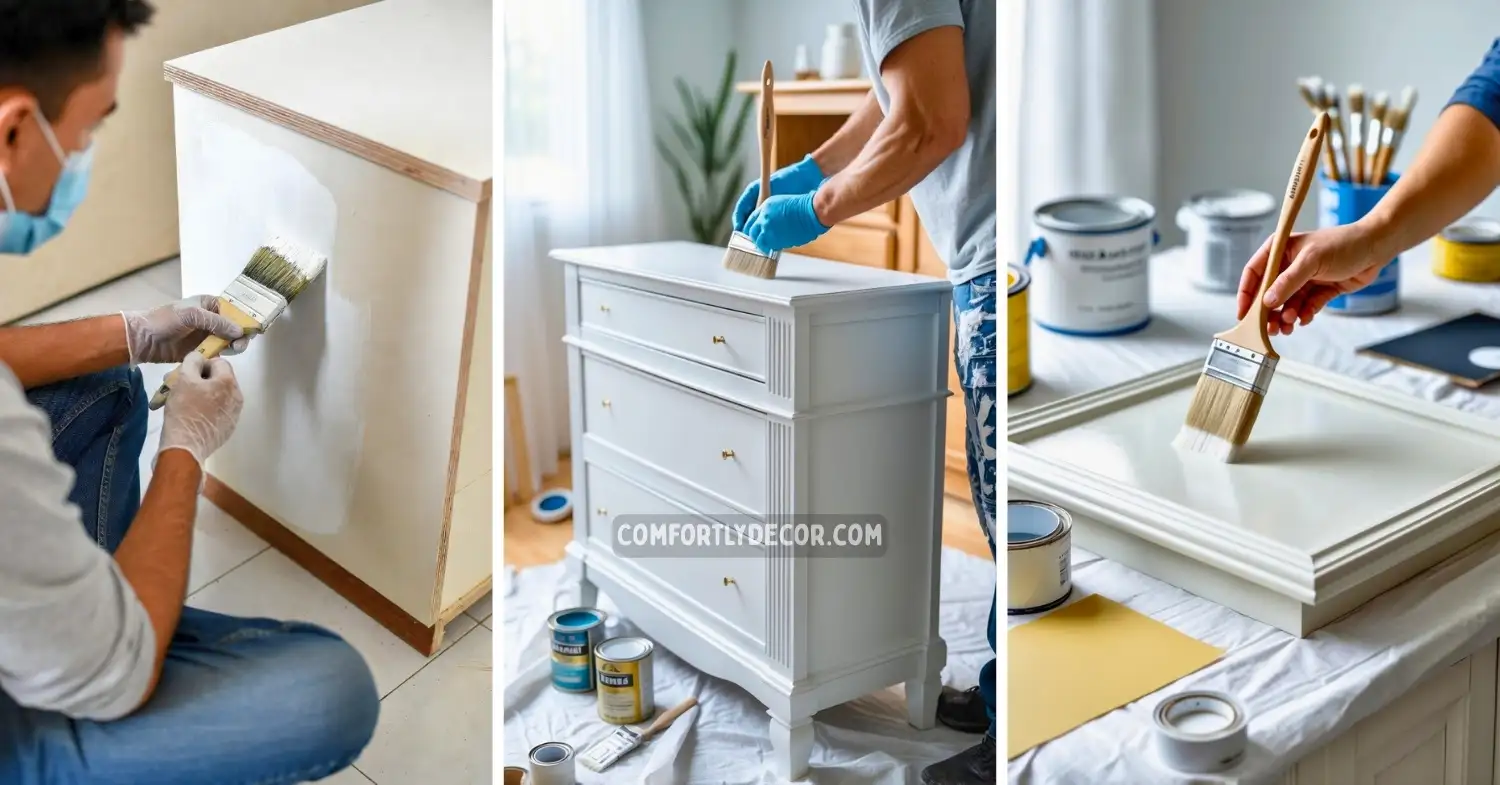
Step 3: Priming is the Secret Sauce
This is the step that matters most. Do not use standard drywall primer. You need a bonding primer. I swear by INSL X STIX because it sticks to anything including glass and tile. Zinsser BIN is another great option but it is shellac based and smells terrible.
Apply a thin and even coat. It might look streakier than a bad spray tan but that is okay. Coverage is not the goal here. Adhesion is the goal. Let it dry for the full time listed on the can. If it says four hours then wait four hours. Rushing this step is why most DIY projects fail.
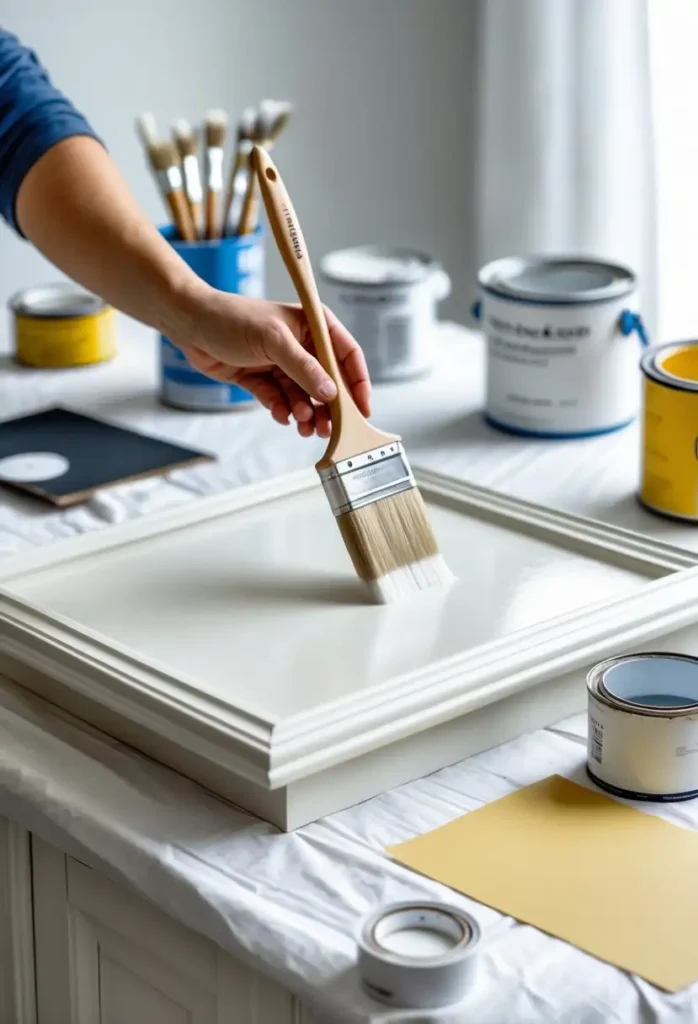
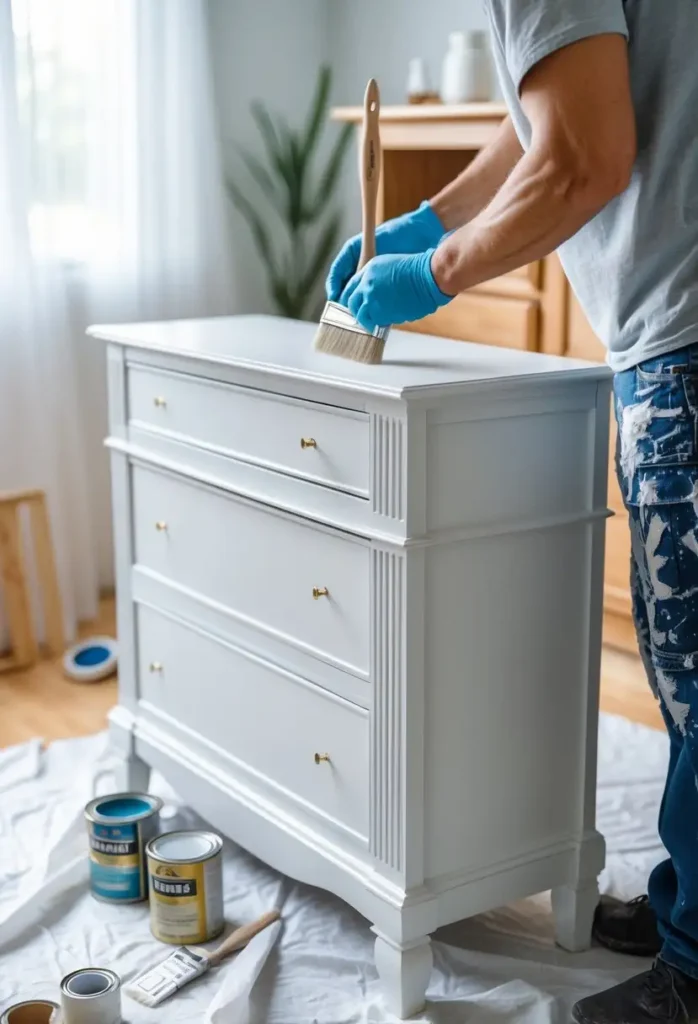
Step 4: Painting for a Smooth Finish
Choosing the right paint
I prefer a waterborne alkyd or an enamel paint for furniture. These dry harder than standard latex wall paint. Benjamin Moore Advance is a personal favorite because it levels out beautifully. It acts like an oil paint but cleans up with water.
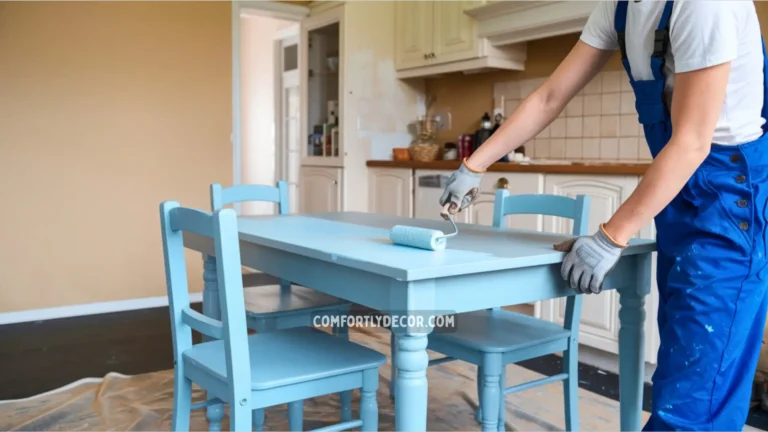
Rolling it on
Use a foam roller or a high quality brush to apply your paint. I roll it on to get the coverage and then tip it off with the brush to smooth out bubbles. Apply multiple thin coats rather than one thick gloppy one. Thick coats take forever to cure and look messy. I usually do two or three coats.
Watch the dry time
Allow the paint to dry completely between coats. I usually wait a full twenty four hours just to be safe. If you paint over tacky paint you will pull up the previous layer and create a texture nightmare. Patience is your best friend in this process.
Step 5: Protect Your Hard Work
Technically some enamels do not need a topcoat but I like the extra insurance. If this piece is going to get heavy use like a coffee table I add a clear polycrylic topcoat. Do not use polyurethane over light colors because it will turn yellow over time. Polycrylic stays clear and protects against water rings.
Applying the topcoat is just like applying paint. Keep the layers thin and watch out for drips. Two coats are usually enough to protect the surface from scratches and spills.
FAQs
Wrapping it up
Painting laminate furniture is the easiest way to transform a room on a budget. I have saved hundreds of dollars by updating thrift store finds instead of buying new.
Just remember to clean well and use a bonding primer. The rest is just coloring inside the lines. Now go find that ugly bookshelf and give it a makeover.

I am Mindy Medford, a home décor, paint, and design specialist with over a decade of hands-on experience transforming ordinary spaces into cozy, personality-packed havens. Since 2013, I have been helping homeowners discover the art of beautiful yet practical design. I share my love for color, texture, and layout—making stylish interiors & exteriors feel achievable for everyone. Whether it’s picking the perfect paint shade or reimagining a small space, I’m here to guide and inspire.