No Drips, No Stains: How To Paint A Ceiling Without Making A Mess
Painting your ceiling might sound like one of those tasks you’d rather put off forever, but trust me, it doesn’t have to be a nightmare. With a little planning, the right tools, and a few pro tips, you can have a clean, beautifully painted ceiling without turning your room into a disaster zone.
Whether you’re a DIY rookie or someone who’s been around the paint can a few times, this guide will walk you through step-by-step instructions to ensure you get it done right (and mess-free!). By the end of this article, you’ll know exactly how to paint your ceiling like a pro while keeping your floors, furniture, and sanity intact.
Why Painting A Ceiling Seems Harder Than It Is
Okay, first things first. Why does painting a ceiling feel so intimidating? It’s not like it’s harder than painting walls, right? Well, sort of. Ceilings pose a unique challenge because:
- They’re overhead: Gravity is not your friend here. Drips, splatters, and neck pain all come into play.
- They’re large surfaces: Covering every inch evenly can be a struggle.
- They’re easy to mess up: Uneven coverage or missed spots can ruin the look of your entire room.
But don’t worry. Armed with the right techniques, you’ll conquer this pesky task and still have time to grab a coffee afterward. Let’s dig in.
The Magic is in the Prep Work
Step 1: Clear the Room
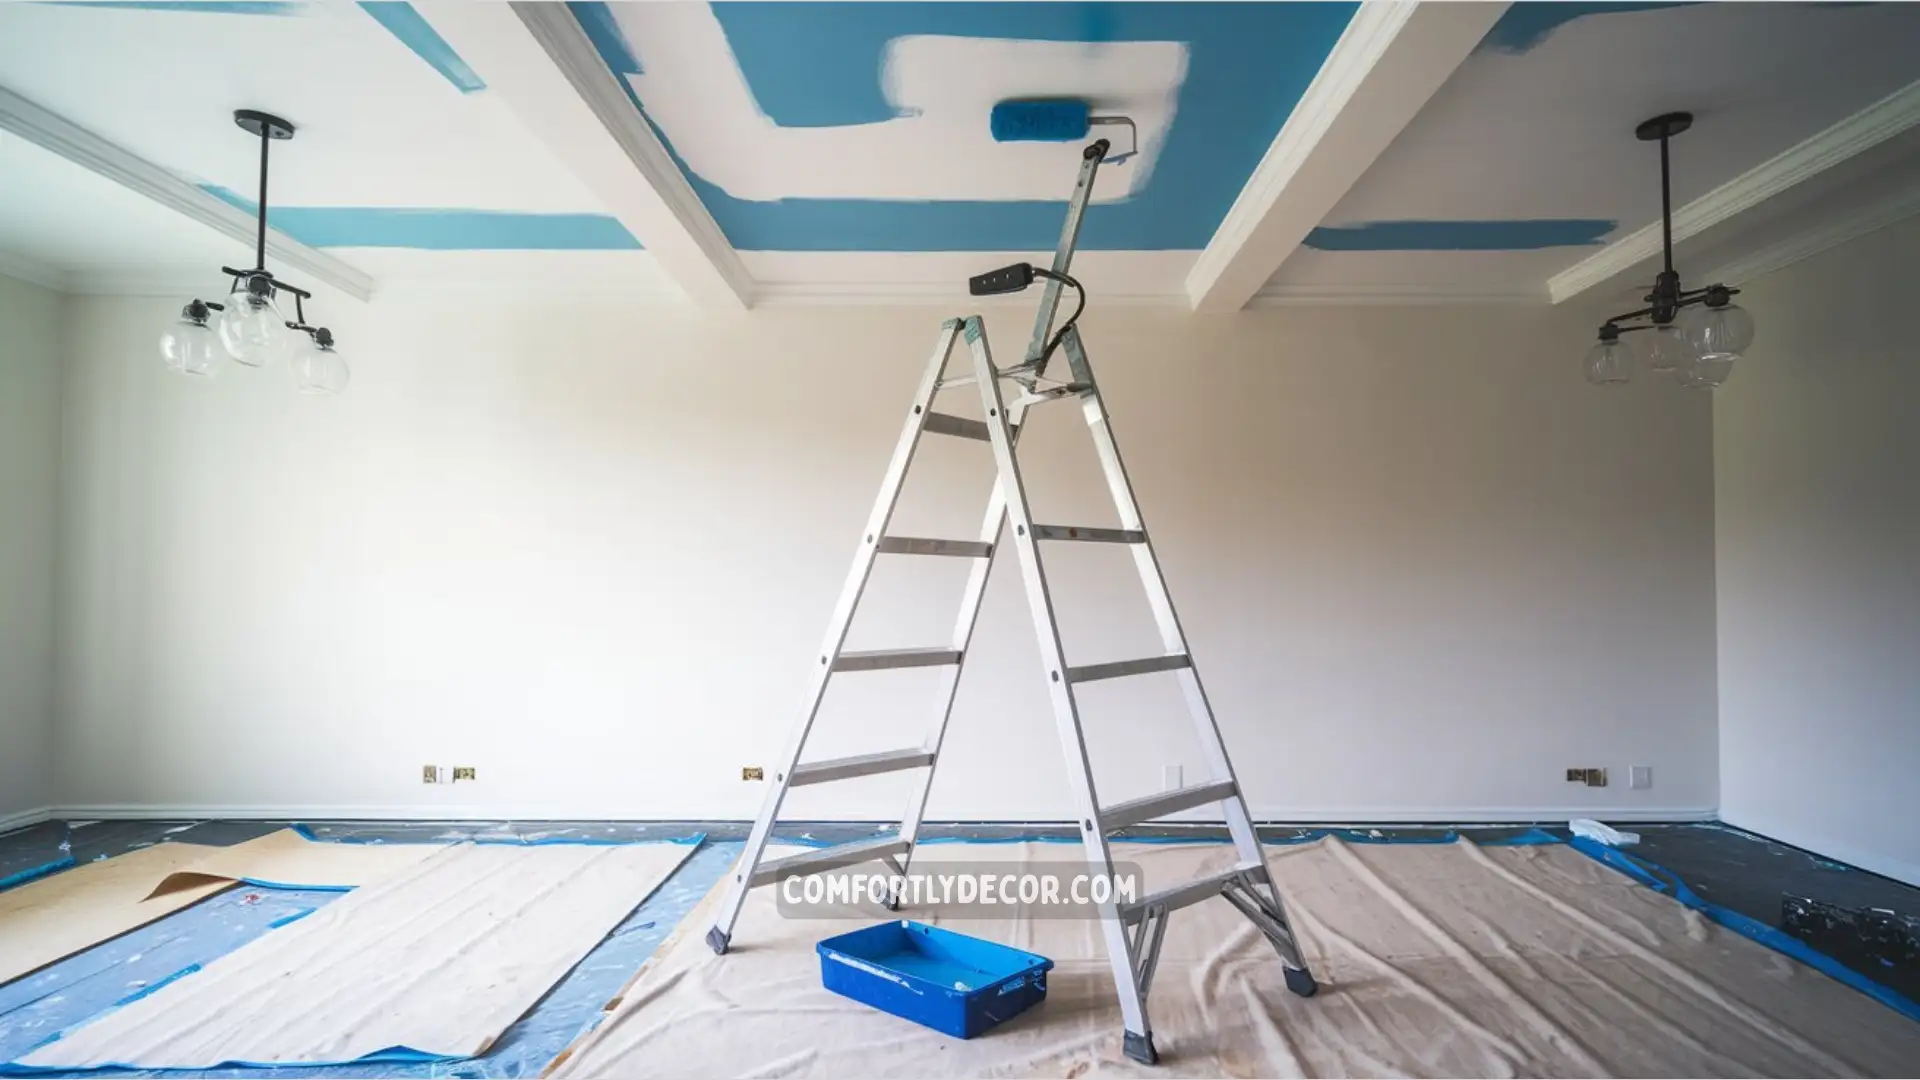
Before you even think about opening a paint can, remove as much furniture as possible from the room. Trust me, even the steadiest hand isn’t immune to a rogue paint splatter. If moving furniture isn’t an option (looking at you, giant couch), move everything to the center and cover it with a sturdy drop cloth or plastic sheeting.
Pro tip: Good lighting is everything when painting. Make sure the room is well-lit so you can spot missed spots or uneven areas.
Step 2: Protect Everything You Love
Drop cloths are your new best friend. Lay them across the floor and secure them with painter’s tape, especially along the edges. For furniture that’s too close to the walls, double down on coverage with thicker cloths.
Don’t forget to tape off light fixtures, moldings, or vents you don’t plan to paint. Painter’s tape works wonders for clean edges around tricky areas.
Step 3: Prime Like You Mean It
Priming a ceiling might sound like an extra step (ugh), but it’s totally worth it. A good coat of primer helps your paint adhere better and hides any old stains or discoloration. Plus, it makes your final paint color pop.
Use a roller with a medium nap (about 3/8 inch) for your primer. Aim for an even, thin coat, and leave it to dry completely before moving ahead.
Gather Your Dream Team of Supplies
You don’t need to break the bank, but investing in solid tools can make all the difference. Here’s what you’ll need:
- High-quality paint with a matte or flat finish (designed specifically for ceilings to avoid drips).
- A roller with an extension pole so you can paint comfortably from the ground (your neck will thank you).
- Angled brush for precise edgework.
- Paint tray and liners for easier cleanup.
- Painter’s tape for those crisp, clean edges.
- Drop cloths or plastic sheeting to protect your floors and furniture.
Quick tip: When shopping for paint, choose a low-VOC option. It’s not only better for the environment but also less likely to give you a headache (literally).
The Painting Process, Demystified
Step 1: Cut in the Edges
If you don’t know what “cutting in” means, don’t worry. It’s basically painting the edges of your ceiling where it meets the walls. This part requires some patience but ensures a clean-looking finish.
Take an angled brush and dip it about one-third into the paint (don’t overload it). Use smooth, controlled strokes along the ceiling’s perimeter. You’ll thank yourself later when the roller doesn’t smudge the edges.
Pro tip: Steady your hand by resting your wrist lightly against the wall. If your lines aren’t perfect, well, that’s what painter’s tape is for 🙂
Step 2: Roll It On Like a Pro
Once your edges are done, grab that roller. Here’s the secret to a mess-free paint job:
- Start with the right roller technique: Dip your roller into the paint tray and roll it back and forth to evenly coat the surface.
- Work in small sections: Create a “W” or “M” shape with your roller, then fill in the gaps with straight, even strokes.
- Use light pressure: Crushing your roller into the ceiling creates uneven patches and can lead to drips. Be gentle.
Bonus tip: Try to keep a wet edge as you move across the ceiling. This helps avoid those dreaded roller marks.
Step 3: Tackle Drips Head-On
No matter how careful you are, the occasional drip happens. Wipe it off immediately with a damp cloth if it’s still wet. If you spot a dried drip, sand it down lightly with fine-grit sandpaper and touch it up with a small brush.
To Coat or Not to Coat Again?
Chances are, your ceiling will need two coats for complete coverage. Allow your first coat to dry completely (4 to 6 hours is usually safe) before applying the second coat. If you’re painting a previously dark or stained ceiling, you might even need a third coat.
Take your time, check your handiwork under different lighting, and make sure the result is smooth and flawless.
Cleanup and Final Touches
Congratulations! The hard part is over. But you’re not quite done yet.
Remove Tape and Coverings Like a Pro
When the paint is fully dry, carefully peel off the painter’s tape. Do it slowly to avoid accidentally pulling up any fresh paint. Roll up your drop cloths and plastic coverings, starting from the edges to trap loose paint chips.
Clean Your Tools
Trust me, future you will thank you for this. Run brushes and rollers under warm, soapy water until the paint is gone. Leave them to air dry completely before storing. If you used oil-based paint, you’ll need mineral spirits or paint thinner for cleanup.
FAQs
Wrapping It Up
Painting a ceiling without making a mess isn’t as intimidating as it seems. With careful prep work, smart tool selection, and a little bit of patience, you’ll have a stunning, professional-looking ceiling sans disaster.
Say goodbye to splattered floors and gnarly neck cramps. The next time someone mentions ceiling painting, you can nod knowingly and say, “I got this.”
Oh, and if you’re feeling particularly adventurous, why not try a bold color or subtle textured finish for your next project? The possibilities are endless!

I am Mindy Medford, a home décor, paint, and design specialist with over a decade of hands-on experience transforming ordinary spaces into cozy, personality-packed havens. Since 2013, I have been helping homeowners discover the art of beautiful yet practical design. I share my love for color, texture, and layout—making stylish interiors & exteriors feel achievable for everyone. Whether it’s picking the perfect paint shade or reimagining a small space, I’m here to guide and inspire.