How to Make A Rust Color with Paint For A Vintage Look
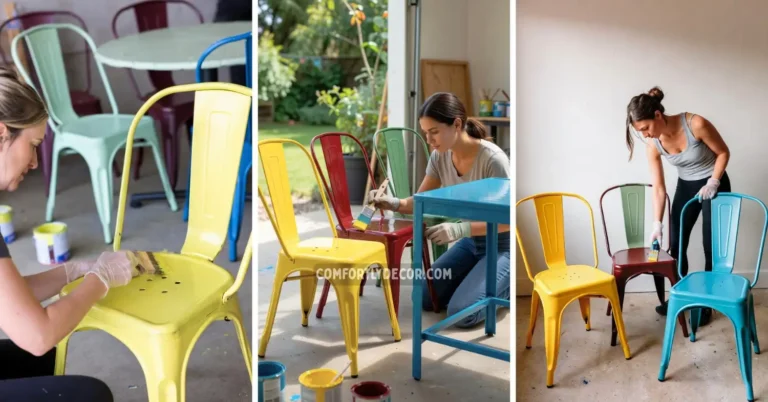
Rust is more than just a sign of aging metal. It’s a warm, earthy tone that evokes a sense of history, authenticity, and charm. Whether you’re working on a painting, refurbishing furniture, or simply trying to achieve a vintage aesthetic, creating a rust color with paint can add depth and character to your project.
This guide will take you through the essentials of mixing and applying a rust color. You’ll not only learn how to achieve the right shade but also enhance it with textures and effects for that perfect rustic appeal.
Understanding the Rust Color
Before you pick up your brushes, it helps to understand the essence of rust as a color.
The Science Behind Rust
Rust forms when iron reacts with oxygen and moisture, resulting in a reddish-brown layer known as iron oxide. This natural process gives rust its distinctive coloring, which is a blend of warm reds, browns, and oranges.
However, you don’t need real metal to replicate this color. By using the right combination of pigments, paints, and techniques, you can create a rust color that mimics the natural beauty of oxidation.
Color Components of Rust
To break it down, rust color is primarily made up of:
- Reds for warmth and vibrancy
- Oranges for brightness
- Browns for earthiness and depth
Adding these elements in varying proportions allows you to achieve the perfect blend of old-world charm and modern sophistication.
Choosing the Right Paints
The foundation of a successful rust color lies in choosing the right paints. Here’s what you’ll need:
- Primary Colors: Red, yellow, and blue for the base.
- Earth Tones: Burnt sienna and raw umber for a natural, weathered look.
- Acrylic Paints: These are easy to mix and apply, making them ideal for most projects.
- Special Pigments: Consider using iron oxide pigments, particularly yellow and red, for added authenticity.
Each of these paints plays a specific role:
- Red provides vibrancy.
- Yellow brings warmth.
- Brown adds richness and mimics the aged appearance of rusted metal.
Pro Tip: Start with small tubes of paint when experimenting. Once you’ve perfected your recipe, you can invest in larger quantities for bigger projects.
Mixing Paints to Achieve Rust Color
Now that you have the right paints, it’s time to mix them. Below is a step-by-step guide:
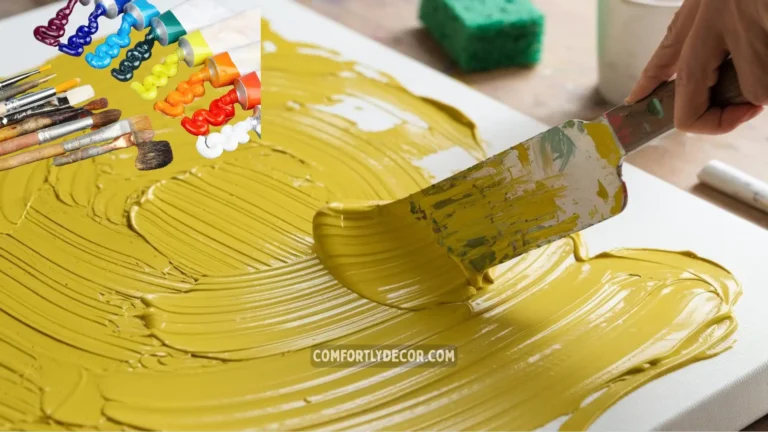
Step 1: Start with the Primary Colors
Begin by mixing red and yellow to create orange, the base for your rust hue. The ratio of red to yellow depends on how warm you want the tone to be. For example, more red will result in a richer, deeper rust color.
Step 2: Darken with Blue or Brown
Once you have your orange base, add a touch of blue to tone it down. Alternatively, you can use brown (like raw umber) to make the orange more earthy and muted.
Step 3: Refine with Earth Tones
Add a little burnt sienna or raw umber to give the mixture a natural, rust-like depth. These earthy tones help mimic the warmth and texture of real rusted surfaces.
Step 4: Incorporate Pigments
For added authenticity, incorporate iron oxide red or yellow pigments into your mix. These pigments replicate the chemical composition of rust and enhance the dimensionality of the color.
Step 5: Test and Adjust
Apply a swatch of your mixture on paper or your project’s surface. Allow it to dry, as the color often deepens after drying. Make adjustments as necessary by adding small amounts of red, yellow, or brown.
Applying Patina Effects for Extra Rustic Charm
To make your rust color pop, consider adding patina effects. These effects mimic the weathered, oxidized look of aged metal.
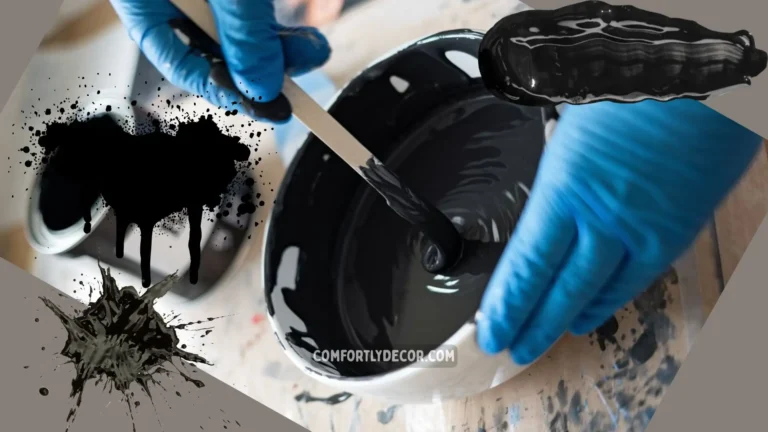
Step 1: Create a Patina Mix
Combine green and blue paint with water to create a translucent patina wash. Adjust the ratio for a subtle or bold effect.
Step 2: Apply Over the Rust Base
Lightly brush or sponge the patina mix over the rust base. Focus on edges and corners to mimic the natural wear patterns seen on rusted metal.
Step 3: Blend for Seamlessness
Gently blend the patina into the rust base using a damp sponge or cloth. This softens the effect and ensures a cohesive look.
Step-by-Step Rust Color Mixing and Application Guide
Follow these steps to create and apply your rust color:
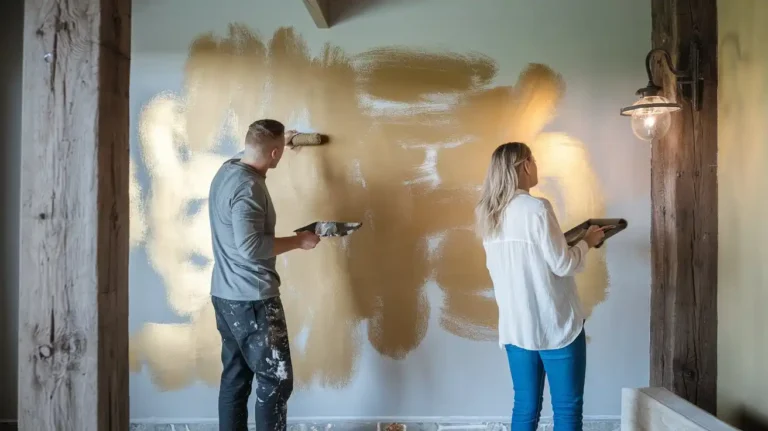
- Prepare Your Surface: Sand and prime your surface for better paint adhesion.
- Mix Your Base Color: Start with red and yellow to create orange, adding brown and blue as needed for depth.
- Layer the Paint: Apply the base coat with a brush or sponge, letting it dry between layers.
- Add Texture: Use techniques like stippling or dry brushing to create variations in color.
- Apply Patina Effects (Optional): Use a green-blue wash to enhance the rustic appeal.
- Seal Your Work: Apply a matte or glossy sealant to protect your masterpiece and enhance its finish.
Tips and Tricks for Perfect Rust Shades
- Experiment with Ratios: Record your paint ratios during mixing so you can replicate or refine the color later.
- Use Reference Images: Study photos of rusted surfaces to better understand how colors and textures interact.
- Layer for Depth: Build up layers of paint instead of applying too much at once. This creates a more realistic look.
- Seal for Longevity: Protect your project with a sealant to prevent fading and wear.
FAQs
Summing Up the Charm of Rust
Rust isn’t just a color; it’s a story. By combining science and creativity, you can bring its warmth and character to life in your projects. Whether you’re a DIY enthusiast or an artist perfecting your craft, creating rust colors opens up a world of possibilities.
Don’t be afraid to experiment, mix, and play with textures. After all, the beauty of rust lies in its imperfections.
Start your own rust-inspired masterpiece today. Gather your paints, brushes, and creativity, and transform ordinary objects into timeless works of art.

I am Mindy Medford, a home décor, paint, and design specialist with over a decade of hands-on experience transforming ordinary spaces into cozy, personality-packed havens. Since 2013, I have been helping homeowners discover the art of beautiful yet practical design. I share my love for color, texture, and layout—making stylish interiors & exteriors feel achievable for everyone. Whether it’s picking the perfect paint shade or reimagining a small space, I’m here to guide and inspire.