How to Make A Cream Color with Paint
When it comes to painting or decorating, finding the perfect shade can feel like solving a puzzle. Cream is one of those timeless, versatile colors that works beautifully across styles and settings, whether you’re decorating a cozy living space, adding character to a canvas, or refinishing old furniture. But what if you can’t find the exact tone you’re picturing? The good news is that crafting your own cream color with paint is straightforward and budget-friendly.
This guide will take you through the process step by step, from understanding what gives cream its unique warmth to creating the perfect shade for your project.
What is Cream Color and Why is it Popular?
Cream is a soft, off-white shade that includes subtle warm undertones, often leaning toward yellow or beige hues. Its name perfectly captures its inviting, cozy nature, evoking feelings of comfort and elegance.
This flexibility is part of what makes cream such a popular choice:
- For Home Decor: Cream walls and furniture provide a neutral backdrop that pairs well with bold and muted accents alike without feeling stark.
- For Artists: Cream adds warmth to paintings, working as both a background hue and a mixing color for creating lifelike skin tones and textures.
- For Custom Projects: Its adaptability and warmth make cream a go-to choice for DIY enthusiasts looking to add character to their work.
Gathering Your Supplies
Before you start mixing, it’s important to have all your tools and materials handy. Here’s what you’ll need:
Paint Types
- White Paint: The foundation color for cream.
- Yellow Paint: Adds warmth and soft brightness.
- Brown or Red Paint (optional): Helps you achieve warmer or deeper cream tones if needed.
Tools
- Mixing Containers: To hold your paint while mixing.
- Paint Mixing Sticks or Brushes: For blending the paints together evenly.
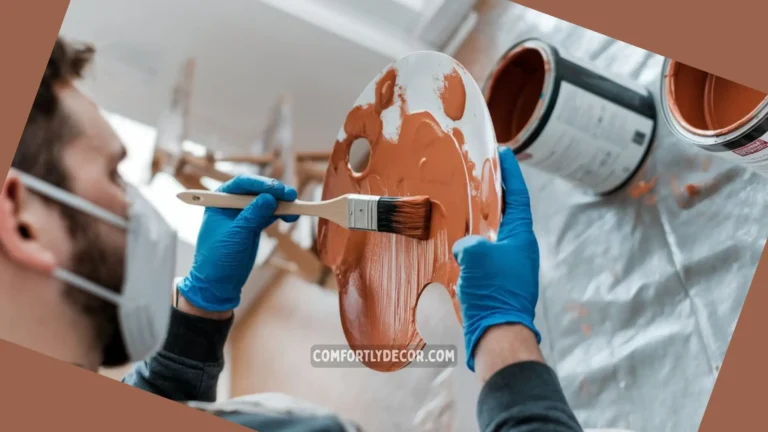
- Palette or Testing Surface: To check the final tone before application.
Pro tip: Use high-quality paint for better color depth and easier blending.
A Step-by-Step Guide to Mixing Cream Color
Now that you’ve gathered your supplies, here’s how to create the perfect cream color:
Step 1. Start with White Paint
Using white paint as your base, pour a moderate amount into your mixing container or palette. Always start with more white paint, as it’s easier to darken your mixture than to lighten it.
Step 2. Add a Touch of Yellow
Slowly incorporate a small amount of yellow paint into the white. Mix thoroughly to blend the colors completely. Aim to start small; even a tiny bit of yellow can make a big difference in your final shade.
Step 3. Adjust for Warmth
Check the hue of your mix. Do you want a warmer cream tone? Add a touch of brown or red paint to introduce depth and richness. Keep in mind that brown will often create a muted, earthy cream, while adding red results in a peachier hue.
Step 4. Refine the Shade
Fine-tune the balance. If the paint feels too yellow, add more white. If it’s too cool, introduce a bit more yellow or brown. Keep mixing until you’ve achieved the cream color that fits your vision.
Step 5. Test the Color
Before committing to your mixture, test it! Use a paintbrush to apply the mix to a sample surface (like a scrap of wood or paper) and allow it to dry. This provides a more accurate idea of how the color will look in your intended space.
Tips for Achieving the Perfect Cream Color
- Mix Slowly: Add new colors in tiny amounts to avoid overshooting your desired tone.
- Consistency is Key: Stir thoroughly to ensure an even color with no streaks.
- Document Your Ratio: Keep track of how much of each color you use, so you can recreate the shade if needed.
- Lighting Matters: Test the color in the space you’ll use it, as natural and artificial light can impact how the hue appears.
Popular Uses of Cream Color
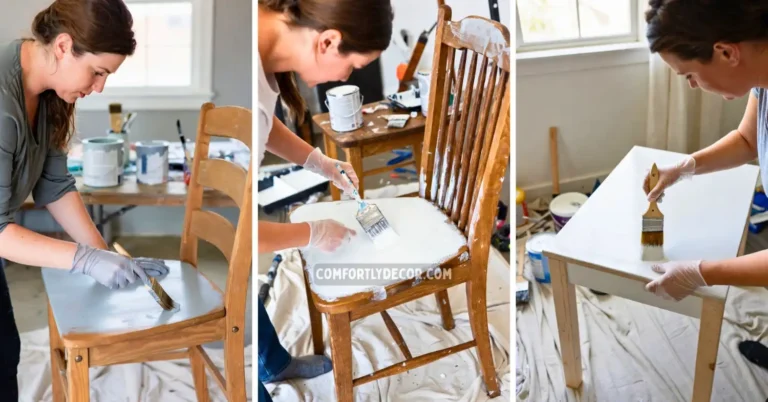
Home Decor
Cream creates an elegant yet cozy feel in living spaces. Use it for:
- Walls to soften a room while maintaining neutrality.
- Furniture like chairs, cabinets, and tables to add sophistication.
- Accessory Highlights such as vases, lampshades, or picture frames.
Art Projects
Artists often use cream to mix skin tones, develop depth, and complement brighter shades. It works well as a base layer or accent for creating subtle warmth in paintings.
DIY Creations
From upcycled furniture to handmade cards, cream serves as a versatile foundational color that enhances handmade projects with a polished finish.
Common Mistakes to Avoid
- Overloading with Yellow: Too much yellow can make your cream appear overly bold and shift toward pastel.
- Skipping the Test Step: Always verify your shade on a surface before full application.
- Incomplete Mixing: Leaving streaks or unblended spots can lead to uneven application.
Cream vs Off-White
While cream and off-white are both neutral shades, they serve different aesthetic purposes:
- Cream has warm undertones, making it softer and more inviting.
- Off-white is cooler and crisper, giving it a more modern elegance.
Choose cream for cozy or vintage-inspired spaces and off-white for minimalist, clean designs.
Adjusting the Shade
Need to tweak your color? Here’s how:
- To lighten your cream, add more white paint.
- To darken, incorporate tiny amounts of brown or yellow, keeping it gradual.
- To balance warmth, play with yellow or red tones for richer depth.
FAQs
Bring Your Cream Color Ideas to Life
Making cream paint is a fun and rewarding project that empowers you to create the exact shade you envision. Whether you’re refreshing your home decor or indulging your artistic spirit, don’t be afraid to experiment and enjoy the process.
Start with the basics, adjust as needed, and make the creamy hue perfect for any creative or practical application. Happy painting!

I am Mindy Medford, a home décor, paint, and design specialist with over a decade of hands-on experience transforming ordinary spaces into cozy, personality-packed havens. Since 2013, I have been helping homeowners discover the art of beautiful yet practical design. I share my love for color, texture, and layout—making stylish interiors & exteriors feel achievable for everyone. Whether it’s picking the perfect paint shade or reimagining a small space, I’m here to guide and inspire.