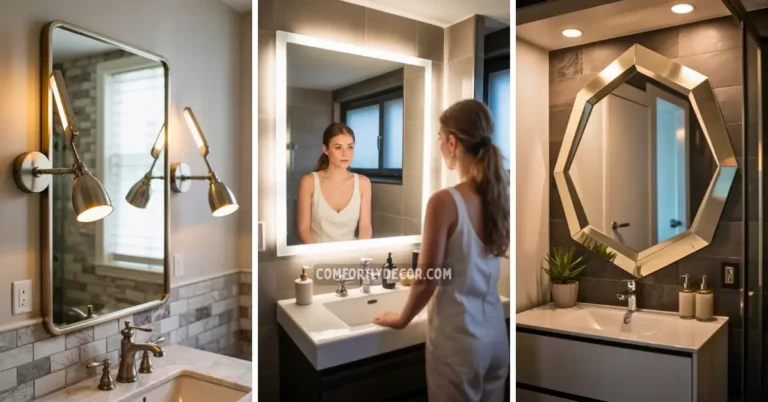
How to Frame A Bathroom Mirror in 5 Easy Steps
Ever look at that plain, frameless mirror in your bathroom and think it is just… there? Yeah, I have been there. Those standard, builder-grade mirrors do their job, but they do not exactly scream “style,” do they? They are the beige of the bathroom world, functional but forgettable.
I decided my sad little mirror needed a glow-up, and let me tell you, framing it was one of the easiest and most satisfying DIY projects I have ever tackled. It is a total game-changer. For just a few bucks and an afternoon, I turned that boring rectangle into a custom piece that looks a hundred times more expensive than it was. Ready to give your bathroom some personality? I will show you exactly how I did it.
First, Let’s Go Shopping: Supplies You’ll Need
Before you start, you’ll need to gather a few things. Trust me, having everything ready beforehand saves you from making those annoying mid-project trips to the hardware store. Here’s my shopping list:
- Trim or Molding: This is the fun part. You can use anything from simple craft board to fancy, detailed molding. I went with a simple, flat trim for a modern look.
- Measuring Tape: A must-have. Don’t even think about eyeballing it unless you enjoy crying.
- Saw: A miter saw is your best friend here for those clean, 45-degree angle cuts. If you don’t have one, a miter box and a hand saw will work just fine.
- Adhesive: I recommend a strong construction adhesive like Liquid Nails. You want something that can handle bathroom humidity.
- Paint or Stain: Choose a color that complements your bathroom decor.
- Sealant: A clear, waterproof sealant is crucial to protect your frame from moisture.
- Caulk: Optional, but it gives your project that clean, professional finish.
Let’s Build This Thing: The Step-by-Step Process
Got all your supplies? Awesome. Now let’s get to the good part—building the frame.
Step 1: Measure Your Mirror

Okay, this is where you need to be precise. Measure the height and width of your mirror carefully. Write the numbers down. Measure them again. Seriously, measure twice, cut once is a cliché for a reason. Make sure you know exactly how big that mirror is before you touch your saw.
Step 2: Cut and Prep Your Trim
Time to make the cuts. You’ll need to cut your trim pieces at a 45-degree angle so they fit together to form a perfect corner. This is where a miter saw or miter box comes in handy.
Here’s a quick tip: cut your pieces slightly longer than you need, then trim them down. It’s always easier to take more off than it is to add wood back on (which, FYI, is impossible). Once your pieces are cut, do a quick “dry fit” by placing them around the mirror to make sure everything lines up.
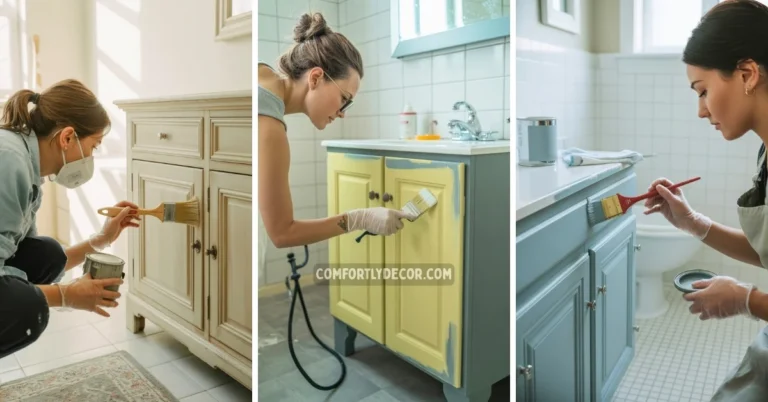
Step 3: Paint or Stain Your Frame
Now for the creative part. I laid my frame pieces out on a drop cloth and gave them a couple of coats of black paint for a sleek, modern vibe. If you’re using stain, apply it evenly and wipe off the excess.
Whatever you choose, don’t skip the sealant! After your paint or stain is completely dry, apply a clear, waterproof sealant. This will protect your beautiful new frame from steam and moisture.
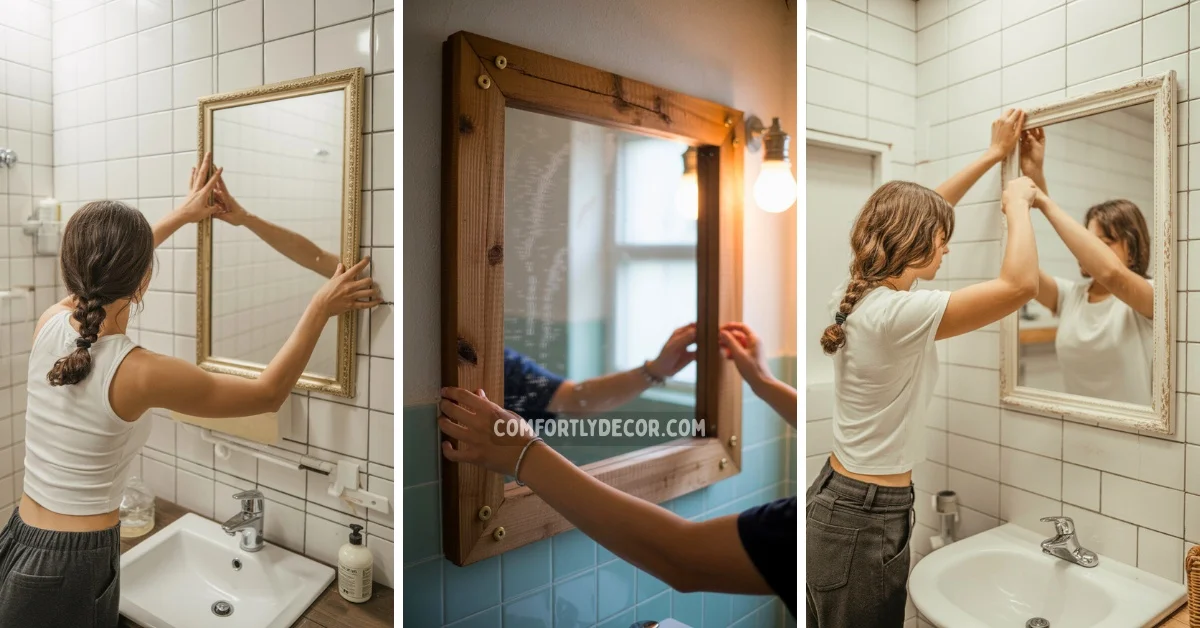
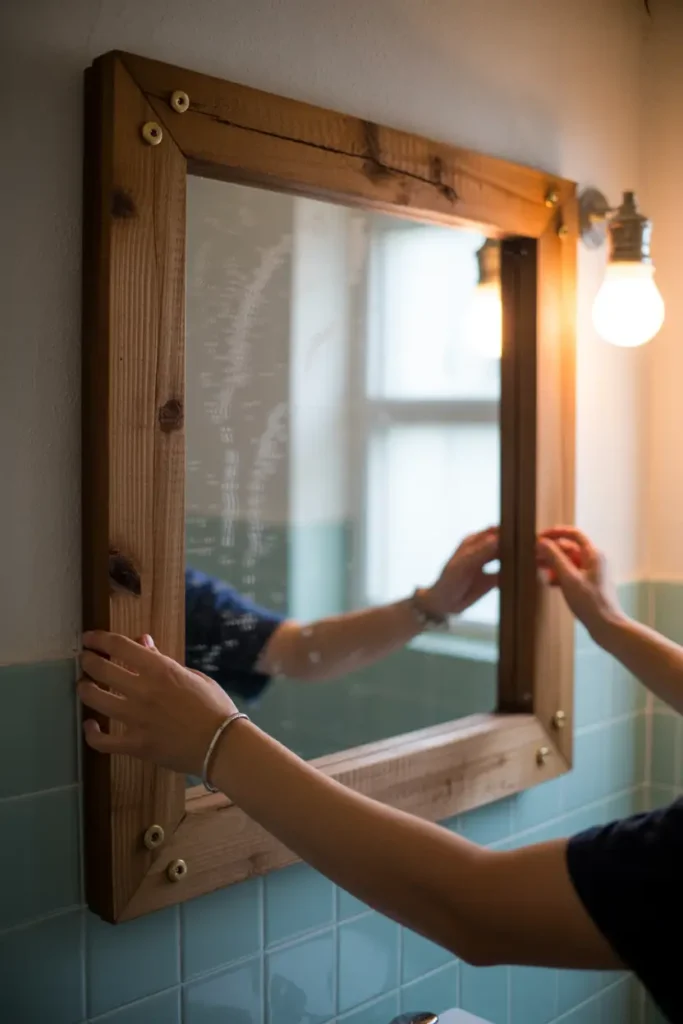
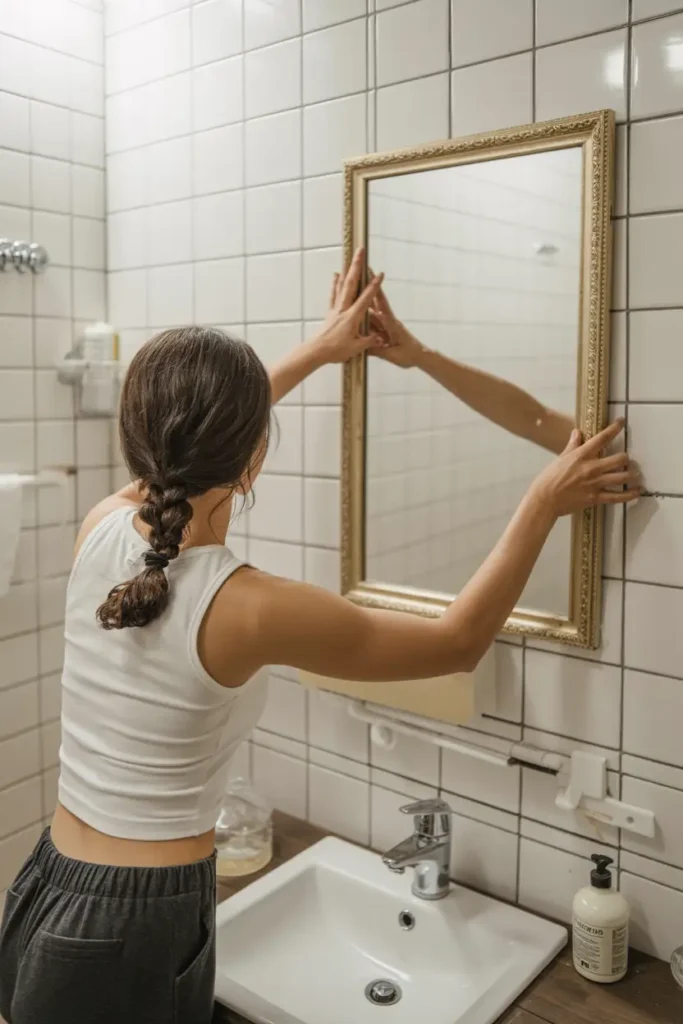
Step 4: Attach the Frame to the Mirror
The moment of truth! You have a few options for attaching the frame. I used construction adhesive (Liquid Nails) because it’s super strong and reliable. I applied a thin bead of it to the back of each trim piece and carefully pressed them onto the mirror.
You could also use heavy-duty mounting tape or special mirror clips. Just make sure whatever you use is rated for bathroom use. I used painter’s tape to hold the frame in place while the adhesive cured overnight.
Step 5: Caulk the Seams (Optional)
If you want that ultra-polished look, run a thin bead of paintable caulk along the seams where the frame pieces meet and where the frame meets the mirror. Smooth it out with your finger and wipe away any excess. Once it’s dry, you can touch it up with a little paint. This step really makes it look like a single, seamless piece.
Get Creative: Style Ideas for Your Frame
Your frame doesn’t have to be basic. Here are a few ideas to get your creative juices flowing:
- Rustic Farmhouse: Use reclaimed wood or a distressed wood finish for a cozy, rustic look.
- Modern and Sleek: A simple, flat frame painted black, white, or a bold color can make a huge statement.
- Glamorous Touch: Why not try a metallic finish? Gold or silver can add a touch of elegance.
- Mosaic Magic: For a truly unique look, you could even glue mosaic tiles onto a flat wood frame.
Keep It Looking Good: Maintenance Tips
Your new frame looks amazing, right? Let’s keep it that way.
- Wipe it down regularly to prevent moisture from sitting on the wood.
- Make sure you used a mildew-resistant paint and sealant.
- If you see any chips or cracks, touch them up immediately to prevent water from getting into the wood.
FAQs
Your Bathroom’s New Centerpiece
And there you have it! For a small investment of time and money, you’ve completely transformed your bathroom. It’s one of those simple projects that provides a huge visual payoff and makes you feel like a DIY superhero every time you see it.
So what are you waiting for? Go give that boring mirror the frame it deserves!

I am Mindy Medford, a home décor, paint, and design specialist with over a decade of hands-on experience transforming ordinary spaces into cozy, personality-packed havens. Since 2013, I have been helping homeowners discover the art of beautiful yet practical design. I share my love for color, texture, and layout—making stylish interiors & exteriors feel achievable for everyone. Whether it’s picking the perfect paint shade or reimagining a small space, I’m here to guide and inspire.