How to Clean Laminate Wood Floors Like A Pro
I remember the first time I moved into a place with laminate flooring. I stared at it with a mix of excitement and absolute confusion. It looked exactly like wood but felt different under my feet. I assumed I could treat it just like the hardwood in my childhood home. I was wrong. Very wrong. I almost ruined the floor in the first week by soaking it with a wet mop.
Cleaning laminate is not rocket science but it does require a specific set of rules. Ignore them and you risk warping the planks or creating a cloudy mess that no amount of scrubbing will fix. I have spent years perfecting my technique to keep my floors looking brand new. I am going to walk you through exactly how to clean laminate wood floors without causing any damage.
Understanding Your Floor
Laminate flooring is essentially a photograph of wood glued onto a particleboard core. It is topped with a clear protective layer that is incredibly tough. This construction makes it durable and resistant to scratches but it also introduces a major weakness. That weakness is water.
If water seeps into the seams between the planks the core absorbs it like a sponge. The edges swell and the surface bubbles up. Once this happens there is no going back. You cannot sand laminate down like real wood. This is why keeping the floor dry is the number one rule I live by.
The Tools I Use
I keep my cleaning kit simple. You do not need expensive machines or fancy gadgets to get the job done. In fact some of those expensive gadgets will actually destroy your warranty. I stick to the basics that I know work well.
Here is what I keep in my cleaning closet
- A soft bristle broom or a vacuum cleaner with a hard floor attachment
- A microfiber mop
- A spray bottle
- White vinegar or a manufacturer recommended cleaner
- A bucket
Notice that I did not list a steam mop. Do not even look at a steam mop. I will explain why later but just trust me on this one. FYI using a steam mop is the fastest way to void your warranty and ruin your floor.
Step 1: Removing Loose Dirt
Dust and dirt can damage the protective layer on your laminate flooring. Over time, sand and grit act like sandpaper, dulling the finish and causing scratches. Here’s how to prevent this:
- Remove loose debris frequently to protect your floors.
- Use a vacuum cleaner for better dirt removal from grooves.
- Make sure the beater bar is turned off. A rotating brush can scratch the surface.
- If your vacuum doesn’t have a brush-off setting, use a soft broom instead.
Step 2: Mopping Solution

I have tried every cleaner on the shelf but I always come back to a simple DIY recipe. It is cheap and effective and it leaves no residue. Most manufacturers like Pergo or Mohawk actually suggest a vinegar solution for deep cleaning.
My go to cleaning recipe
- 1 cup of household white vinegar
- 1 gallon of warm water
If you hate the smell of vinegar you can also use ammonia. Mix one third of a cup of ammonia with one gallon of warm water. Both solutions cut through grease and grime without damaging the protective coating.
If you prefer a store bought cleaner make sure it is specifically labeled for laminate flooring.
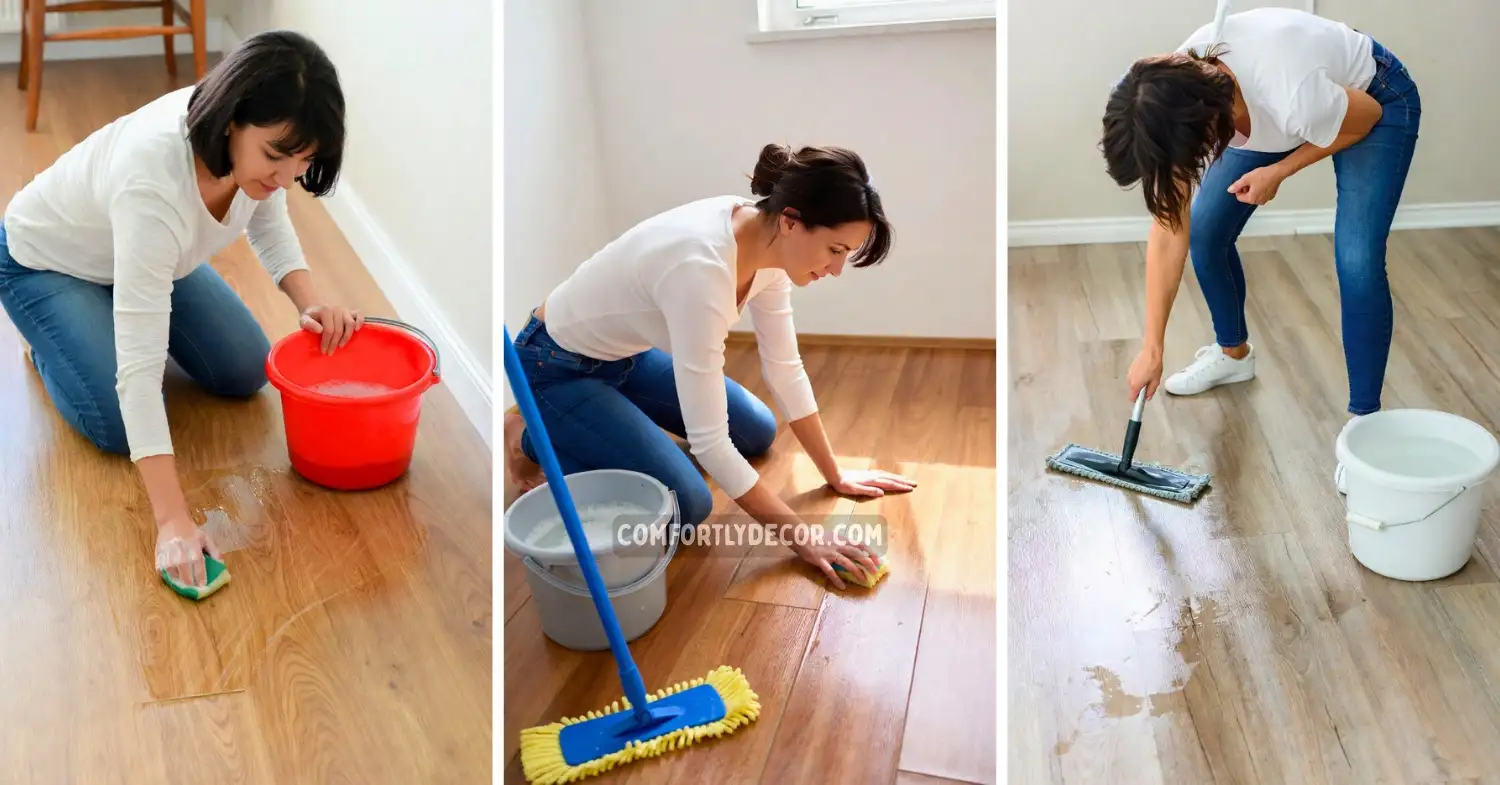
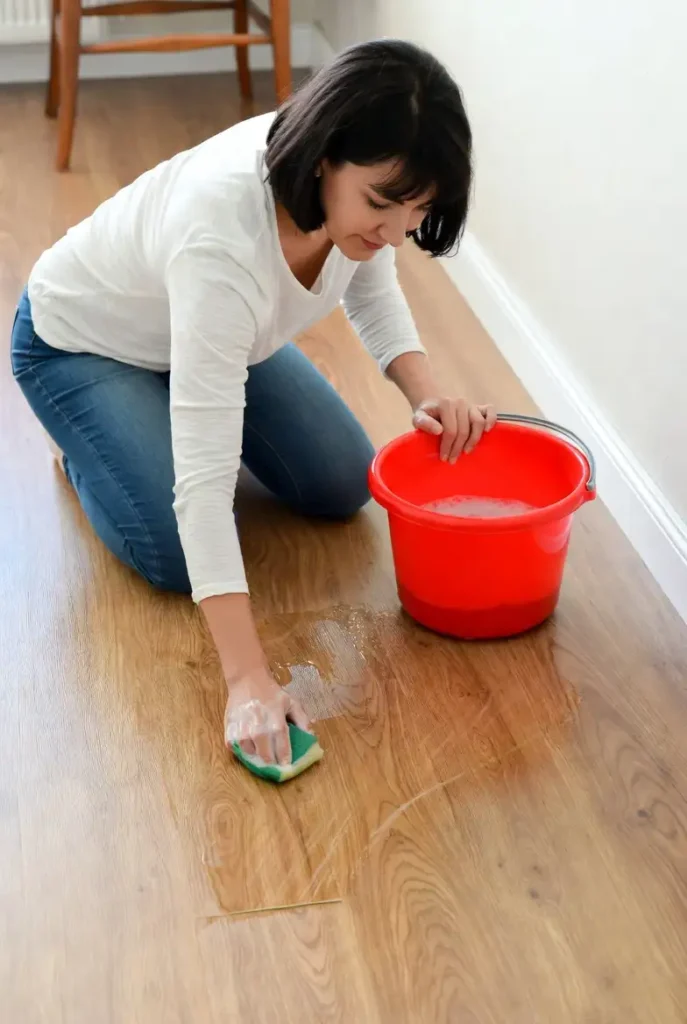
Step 3: Mopping Technique
- Many people make the mistake of thinking the floor needs to be wet to get clean—this is a big no-no! The goal is to damp mop the floor, not soak it.
- How to damp mop properly:
- Dip your microfiber mop into the bucket.
- Wring it out thoroughly—aim for a mop head that is moist, not dripping.
- Mop in the direction of the floor planks to prevent streaks.
- Work in small sections to maintain control of the moisture level.
- If you notice water beads on the surface, wipe them up immediately with a dry cloth.
- The floor should air dry in 1-2 minutes. If it takes longer, you’re using too much water.
- Why microfiber mops work best:
- They pick up dirt effectively without holding excess liquid.
Common Stains and How I Remove Them
Life happens and stains are inevitable. I have dealt with everything from spilled wine to crayon masterpieces from my niece. The key is to act fast. The longer a stain sits the harder it is to remove.
Here is how I tackle specific disasters
- Candle wax or chewing gum: I harden the spot with ice and then gently scrape it off with a plastic credit card. Do not use a metal knife.
- Ink or nail polish: I use a little bit of rubbing alcohol or nail polish remover on a clean cloth. I rub the spot gently until the color lifts.
- Oil or grease: The vinegar and water solution usually takes care of this. If it is stubborn I use a little bit of clear dish soap on a cloth.
Things You Must Avoid
I cannot stress this section enough. There are so many products marketed for floors that will absolutely destroy laminate. I learned this the hard way so you do not have to.
Products I ban from my house
- Steam Mops: The intense heat and moisture force water deep into the core of the planks.
- Wax or Polish: Laminate does not need waxing. Adding wax creates a dull film that attracts dirt and is a nightmare to remove.
- Abrasive Cleaners: Scouring powder or steel wool will scratch the clear protective layer.
- Oil Soap: This leaves streaks and a residue that makes the floor look cloudy.
Protecting Your Investment
Cleaning is important but prevention is even better. I take a few simple steps to stop dirt and damage before they happen. It saves me time cleaning later and keeps my floors looking fresh.
- I place mats at every entrance to catch dirt and moisture from shoes.
- I also use felt pads under all my furniture legs. Heavy couches and tables can scratch the floor if they shift even a little bit.
- Check these pads every few months to make sure they are still in place.
FAQs
A Final Thought on Clean Floors
Learning how to clean laminate wood floors is all about moisture control. Once I realized that less water equals better results my life got a whole lot easier. My floors look amazing and I spend less time worrying about ruining them.
Treat your laminate kindly and it will last for years. Stick to the vinegar solution and keep the steam mop far away. I hope this guide helps you keep your home looking spotless. Now go enjoy your beautiful floors.

I am Mindy Medford, a home décor, paint, and design specialist with over a decade of hands-on experience transforming ordinary spaces into cozy, personality-packed havens. Since 2013, I have been helping homeowners discover the art of beautiful yet practical design. I share my love for color, texture, and layout—making stylish interiors & exteriors feel achievable for everyone. Whether it’s picking the perfect paint shade or reimagining a small space, I’m here to guide and inspire.