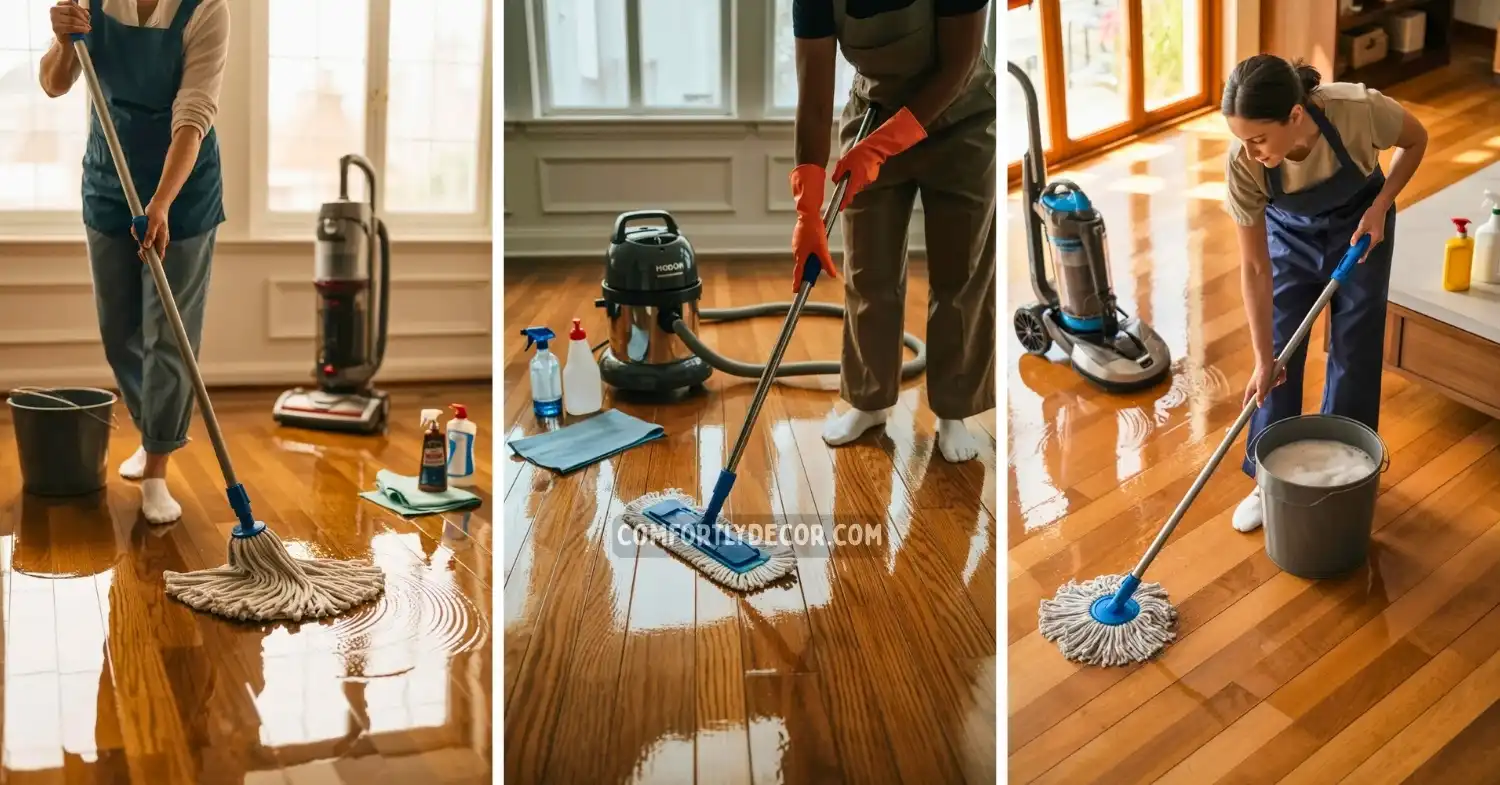
How to Clean Hardwood Floors Like A Pro
I ruined my first hardwood floor. I thought I was doing the right thing by soaking it with a mop and bucket. Then I watched the boards cup and warp within months because I had no idea what I was doing. You do not want to make the same expensive mistakes I did.
Learning how to clean hardwood floors is actually quite simple once you ignore the bad advice online. I want to share the exact methods professional flooring associations recommend. This guide will help you keep your floors looking incredible without destroying the finish.
Know Your Finish First
Before cleaning, it’s crucial to identify your floor’s finish:
- Surface Seals (Urethane or Polyacrylic):
- Found on most modern floors.
- Easier to clean since the seal protects the wood.
- Penetrating Seals or Oil Finishes:
- Common in older homes.
- Require specific wax-based cleaners.
How to Test Your Floor’s Finish:
- Rub your finger across the floor.
- No smudge: Likely surface-sealed.
- Smudge appears: Likely a penetrating seal or oil finish.
The Tools You Actually Need
You don’t need to clutter your home with fancy cleaning gadgets. Stick to these essentials:
- Microfiber Mop:
- Traps dust better than cotton.
- Uses static electricity to grab dirt.
- Vacuum Cleaner with Adjustable Settings:
- Turn off the beater bar to prevent scratches.
- Use the hard floor setting for straight suction.
- pH-Neutral Hardwood Floor Cleaner:
- Specifically formulated for wood floors.
- Avoid general-purpose cleaners to prevent hazy residue.
Routine Dry Cleaning
Daily habits can save your floors from wear and tear:
- Sweep or Vacuum Daily:
- Focus on high-traffic areas.
- Sand and dirt act like sandpaper, dulling the finish.
- Use a Dust Mop:
- A quick pass takes less than 5 minutes.
- Prevents most damage and extends floor life.
- Place Walk-Off Mats at Entrances:
- Catches dirt before it reaches the floor.
- Focus on areas near exterior doors.
Following these tips will keep your floors clean and looking their best for years to come!
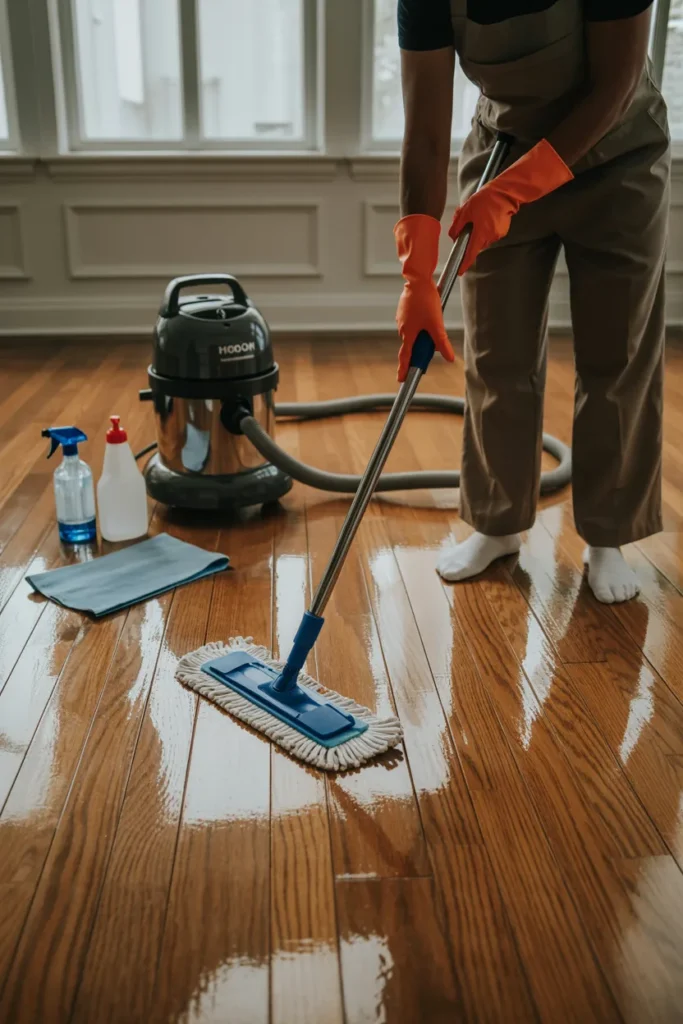
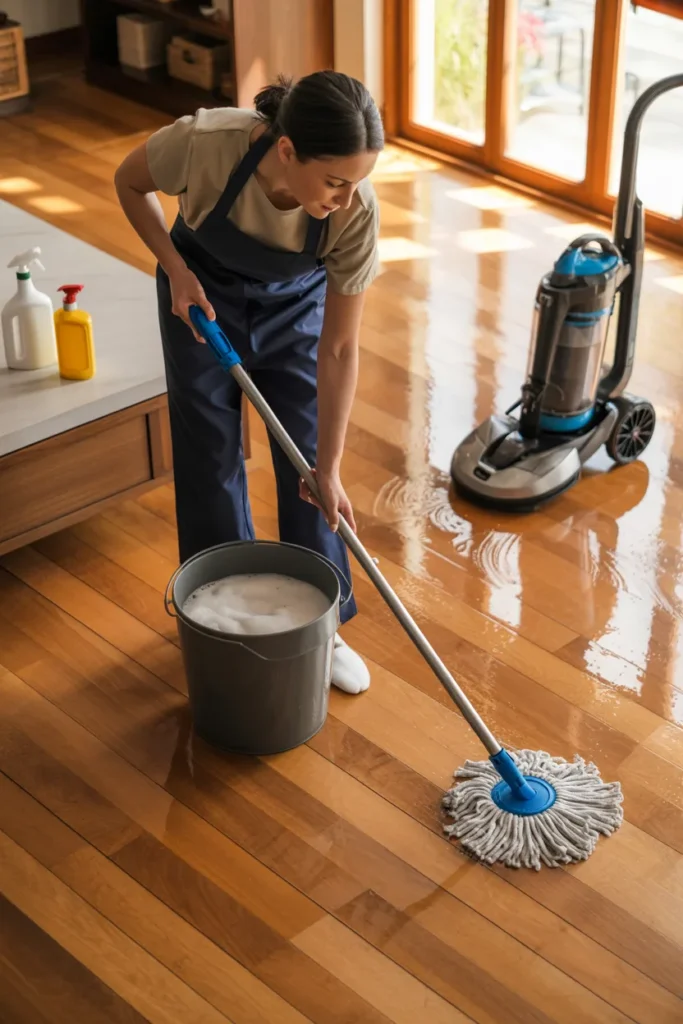
The Right Way to Mop
You must forget everything you know about traditional mopping. Water is the enemy of wood because it causes swelling and discoloration. I never use a bucket and mop because it puts too much liquid on the surface.
Follow this safer process
- Mist a small section of the floor with your cleaner
- Wipe the area immediately with your microfiber mop
- Check that the floor dries within seconds
- Move to the next section and repeat
I work in small areas to ensure the liquid never sits on the wood for long. If the mop pad gets too wet I swap it out for a dry one. You want the floor to look barely damp and never wet.
What to Avoid When Cleaning Hardwood Floors
Many popular cleaning “hacks” can actually ruin your hardwood floors. Here’s what to stay away from:
- Vinegar and Water: It’s a common recommendation, but vinegar is an acid that will eat away at your floor’s finish over time. Repeated use will make your floor lose its shine and look dull.
- Steam Mops: These are even worse. Steam mops force hot moisture deep into the wood fibers, which can cause irreversible damage like warping and cupping.
- Ammonia or Glass Cleaners: Harsh chemicals like these will strip away the protective layer on your floors, shortening their lifespan.
Always stick to products that are specifically approved for use on wood floors.
How to Handle Spills and Scratches
Accidents are bound to happen. Here’s how to deal with them:
- Wipe up spills immediately. Even a small puddle of liquid can leave a dark, permanent stain if left for too long.
- For minor scratches (especially if you have kids or pets), use a matching touch-up kit to hide them. Light scuffs can often be buffed out with a clean microfiber cloth.
- Place felt pads under all furniture legs to prevent deep gouges. Check them every few months to make sure they’re still in place.
Deep Cleaning and Long-Term Maintenance
Sometimes your floor needs more than a quick mopping.
- Perform a deep clean annually: I do this every spring using a slightly more concentrated wood cleaner, but I still keep moisture to a minimum.
- Consider a screen and recoat: If your floor looks dull even after cleaning, this process adds a fresh layer of urethane to restore its shine. It’s much cheaper than a full refinish.
- Plan for refinishing: Solid wood floors typically need to be refinished every few decades. However, consistent, proper cleaning can delay this expensive project significantly. Think of your floors as an investment that adds value to your home.
FAQs
Keep Your Floors Looking New
Cleaning wood floors does not have to be a complicated nightmare. You simply need to keep them dry and keep them free of grit. I hope this guide helps you enjoy your beautiful floors for years to come.

I am Mindy Medford, a home décor, paint, and design specialist with over a decade of hands-on experience transforming ordinary spaces into cozy, personality-packed havens. Since 2013, I have been helping homeowners discover the art of beautiful yet practical design. I share my love for color, texture, and layout—making stylish interiors & exteriors feel achievable for everyone. Whether it’s picking the perfect paint shade or reimagining a small space, I’m here to guide and inspire.