How to Clean Grout on Tile Floors – Guide to Sparkling Floors
Ever look down at your tile floors and wonder if the grout used to be a different color? I know I have. It is amazing how much dirt those tiny lines can hold. You scrub and scrub but it feels like the grime just laughs at you.
Well I am here to tell you that getting your grout clean does not have to be a nightmare. We are going to tackle this together and get those floors looking brand new.
Why is Grout So Hard to Clean?
Ever feel like you’re fighting a losing battle with your grout? You’re not alone. Grout is porous, meaning it acts like a tiny sponge, absorbing everything from dirt to spilled coffee. So, every time you mop, you might actually be pushing grime deeper into those lines.
I used to think scrubbing harder was the solution, but that just left me with a sore back and still-dirty grout. The real secret is to lift the dirt out, not just spread it around.
Safety First (Seriously, Read This!)
Before we dive into cleaning, let’s talk safety. Mixing cleaning chemicals is a huge no-no.
- NEVER mix bleach with ammonia or acids (like vinegar). Doing so creates toxic chloramine gas, which is extremely dangerous and can cause serious harm to your lungs.
- Always work in a well-ventilated area. Open a window or use a fan to keep the air circulating.
Your safety is more important than sparkling floors. Please be careful
Gather Your Tools
You do not need a fancy machine to get started but having the right tools makes a huge difference. I usually grab a few basics before I begin
- A stiff nylon brush because an old toothbrush works in a pinch
- A bucket of warm water
- A neutral pH grout cleaner or mild alkaline cleaner
- A dry towel or a wet dry vacuum which is my secret weapon
- Gloves to protect your hands
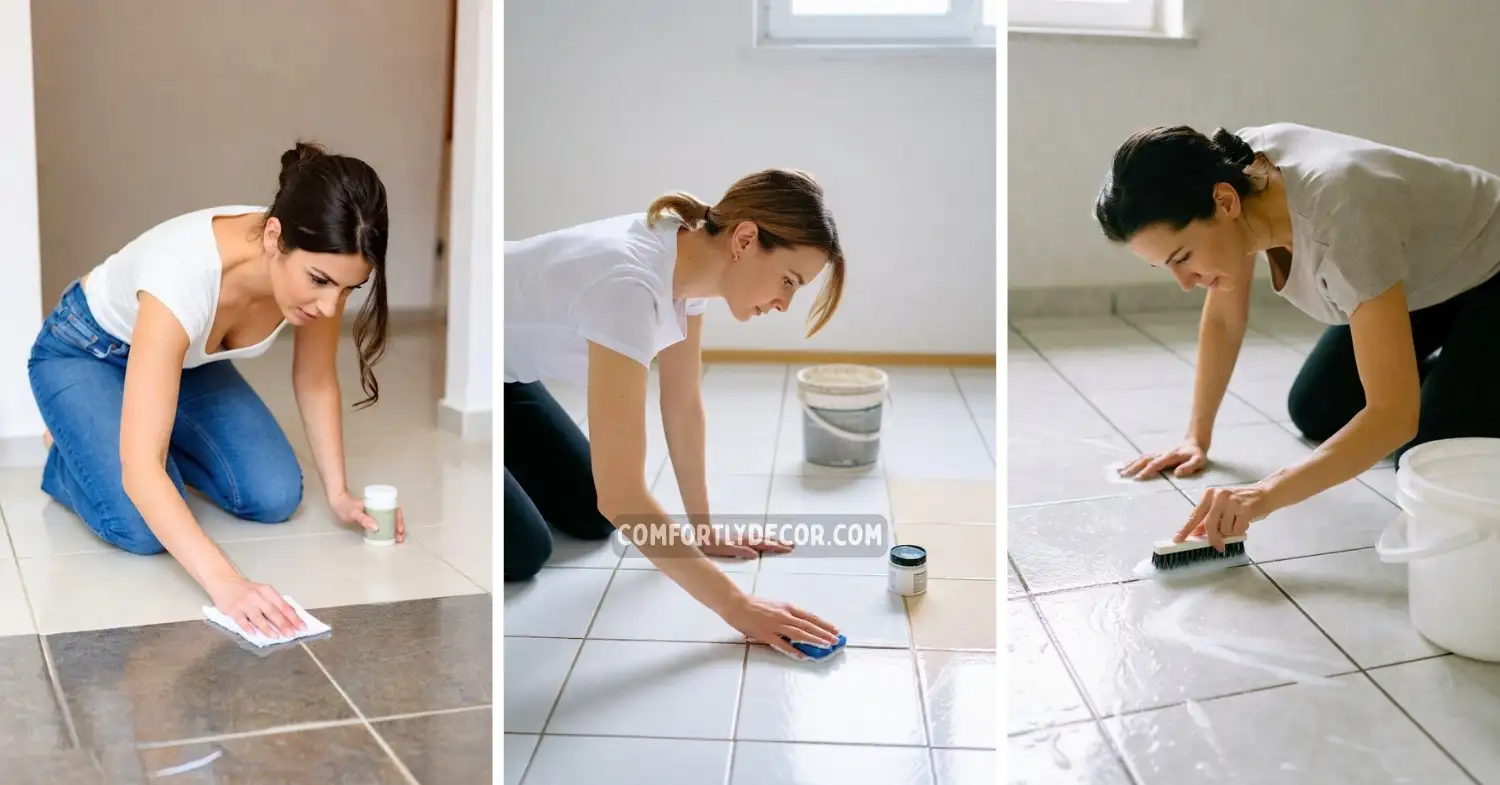
My Proven Grout Cleaning Process
Here’s my step-by-step method for getting the best results on your floors.
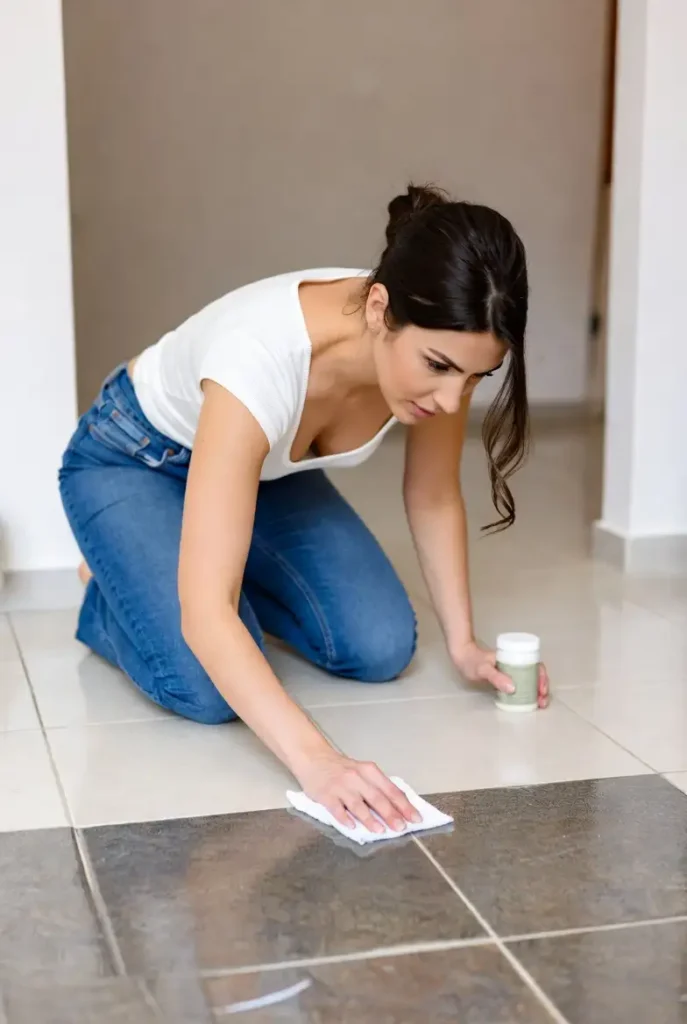
First, thoroughly sweep or vacuum the area. You don’t want any loose debris turning into mud once you add water.
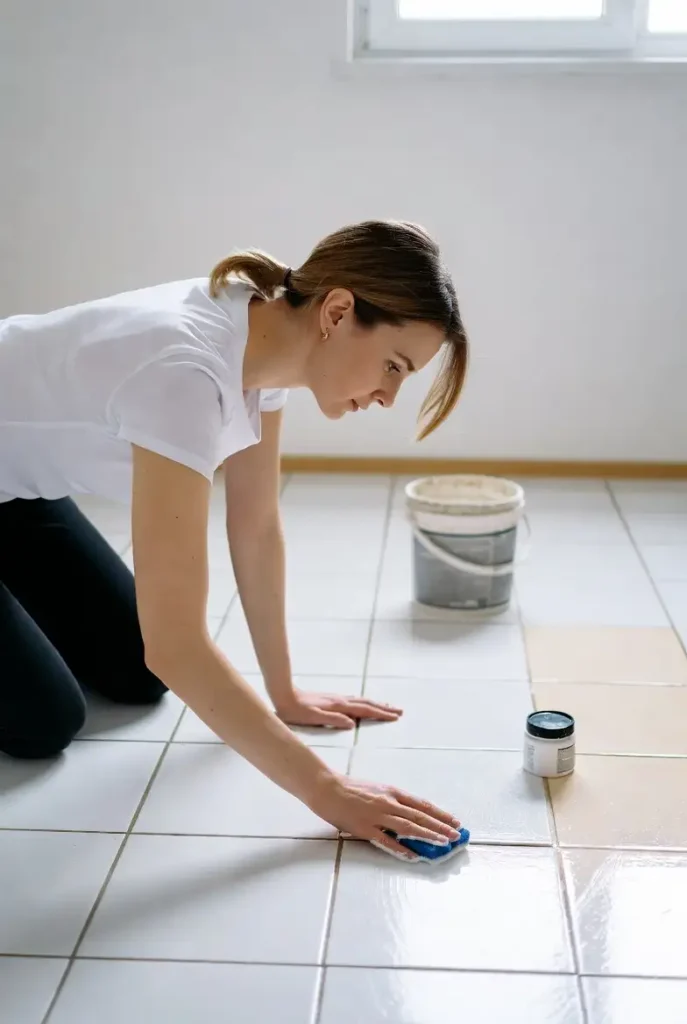
Next, apply your chosen grout cleaner and let it sit for a few minutes. This “dwell time” is crucial because it allows the cleaner to penetrate and break down the grime effectively.
Now for the fun part: scrubbing! Use your brush to scrub the grout lines. You don’t need to break your back, but a little elbow grease goes a long way.
The Secret to Success: Rinsing
This is the step most people get wrong, undoing all their hard work. Simply mopping dirty water around leaves behind a residue that acts like a magnet for new dirt.
- Best Method: Use a wet-dry vacuum to suck up all the dirty water. This lifts the grime completely out of the grout’s pores.
- Alternative Method: If you don’t have a wet-dry vac, use a clean towel to blot and dry the area completely. Then, rinse with a bucket of fresh, clean water and dry it again.
What About Vinegar and Baking Soda?
I know the internet recommends baking soda and vinegar for everything, but please don’t use it on your grout! Vinegar is an acid, and over time, it can eat away at the cement in your grout. It might look clean at first, but you’re actually weakening its structure.
Stick to cleaners specifically formulated for tile and grout. They’re designed to clean effectively without causing damage. Save the vinegar for your salads!
Seal the Deal for Lasting Clean
Once your floors are sparkling clean and completely dry, it’s time to seal the grout. Think of sealer as a shield that fills in the porous surface, keeping dirt on top where it’s easy to clean.
Apply a penetrating sealer made for floors, following the bottle’s instructions carefully. You’ll likely need to reapply it every year or so, but trust me—it makes future cleaning much easier and helps prevent stains.
FAQs
Enjoy Your Sparkling Floors
There you have it. A clean floor is totally possible with the right technique and a bit of patience. Just remember to rinse well and seal it up to protect your hard work.
Now go enjoy your sparkling home and try not to spill anything too soon. FYI your knees will thank you for using a pad while scrubbing.

I am Mindy Medford, a home décor, paint, and design specialist with over a decade of hands-on experience transforming ordinary spaces into cozy, personality-packed havens. Since 2013, I have been helping homeowners discover the art of beautiful yet practical design. I share my love for color, texture, and layout—making stylish interiors & exteriors feel achievable for everyone. Whether it’s picking the perfect paint shade or reimagining a small space, I’m here to guide and inspire.