How to Chalk Paint Furniture
I remember staring at this hideous orange pine dresser I found on the curb and thinking it looked hopeless. But I dragged it home anyway because free furniture is my love language. Now that same dresser looks like a high end antique thanks to a little magic called chalk paint. I absolutely love this stuff because it sticks to almost anything without endless sanding or priming.
If I can transform a piece of junk into a statement piece then anyone can do it. I want to share exactly how I tackle a chalk paint project from start to finish. I learned these lessons the hard way so my mistakes can save everyone else some time and money.
Gathering Your Supplies
I always start by rounding up everything I need so I don’t have to run to the store covered in paint. Here is my go-to list:
- Chalk-style paint: Pick your favorite color.
- High-quality oval brush: Cheap brushes shed bristles like a golden retriever in summer.
- Lint-free rags: Essential for waxing so you don’t end up with fuzz stuck in your finish.
- Sandpaper: For distressing later on.
- Drop cloth: I get messy when I’m in the zone!
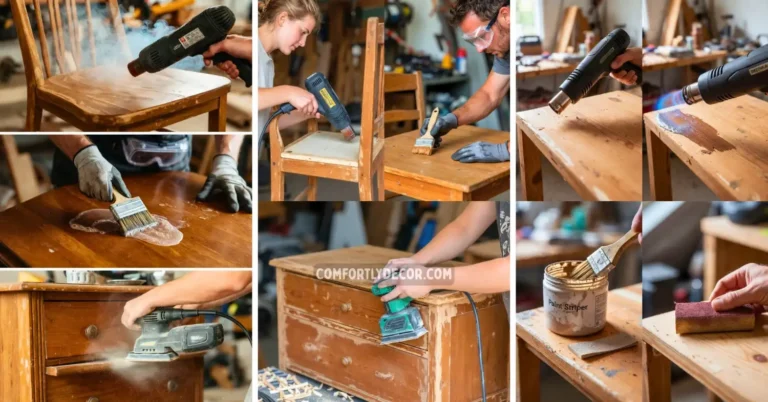
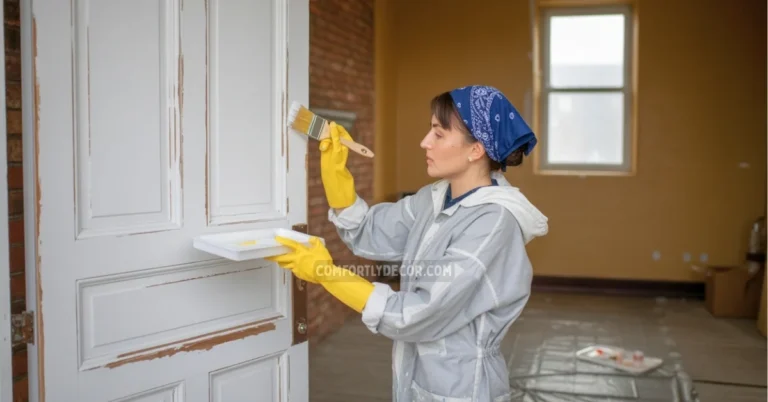
Prepping the Piece
I know the label says “no prep required,” but I’ve learned that’s a tiny lie. Paint struggles to stick to grease and grime, so don’t skip these steps:
- Clean thoroughly: Use a degreaser or warm soapy water to remove years of furniture polish.
- Scrub and dry: Make sure the piece is bone-dry before you start.
- Scuff sand: If the surface is super shiny or laminate, give it a light sand with medium grit. You just want to give the paint something to grip.
- Wipe away dust: Use a damp cloth so the surface is perfectly clean.
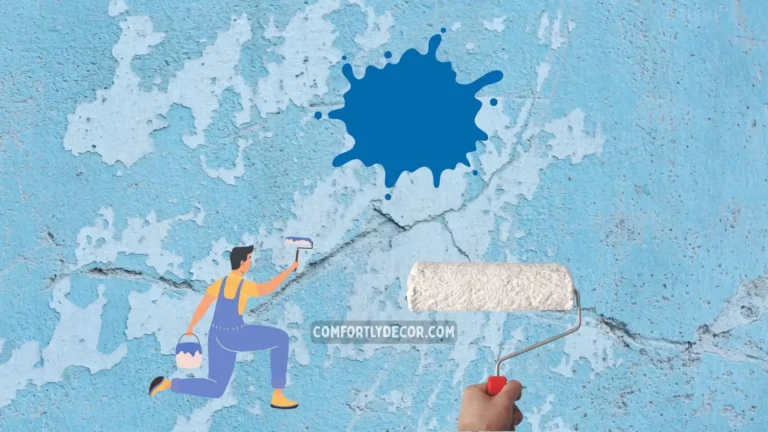
Dealing with “Bleed Through”
I hate it when I paint a light color over dark wood and see pink or yellow stains seeping through. This happens with tannins in woods like mahogany or cherry.
Pro Tip: Adding more chalk paint won’t fix this—it just pulls more tannins to the surface.
If you see stains appearing, stop immediately! Apply a coat of shellac-based primer (like Zinsser BIN) to seal those tannins in for good. Once it’s dry, you can get back to your chalk paint plan.
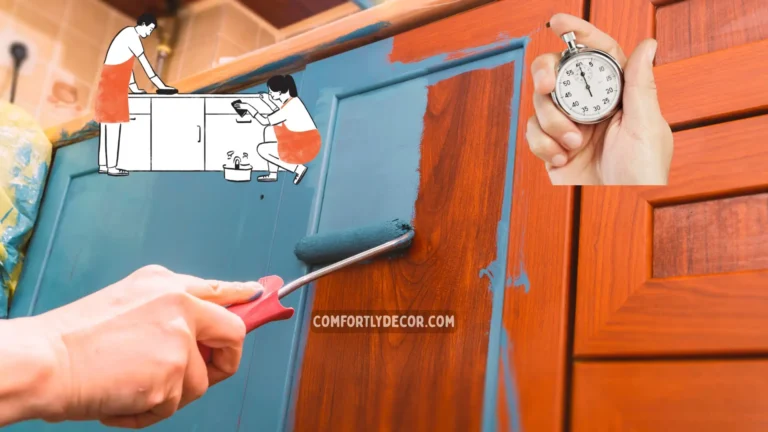
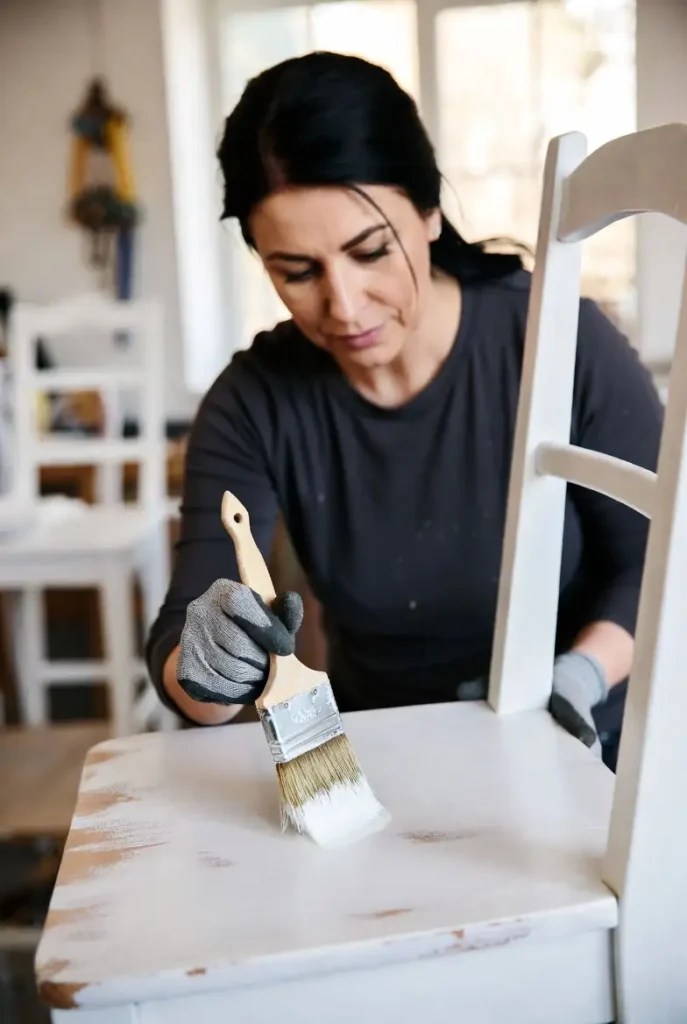
Applying the First Coat
Open your can and give it a really good stir; pigments settle at the bottom. Start applying the paint in every direction to create that textured, vintage look.
Don’t worry about brush strokes—chalk paint is very forgiving. It dries fast, so work quickly and avoid over-working the same spot. If the first coat looks a bit streaky, don’t stress! Let it dry for one to three hours.
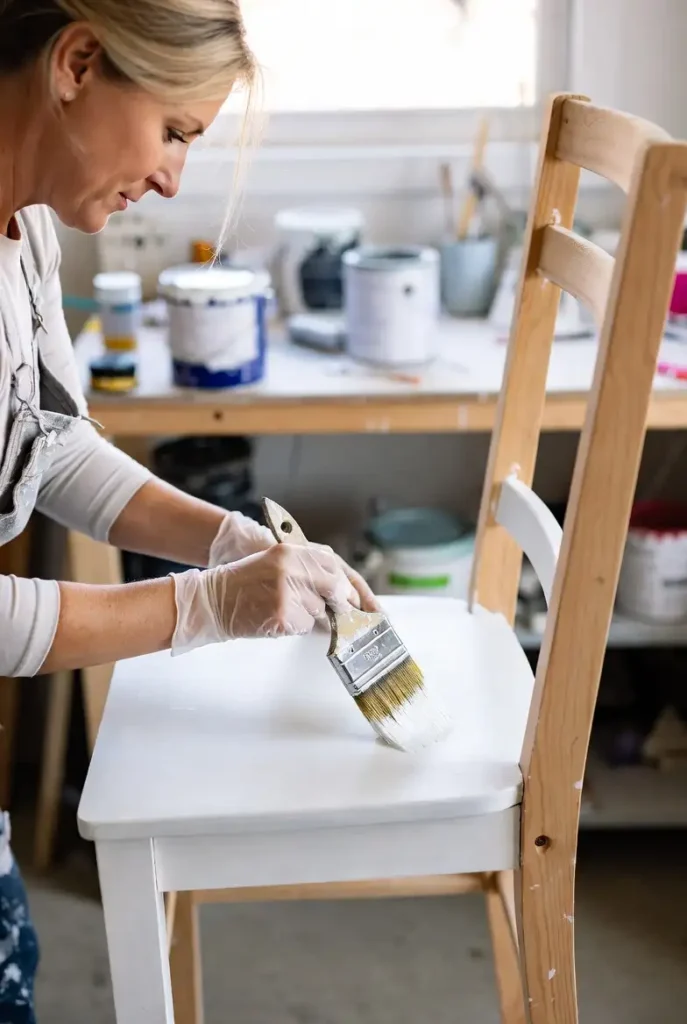
The Second Coat and Distressing
Apply your second coat once the first is dry to the touch. Two coats usually provide perfect coverage. For the best results, let the paint dry completely overnight before you start distressing. Wet paint will just gum up your sandpaper.
To add some character:
- Take fine-grit sandpaper.
- Gently rub the edges and corners where wear would naturally happen.
- I love how this reveals the wood underneath and gives the piece instant history.
- Wipe down the piece to remove all sanding dust before sealing.
Waxing and Sealing the Finish
Chalk paint is very porous, so it needs a topcoat for protection. I prefer clear soft wax because it hardens the paint and creates a beautiful sheen.
Use a wax brush or lint-free cloth to push the wax into the paint. Work in small sections and wipe off the excess immediately. If the surface feels sticky, you’ve used too much—keep buffing until it feels smooth. It’s the best arm workout you’ll get all week!
Curing Time is Critical
I used to make the mistake of putting heavy vases on my furniture the next day, only to find the finish dented. Wax takes time to harden completely.
While it feels dry quickly, it takes about two weeks to fully cure. Use the furniture gently during this time—no coasters or heavy objects. Patience is key if you want a finish that lasts for years!
FAQs
Creating a Home You Love
I believe that painting furniture is the easiest way to change the vibe of a room without spending a fortune. I get so much satisfaction from taking something unwanted and turning it into something beautiful. I hope my process helps anyone who has been hesitant to pick up a brush.
I encourage everyone to grab some paint and just go for it because it is just paint and can always be fixed. I promise that the feeling of creating something custom for a home is worth every minute of effort.

I am Mindy Medford, a home décor, paint, and design specialist with over a decade of hands-on experience transforming ordinary spaces into cozy, personality-packed havens. Since 2013, I have been helping homeowners discover the art of beautiful yet practical design. I share my love for color, texture, and layout—making stylish interiors & exteriors feel achievable for everyone. Whether it’s picking the perfect paint shade or reimagining a small space, I’m here to guide and inspire.