Painting Kitchen Cabinets || How Long Does It Take
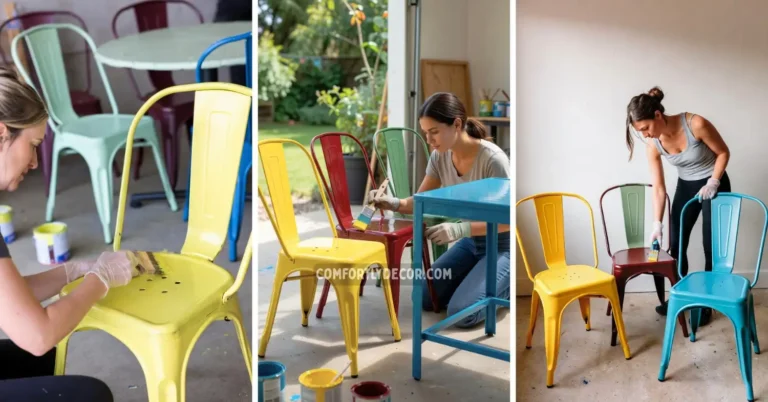
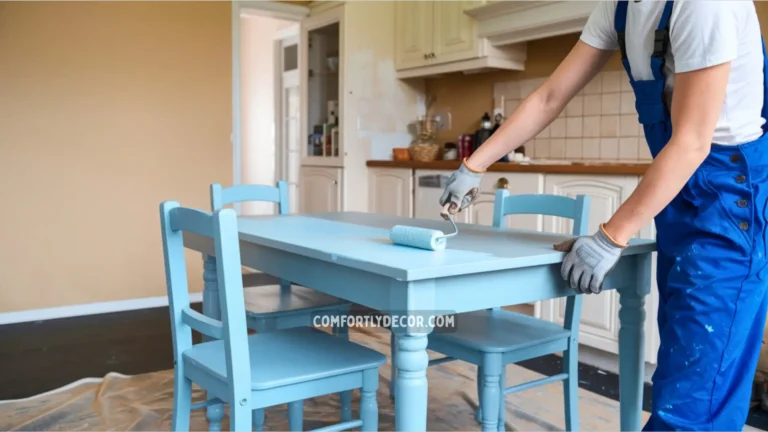
Ever found yourself staring at your dated kitchen cabinets, thinking, “There has to be an easier, cheaper way to spruce these up?” You’re not alone! Painting your kitchen cabinets is one of the most rewarding DIY projects you can tackle. It’s like giving your kitchen a facelift without the hefty price tag of a full remodel.
But of course, the big question is, “How long will this take?” The truth is, it depends. Factors like cabinet size, paint type, and whether you go DIY or hire pros all play a role. Lucky for you, I’ve got all the details right here, broken down step by step.
So grab a cup of coffee and let’s get into it!
Factors That Affect How Long It Takes
Before you set up a timeline, consider these key things that can add or shave hours off your project.
Kitchen Size and Cabinet Complexity
Got a compact galley kitchen with just a handful of cabinets? Or are you rocking a large, open-concept space with 20 doors and intricate molding? Naturally, more cabinets and details mean more hours of priming, sanding, and painting.
Example timeline:
- Small kitchen (10 cabinets): 2-3 days
- Large, complex kitchen (20+ cabinets with intricate designs): 5-7 days
Cabinet Condition
Are your cabinets in decent shape, or are they begging for TLC? Chipped paint, peeling laminate, or greasy buildup (looking at you, cabinet under the range hood) can all demand extra prep time before any paint touches the surface.
Paint Type Matters
Not all paints are created equal. Latex paint? It dries super fast but might need additional coats for a clean finish. Oil-based paint? It’s durable but takes forever to dry.
Typical drying times:
- Latex paint: 2-4 hours per coat
- Oil-based paint: 6-8 hours per coat (yes, you’ll need patience for this one).
Step-by-Step Time Breakdown
Here’s what goes into painting your cabinets and how much time to allocate for each stage.
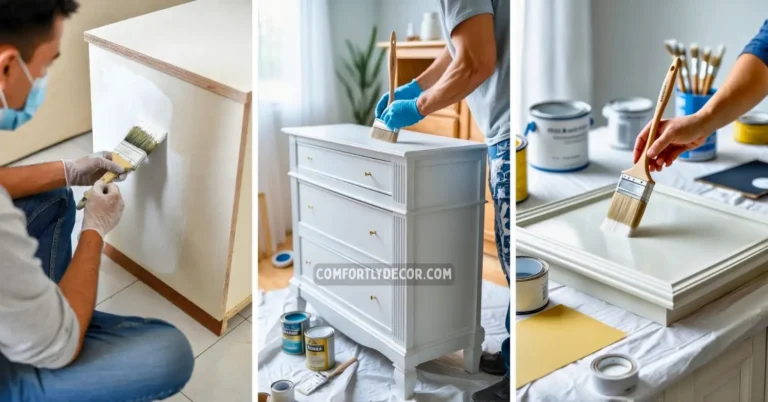
Step 1: Prep and Clean (1 Day)
This is the not-so-glamorous but crucial part of the process (think of it as preheating the oven before baking). Here’s what you’ll need to do:
- Remove doors and hardware (20-30 minutes): Label each door so you’re not playing a frustrating game of “Which hinge goes where?” later.
- Degrease and clean surfaces (1-2 hours): Use a degreaser or dish soap to scrub away years of grime. Trust me, grease and paint don’t mix.
- Sanding (2-3 hours): Lightly sand every surface for better paint adhesion. Consider this your workout for the day.
Pro Tip: Feeling fancy? Use a power sander to speed things up.
Step 2: Priming (1-2 Days)
Good primer is your secret weapon. It prevents peeling and keeps the paint sticking exactly where it’s supposed to. Apply an even coat and follow the drying instructions.
- Apply primer (2-4 hours depending on size).
- Drying time (4-24 hours): Check the label on your primer for specific times before moving on.
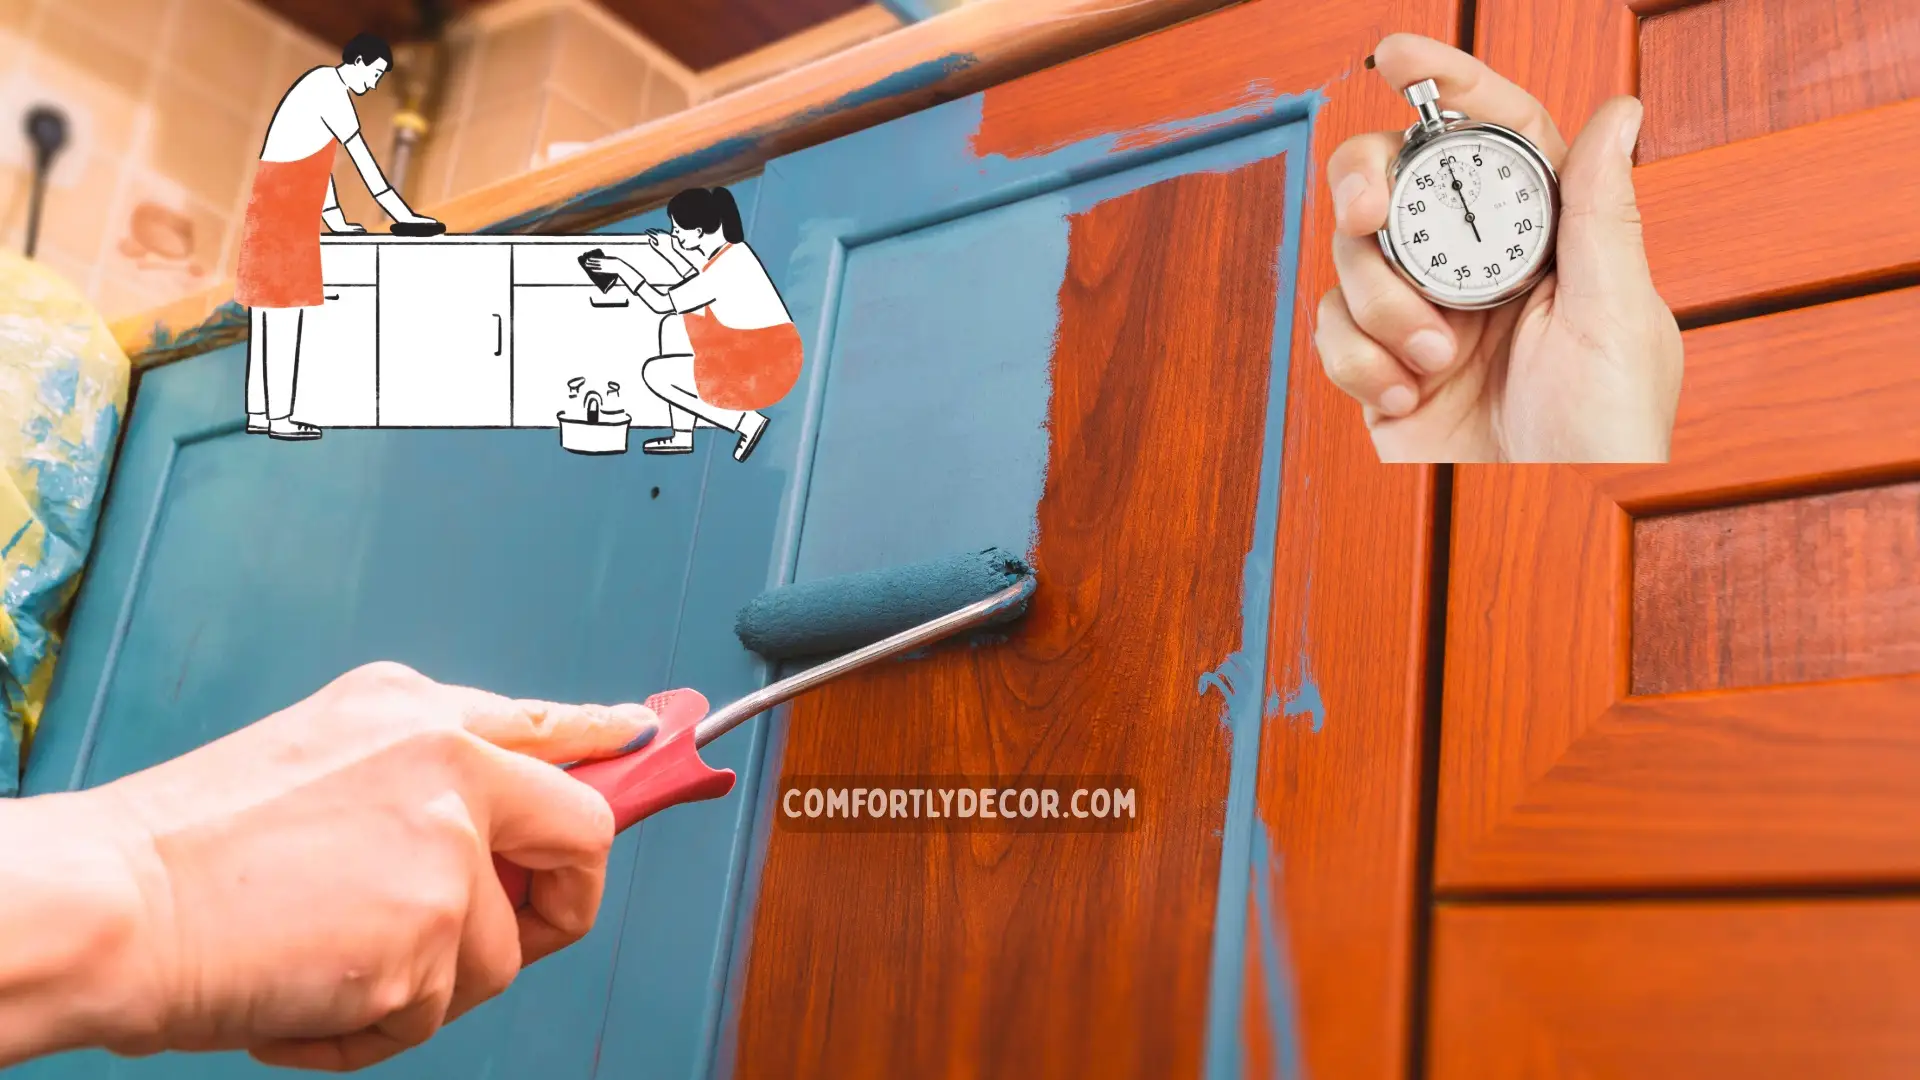
Step 3: Painting (2-3 Days)
The fun part begins! Use a brush for edges and a roller for flat surfaces. Thin, even coats are your BFF here.
- First coat (2-3 hours): Go slow to avoid drips.
- Second coat (after drying): Depending on the paint and cabinet color, you might need a third coat.
Make sure each coat is completely dry before adding the next one. Impatient? Invest in a good fan or dehumidifier to speed things up!
Step 4: Drying and Curing (7-14 Days)
Wait… weeks? Yep! While your cabinets may feel dry to the touch after a day, they need extra time to fully “cure” and harden. During this time, avoid heavy usage to prevent smudging or dents.
DIY vs. Hiring Professionals
Not sure whether to flex your DIY muscles or leave this one to the pros? Here’s a quick breakdown to help you decide.
DIY Pros and Cons
| Pros | Cons |
|---|---|
| Cost-effective (just your materials and time) | Time-consuming (especially if you have no prior experience) |
| A rewarding sense of accomplishment | You’ll need decent tools and patience |
Professional Painters
| Pros | Cons |
|---|---|
| Faster turnaround (1-3 days for most kitchens) | Costs more (think $1,000 to $3,500 depending on your kitchen size) |
| Picture-perfect results |
Expert Tips for Saving Time
- Plan Ahead: Have all your supplies (paint, brushes, sandpaper) ready to go before starting.
- Invest in Quality Tools: A good paint sprayer can shave hours off your timeline and give you a smoother finish.
- Organize Your Space: Set up a “painting station” for cabinet doors and have plenty of drop cloths handy to minimize the mess.
- Work in Batches: Don’t try to tackle the entire kitchen in one go. Focus on a few cabinets at a time.
Product Recommendations
To help you breeze through the project:
- Primer: Zinsser BIN or Kilz Adhesion.
- Paint: Benjamin Moore Advance (durable and gorgeous) or Sherwin Williams ProClassic.
- Topcoat: Minwax Polycrylic for that durable, easy-to-clean finish.
FAQs
Is It Worth It?
Absolutely! There’s nothing quite like seeing a drab kitchen transform right before your eyes. Plus, painting cabinets is a killer way to add value to your home without blowing your renovation budget.
And hey, if all else fails, there’s always the option to bribe a friend with pizza! 🍕

I am Mindy Medford, a home décor, paint, and design specialist with over a decade of hands-on experience transforming ordinary spaces into cozy, personality-packed havens. Since 2013, I have been helping homeowners discover the art of beautiful yet practical design. I share my love for color, texture, and layout—making stylish interiors & exteriors feel achievable for everyone. Whether it’s picking the perfect paint shade or reimagining a small space, I’m here to guide and inspire.