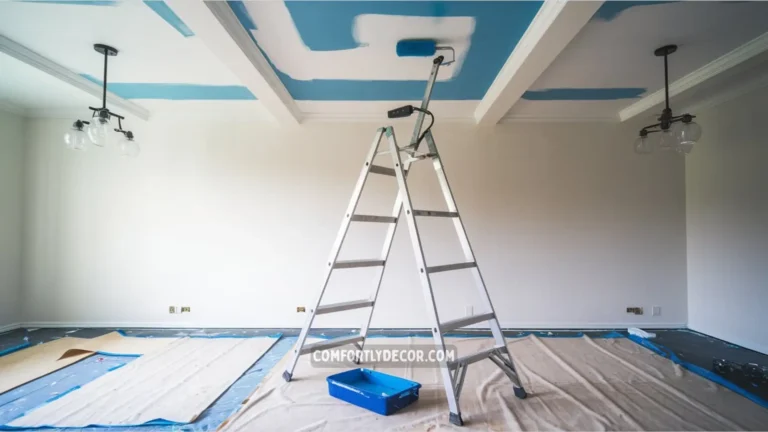
How to Remove Old Paint From Kitchen Cabinets Like A Pro
Staring at those sad, chipped kitchen cabinets again? I feel you. Removing old paint from kitchen cabinets might seem like signing up for a weekend of pure misery, but trust me—it’s one of those projects that’ll have you patting yourself on the back for weeks.
I’ve been down this road more times than I care to admit (apparently, I have commitment issues with cabinet colors), and I’m here to save you from the mistakes that had me questioning my life choices at 2 AM with paint stripper under my fingernails.
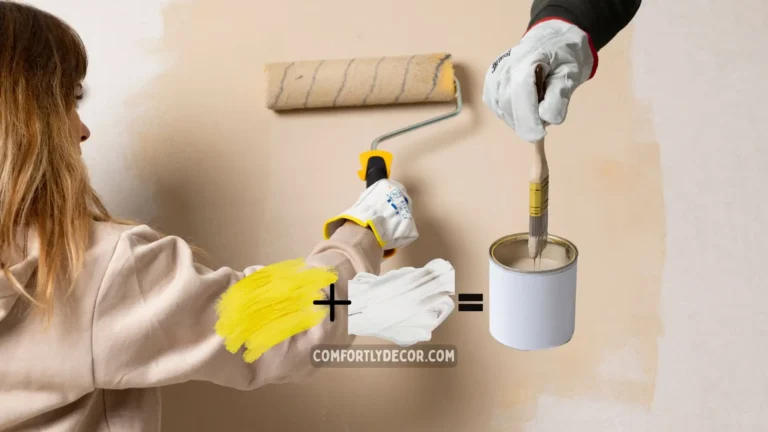
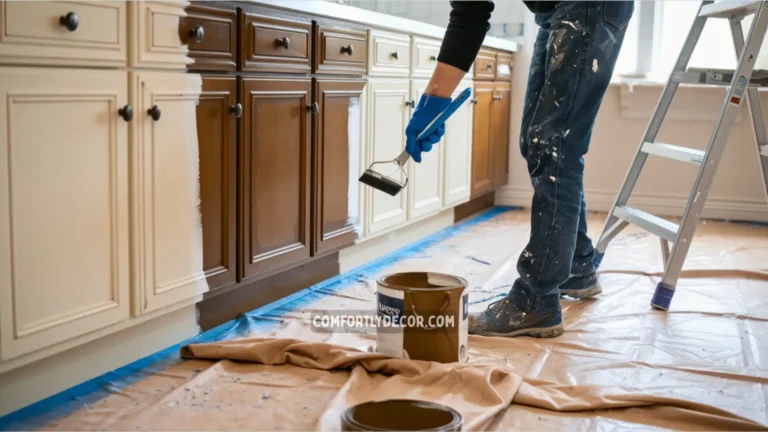
Stripping old paint from kitchen cabinets isn’t just about getting a fresh look—it’s about creating a clean slate for whatever gorgeous transformation you’ve been dreaming about. Whether you’re going for that trendy sage green or classic white, your new paint job is only as good as the prep work underneath.
Why Bother Removing Old Paint?
Look, I get it. Why not just paint over the existing stuff and call it a day? Been there, tried that—ended up with cabinets that looked like they were wearing a puffy winter coat. Paint buildup creates an uneven surface that screams “DIY disaster” instead of “magazine-worthy kitchen.”
Plus, if you’re dealing with multiple layers of paint (especially the old stuff), you might be sitting on a goldmine of beautiful wood grain underneath. I once stripped cabinets that revealed gorgeous oak that had been buried under three different paint jobs. Talk about a plot twist!
Removing old paint properly ensures better adhesion for your new finish, prevents peeling, and gives you that smooth, professional look that makes guests ask if you hired a contractor.
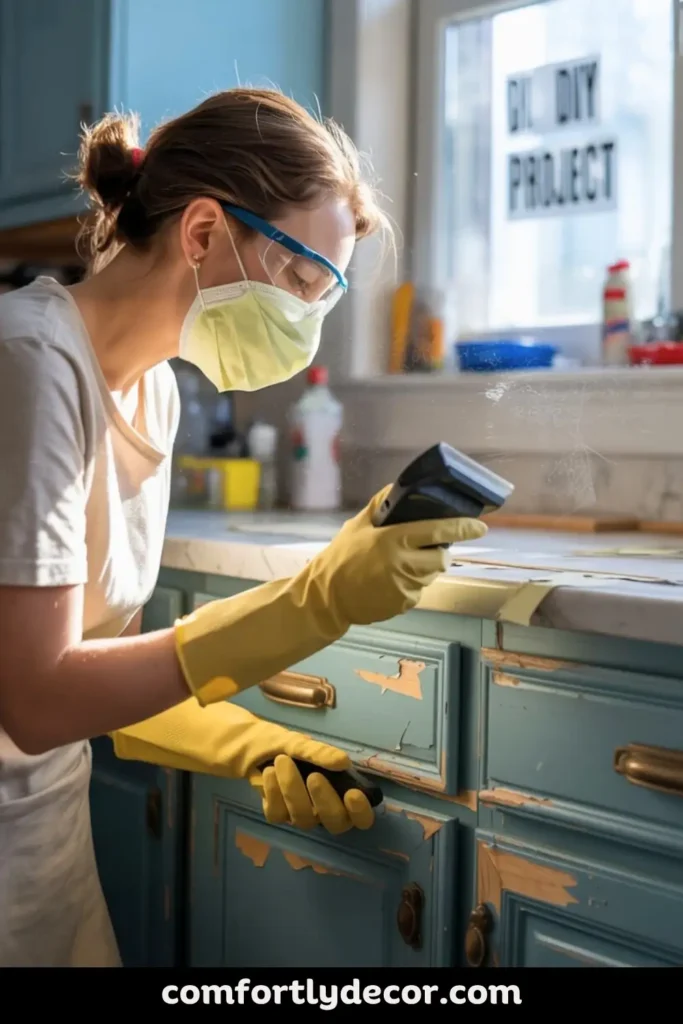
Safety First (Yeah, I Know, Boring but Important)
Before we dive into the fun stuff, let’s talk safety gear. Old paint, especially from homes built before 1978, can contain lead. That’s not something you want to mess around with.
Here’s your safety arsenal:
- Heavy-duty gloves (chemical-resistant ones)
- Safety glasses that actually stay on your face
- N95 mask or respirator for fumes and dust
- Long sleeves and pants (your skin will thank you)
- Proper ventilation (open those windows, people!)
I learned this lesson the hard way when I spent a weekend feeling like I’d been hit by a truck because I thought “just a little fresh air” was enough ventilation. Don’t be like me.
Know Your Enemy: Identifying Paint Types
Different paint types require different removal strategies. It’s like choosing the right weapon for battle—use the wrong approach, and you’ll be there forever.
Oil-Based Paint
This stuff is tough as nails. Oil-based paint creates a hard, durable finish that’s been the go-to for kitchen cabinets for decades. How do you know if you’re dealing with oil-based paint?
- Rub a small area with denatured alcohol on a cloth
- If the paint doesn’t budge, it’s likely oil-based
- Yellowing over time is another telltale sign
- Hard, glossy finish that feels almost plastic-like
Oil-based paint removal typically requires chemical strippers or serious elbow grease with sanders.
Water-Based Paint
The friendlier cousin of the paint family. Water-based paint is easier to work with and remove, but it can still put up a fight.
- Softens when rubbed with denatured alcohol
- Stays true to color over time
- Easier cleanup with soap and water when wet
For water-based paint removal, you’ve got more options, including some DIY-friendly methods that won’t require a hazmat suit.
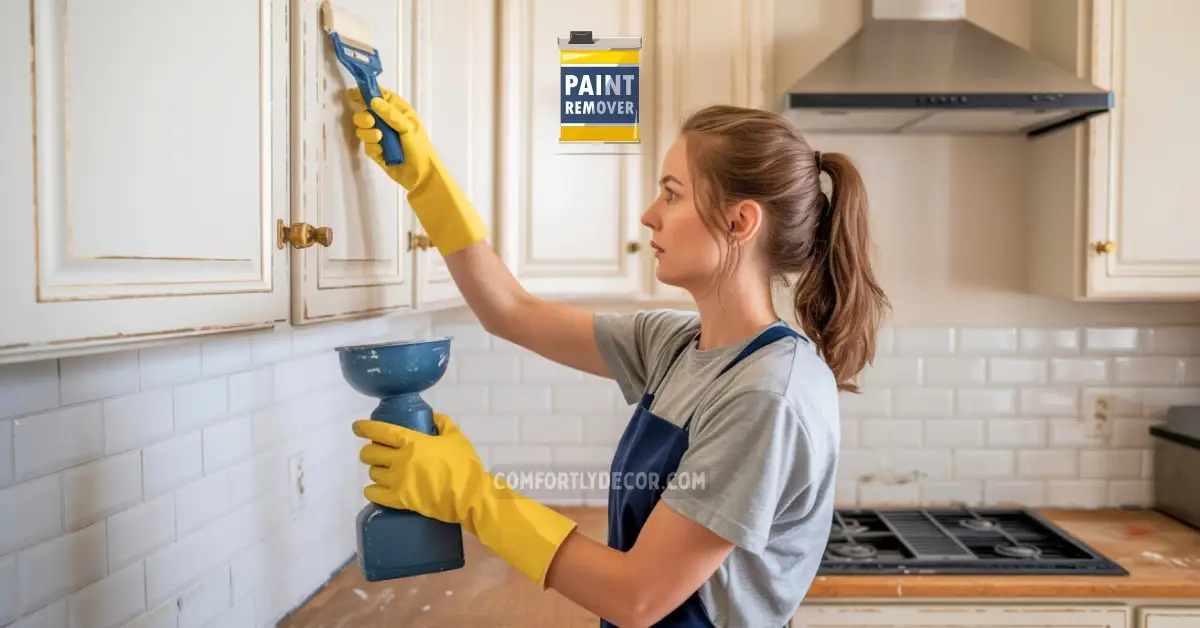
Method 1: Chemical Paint Strippers (The Heavy Artillery)
Chemical paint strippers are your best friend for multiple layers or stubborn paint. I’ve tried every brand under the sun, and here’s what actually works:
Choosing Your Chemical Warrior
Citristrip gets my vote for being less toxic while still getting the job done. It smells like oranges instead of making you question your life choices, and it’s surprisingly effective on both oil and water-based paints.
For tougher jobs, methylene chloride-based strippers work faster but require serious ventilation and safety gear. Save these for outdoor projects or when you’ve got professional-grade ventilation.
Application Process
- Remove cabinet doors and hardware (label everything—seriously, future you will be grateful)
- Clean surfaces thoroughly to remove grease and grime
- Apply stripper with a disposable brush in thick, even coats
- Cover with plastic wrap to prevent drying (this is the secret sauce!)
- Wait for the magic (usually 15-30 minutes)
- Scrape away loosened paint with a plastic scraper
The plastic wrap trick is game-changing. It keeps the stripper from drying out and lets it work deeper into the paint layers.
Pro Tips for Chemical Stripping
- Work in small sections (about 2-3 cabinet doors at a time)
- Have plenty of scrapers on hand (they dull quickly)
- Keep a garbage bag nearby for paint gunk disposal
- Clean residue with denatured alcohol before moving to the next step
Ever wonder why some people make this look so easy? They probably didn’t try to strip their entire kitchen in one marathon session like I did on my first attempt. Learn from my caffeine-fueled mistakes.
Method 2: Heat Guns (When You Want to Feel Powerful)
Heat guns soften paint quickly and give you serious satisfaction watching paint bubble up like magic. Just don’t get too trigger-happy with the heat—I may have accidentally scorched a cabinet door or two in my enthusiasm :/
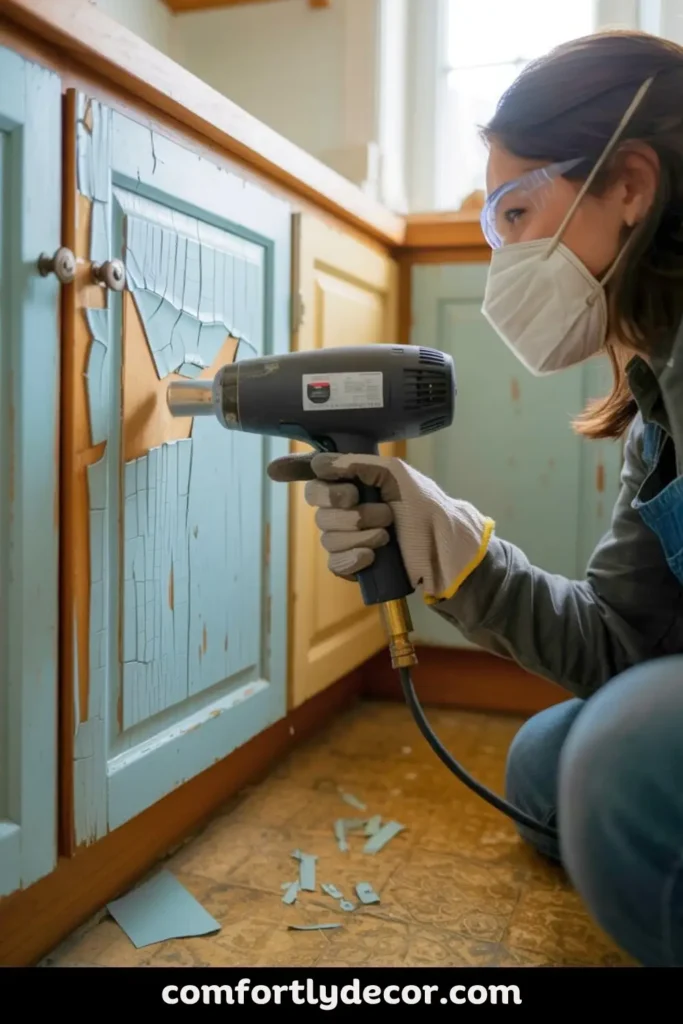
Heat Gun Technique
- Set temperature to medium (around 750°F)
- Hold gun 3-4 inches from surface
- Keep it moving constantly (this prevents scorching)
- Watch for paint to bubble and soften
- Scrape immediately while paint is hot
Safety with heat guns is crucial. These things get hot enough to start fires, so keep a fire extinguisher nearby and never leave it unattended.
When Heat Guns Work Best
- Single or double paint layers
- Flat surfaces (detailed areas are trickier)
- When you want immediate results
- Outdoor projects with good ventilation
Heat guns struggle with intricate cabinet details like raised panels or decorative molding. For those areas, you’ll want to switch tactics.
Method 3: Sanding (The Workout Method)
Sanding removes paint through pure mechanical force. It’s like choosing to walk up 20 flights of stairs instead of taking the elevator—you’ll get there, but you’ll definitely feel it.
Sanding Strategy
Start with 80-120 grit sandpaper for paint removal, then work up to 220 grit for smoothing. Always sand with the grain to avoid scratches that’ll haunt your final finish.
Orbital sanders save your sanity on flat surfaces, but you’ll still need hand sanding for detailed areas. I recommend having a variety of sanding blocks and detail sanders for different cabinet features.
Dust Management
Sanding creates a ridiculous amount of dust. Set up proper dust collection or you’ll be finding paint dust in weird places for months. Trust me, explaining to guests why your coffee tastes like cabinet paint is not a conversation you want to have.
Method 4: Natural DIY Solutions (For the Eco-Conscious)
Vinegar and baking soda create a paste that can soften paint, especially water-based varieties. It’s the gentle approach that won’t knock you out with fumes.
DIY Paint Removal Paste
Mix equal parts white vinegar and baking soda to create a thick paste. Apply generously, let sit for 30 minutes, then scrape away. It’s not as aggressive as chemicals, but it’s safer and works surprisingly well on newer paint jobs.
Boiling water can also soften paint enough for scraping. Pour carefully (obviously) and scrape while the paint is still warm.
Tackling Different Cabinet Materials
Solid Wood Cabinets
Lucky you! Solid wood can handle aggressive removal methods including chemical strippers, heat guns, and heavy sanding. These cabinets can take a beating and come back looking gorgeous.
Laminate Cabinets
Laminate requires a gentler touch. Avoid heat guns (they can melt the laminate) and stick to mild chemical strippers or the vinegar method. Use plastic scrapers to avoid gouging the surface.
MDF or Particleboard
These materials are more fragile and sensitive to moisture. Light sanding or very careful chemical stripping work best. Avoid soaking these materials with liquid strippers.
The Cleanup Game
Proper cleanup determines your project’s success. After paint removal, you’ll have chemical residue, dust, or both covering your cabinets.
For chemical strippers, neutralize with denatured alcohol or the manufacturer’s recommended cleaner. Tack cloths remove fine dust better than regular rags.
Let everything dry completely before moving to the next step. Rushing this part leads to adhesion problems with primer and paint.
Prepping for the Next Phase
Your cabinets need to be completely clean and smooth before any new finish goes on. Light sanding with 220-grit removes any remaining residue and creates the perfect surface for primer.
Wood filler takes care of any dings or holes from hardware. Apply it now, let it dry, then sand smooth. Primer is non-negotiable—it ensures your new paint adheres properly and prevents bleed-through from the old finish.
Common Mistakes That’ll Make You Want to Cry
Skipping the test area is mistake number one. Always test your removal method on a hidden spot first. I once discovered my “gentle” stripper was eating through the wood stain underneath. Not fun.
Working in poor lighting means you’ll miss spots that become obvious later. Get proper lighting set up before you start.
Rushing the process leads to incomplete removal, which means your new paint job will look amateur. Take your time and do it right the first time.
When to Call in the Pros
Sometimes DIY isn’t the answer. If you suspect lead paint, have it tested and consider professional removal. Severely damaged cabinets might need professional restoration.
Historic homes with original millwork deserve professional attention. Some things are worth paying for, an expert restoration can increase your home’s value.
Tips for Maintaining Newly Painted Kitchen Cabinets
Proper maintenance is essential to keep your newly painted kitchen cabinets looking fresh and vibrant. Here are some key tips to help extend the lifespan of your paint job:
- Use Gentle Cleaners – Avoid harsh chemicals and abrasive scrubbers. A soft cloth or sponge with mild soap and water is sufficient for routine cleaning.
- Wipe Spills Immediately – Clean up food or liquid splashes as soon as they happen to prevent stains and damage to the paint finish.
- Avoid Excess Moisture – Be cautious around sinks and dishwashers. Ensure cabinets stay dry to prevent bubbling or peeling of the paint.
- Use Cabinet Pads – Install felt or rubber pads on cabinet doors and drawers to minimize wear and tear from repeated use.
- Inspect Regularly – Check for chips or scratches and tackle minor touch-ups quickly to prevent further damage.
These small efforts can make a big difference in maintaining a polished and professional look for years to come.
FAQs
Conclusion
Cabinet painting is no small feat, but with the right tools and technique, you can give your cabinets a fresh new look without breaking the bank. Preparation is key and taking your time to do it properly will ensure a professional-looking finish that will last for years to come. Don’t be afraid to call in the pros for help if needed, especially for more complex projects or historic homes.
With these tips in mind, you can confidently tackle your next cabinet painting project and enjoy a new and improved space in your home. So go ahead and get started on transforming those old, tired cabinets into a beautiful focal point—one that reflects your style, enhances your kitchen’s character, and adds lasting value to your home.
Vibe Up Your Space With Comfort & Color — your go-to destination for stylish home decor that blends comfort with color. Create cozy corners and vibrant vibes in every room and space at your home!