How To Paint Kitchen Table And Chairs With Ease
Is your kitchen table looking a little shabby? Are your chairs worn out from years of spills and seat-shuffling? Don’t worry, you don’t need to splurge on all-new furniture. Instead, give your dining set a fresh, vibrant look with a DIY paint job!
Let’s walk you through painting your kitchen table and chairs step by step. Whether you’re a beginner or a DIY aficionado, you’ll find clear instructions, handy tips, and enough encouragement to get your creative wheels turning.
Why repaint instead of replacing, you ask? It’s budget-friendly, customizable, and incredibly satisfying to see your furniture transform. Plus, you’ll feel like a creative genius when guests ask where you bought your “new” table and chairs. 😉
Step 1: Assess the Condition of Your Furniture
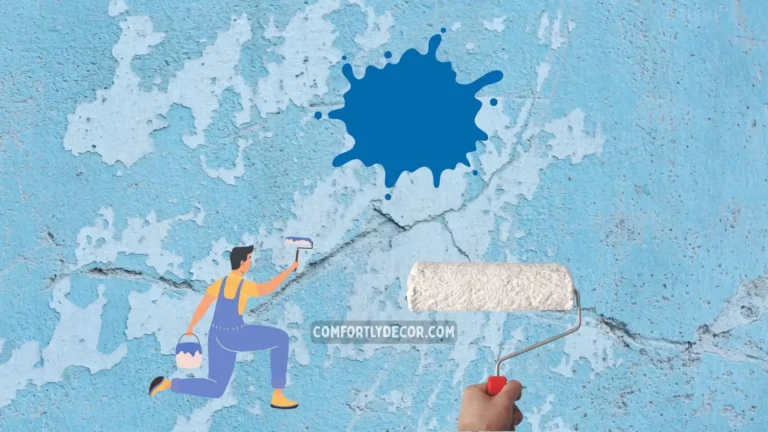
First things first. Take a good look at your kitchen table and chairs to check what you’re working with. Is there peeling paint? Wobbly legs? Mystery stains? Before reaching for your paintbrush, make sure any structural issues (like loose chair legs or cracked tabletops) are fixed. A fresh coat of paint won’t work miracles on damaged furniture!
Pro Tip: If the joints are loose, grab a screwdriver or wood glue and tighten things up. It’s totally worth it for that sturdy, polished finish.
Step 2: Gather Your Supplies
Now that your furniture is ready for action, it’s time to assemble your tools. Trust me, having everything at your fingertips before you get started will save you a world of frustration later.
Here’s what you’ll need:
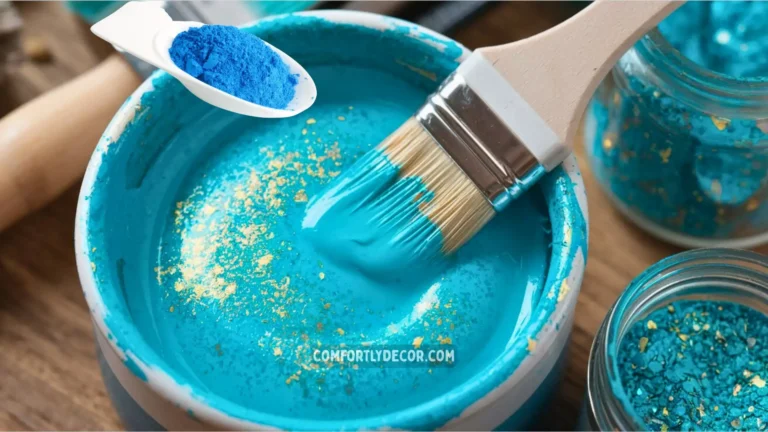
- Paint (latex or acrylic tends to work best for furniture)
- Primer (for better paint adhesion)
- Sandpaper (medium and fine grits, 120 and 220 work great)
- Paintbrushes (various sizes for more control)
- A paint roller (optional, but handy for large flat surfaces)
- Degreaser or mild detergent (to clean the furniture)
- Drop cloths/plastic sheets (because spills are inevitable)
- Painter’s tape
- Protective topcoat (like polyurethane for durability)
Bonus item? Music or your favorite podcast to keep you company while you work. 😊
Step 3: Clean Like a Pro
Before you start painting, your furniture must be squeaky clean. Dust, grease, and grime are paint’s worst enemies.
Use a mixture of warm water and a mild detergent (or a degreaser if your kitchen sees a lot of action) to clean your table and chairs. Wipe them thoroughly and allow them to dry completely. Skipping this crucial step could make all your hard work peel off later.
Step 4: Sand Away the Old Finish
Here’s where things get serious. To make sure your new paint sticks beautifully, you’ll need to sand off the old finish.
- Start with medium-grit sandpaper (around 120). Sand the surface to remove glossy finishes or any bumps.
- Follow up with fine-grit sandpaper (around 220) for a smooth, even surface.
Not a fan of manual sanding? Use an electric sander for flat surfaces to save time (and your arms). Don’t forget to wear a mask to avoid inhaling all that dust.
Step 5: Prime for Perfect Paint
What’s the secret to a smooth, professional-looking paint job? Primer. This magic layer reduces blotchiness, helps the paint stick like glue, and makes bold colors pop.
Choose a primer compatible with your paint type (water-based for latex, oil-based for oil paints).
- Use a brush for corners and a roller for flat surfaces.
- Apply one thin, even coat.
- Allow it to dry completely before moving on to the fun part—painting time!
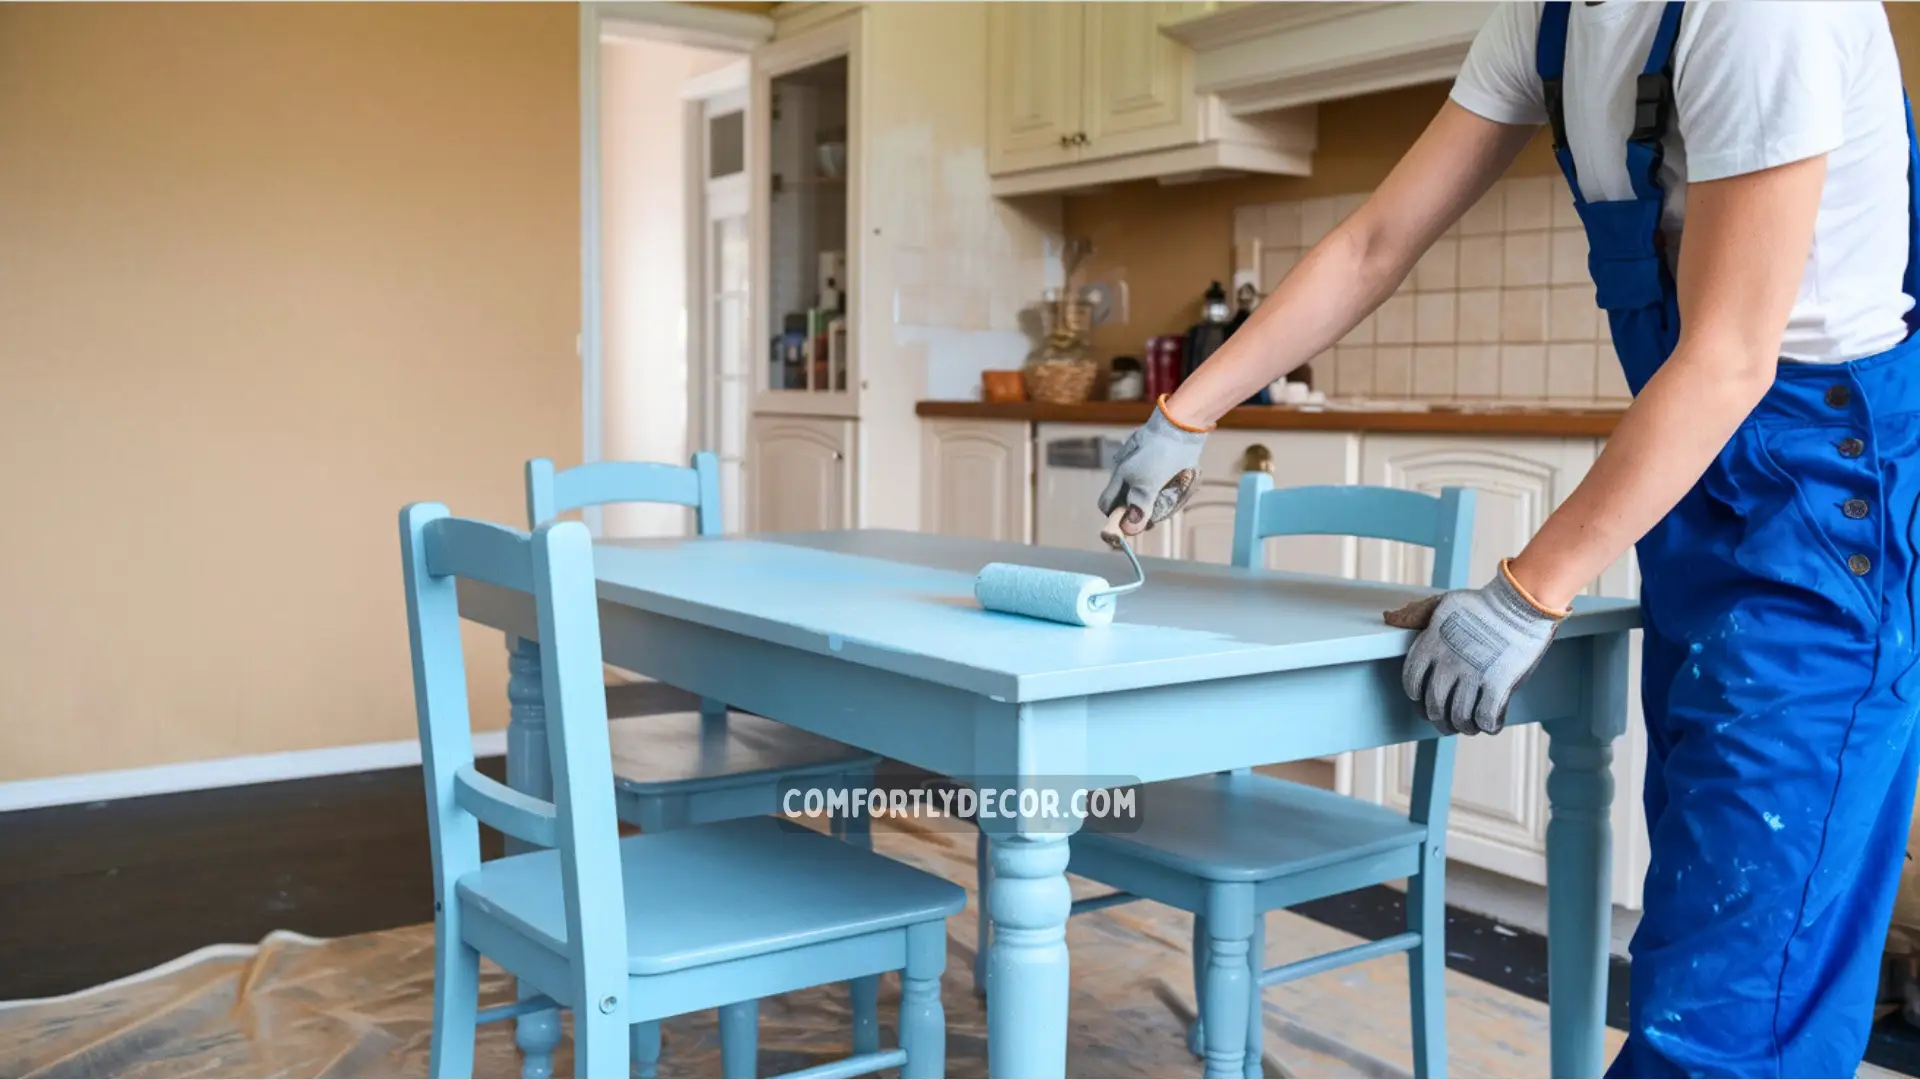
Step 6: Time to Paint!
Finally, the moment you’ve been waiting for. It’s time to transform your table and chairs with color. Here’s how to approach this step like a pro:
Applying the Paint
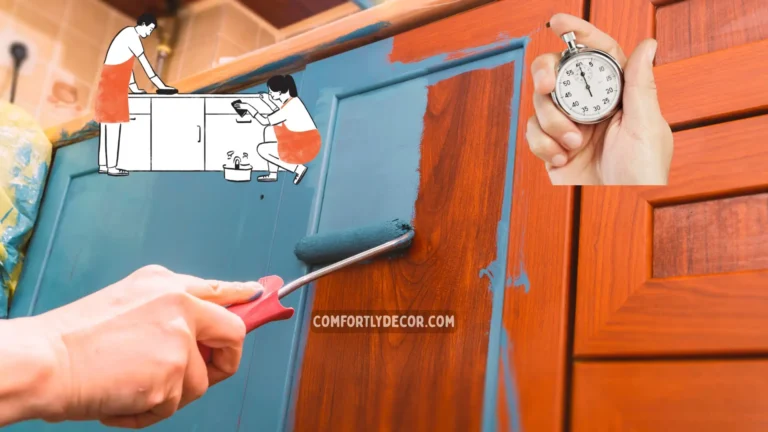
- Start with a Base Coat: Use smooth, even strokes to brush the paint onto your furniture. If you’re painting in sections, stick to one area at a time to avoid streaks.
- Go for Multiple Coats: One coat is rarely enough. Apply at least 2–3 thin coats, letting each one dry fully before adding the next. Thin layers prevent drips and give you that polished, vibrant finish.
Pro Tip: Want to experiment? Try using two different colors for added flair—like painting the table one color and the chairs another!
Step 7: Protect Your Work
All that hard work deserves protection. Applying a durable topcoat will shield your paint job from chips, moisture, and sticky food residue (hello, syrup stains 🙃).
Choose a protective finish based on your desired look:
- Glossy for a shiny, modern feel
- Satin for a subtle sheen
- Matte for a classic, understated vibe
Apply one to two coats as per the instructions on the label, and give everything adequate drying time. This step seals in your masterpiece so it withstands daily use.
Bonus Tips
- Use painter’s tape to mask off areas you don’t want to paint, like chair legs or underneath the tabletop.
- Don’t rush. Good things take time, and letting each coat fully dry will give you professional results.
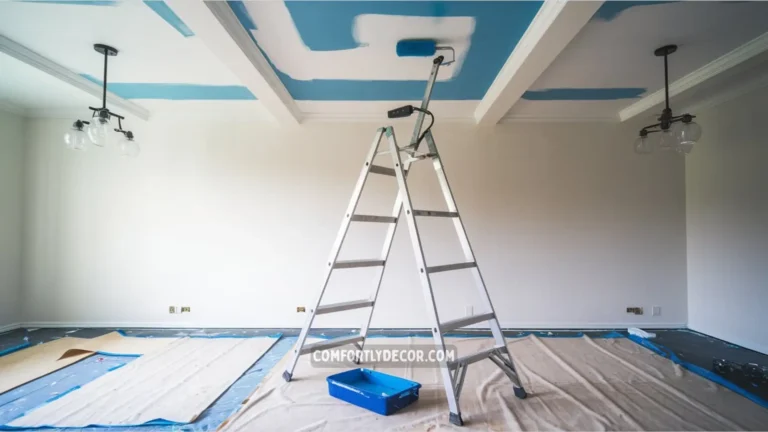
- Work in a well-ventilated space. You’ll thank yourself later!
Tips and Tricks for Maintaining Painted Kitchen Furniture
- Clean regularly using a soft, damp cloth to remove dust and spills without damaging the paint. Avoid harsh chemicals that could strip the finish.
- Protect surfaces by using coasters, placemats, or trivets to prevent scratches, stains, and heat damage.
- Touch up chips promptly with leftover paint to keep your furniture looking fresh and polished.
- Avoid prolonged exposure to direct sunlight, as it can cause fading or discoloration over time.
- Use gentle cleaners specifically designed for painted surfaces to preserve the paint’s sheen and durability.
FAQs
Give Your Kitchen a New Life
And voilà! Your kitchen table and chairs are now unrecognizable (in the best way possible). They’re chic, customized, and ready to steal the spotlight at your next family dinner or Zoom call lunch meeting.
Painting furniture does take time and effort, but the rewards are unmatched. Plus, you’ll have the satisfaction of saying, “Yeah, I did that.”
Now, what’s stopping you? Roll up your sleeves and start revamping your home one brushstroke at a time!
Vibe Up Your Space With Comfort & Color — your go-to destination for stylish home decor that blends comfort with color. Create cozy corners and vibrant vibes in every room and space at your home!