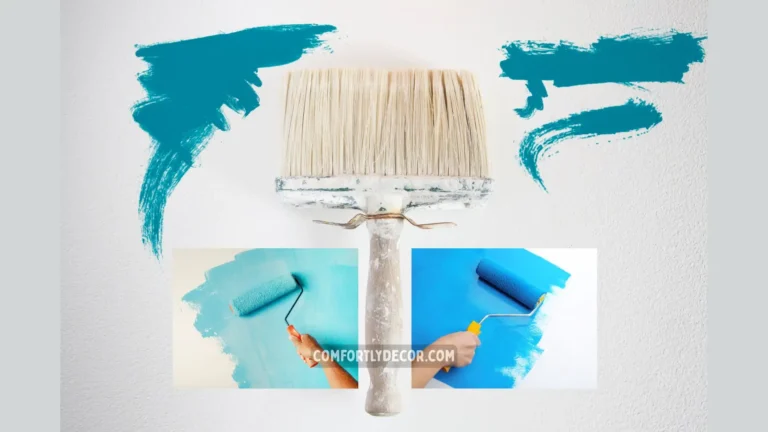
How To Paint Kitchen Cabinets || Quick And Easy DIY Guide
Do your kitchen cabinets feel tired, outdated, or just plain blah? Good news! You don’t need a pricey remodel to give your space a fresh new look. With a little elbow grease and some paint, you can completely transform your kitchen cabinets and breathe new life into your home.
This guide is here to walk you through every step of the process—from tools to tips, we’ve got you covered. Whether you’re a seasoned DIY’er or a complete beginner, you’ll find everything you need to get started.
How Long Does It Really Take?
“Exactly how long are we talking?” you ask while staring at your kitchen. Well, the answer depends on a few things. Here’s a breakdown of the factors that could affect your timeline, so you know what to expect before getting started.
Kitchen Size and Cabinet Complexity
If you’re working with a small, cozy kitchen, you might knock this out in 2–3 days. But if your kitchen has 20+ cabinets (hello, project!), give yourself at least 5–7 days to do the job right.
Example estimates:
- Small kitchen (10 cabinets): 2–3 days
- Large kitchen (20+ cabinets): 5–7 days
Cabinet Condition
Are your cabinets in good shape or screaming for help? Peeling, greasy shelves or rough, damaged laminates add extra time for prep. The better the starting condition, the faster you’ll get to the fun part (hint: the actual painting).
Paint Type
Listen up, because this is a biggie! Latex paint dries faster (about 2–4 hours per coat), while oil-based paint takes its sweet time (6–8 hours per coat). The type of paint you choose will significantly affect your schedule.
Now that you have an idea of timing, let’s get to what you’ll need to kick things off.
Essential Supplies for Painting Kitchen Cabinets
You’ve got the motivation, now make sure you’ve got the tools to match. Here’s your checklist for a seamless process:
- Paint and primer: High-quality is key (we love Benjamin Moore Advance or Sherwin Williams ProClassic).
- Brushes and rollers: A small foam roller for smooth surfaces, and an angled brush for corners.
- Sanding tools: Sandpaper (120- and 220-grit) and/or a handheld power sander.
- Cleaning supplies: Degreaser, dish soap, and cleaning cloths.
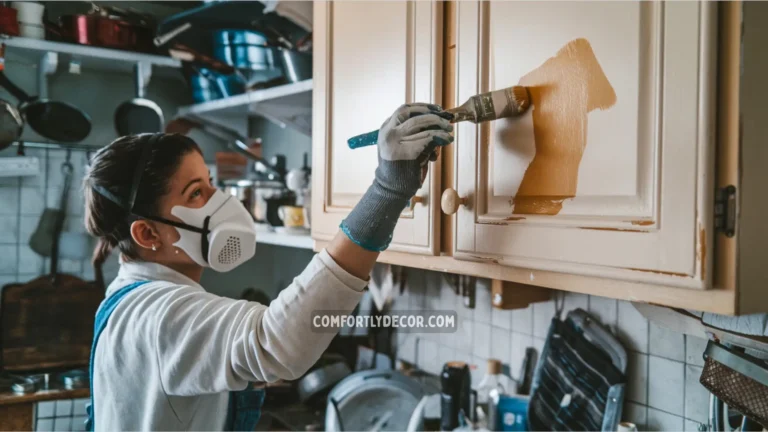
- Safety gear: Dust masks, gloves, and safety goggles.
- Painter’s tape: For keeping edges tidy.
- Drop cloths: To spare your floors from rogue paint splashes.
Step-by-Step Guide
Alright, here’s the real deal. Follow this guide to transform your cabinets like a pro.
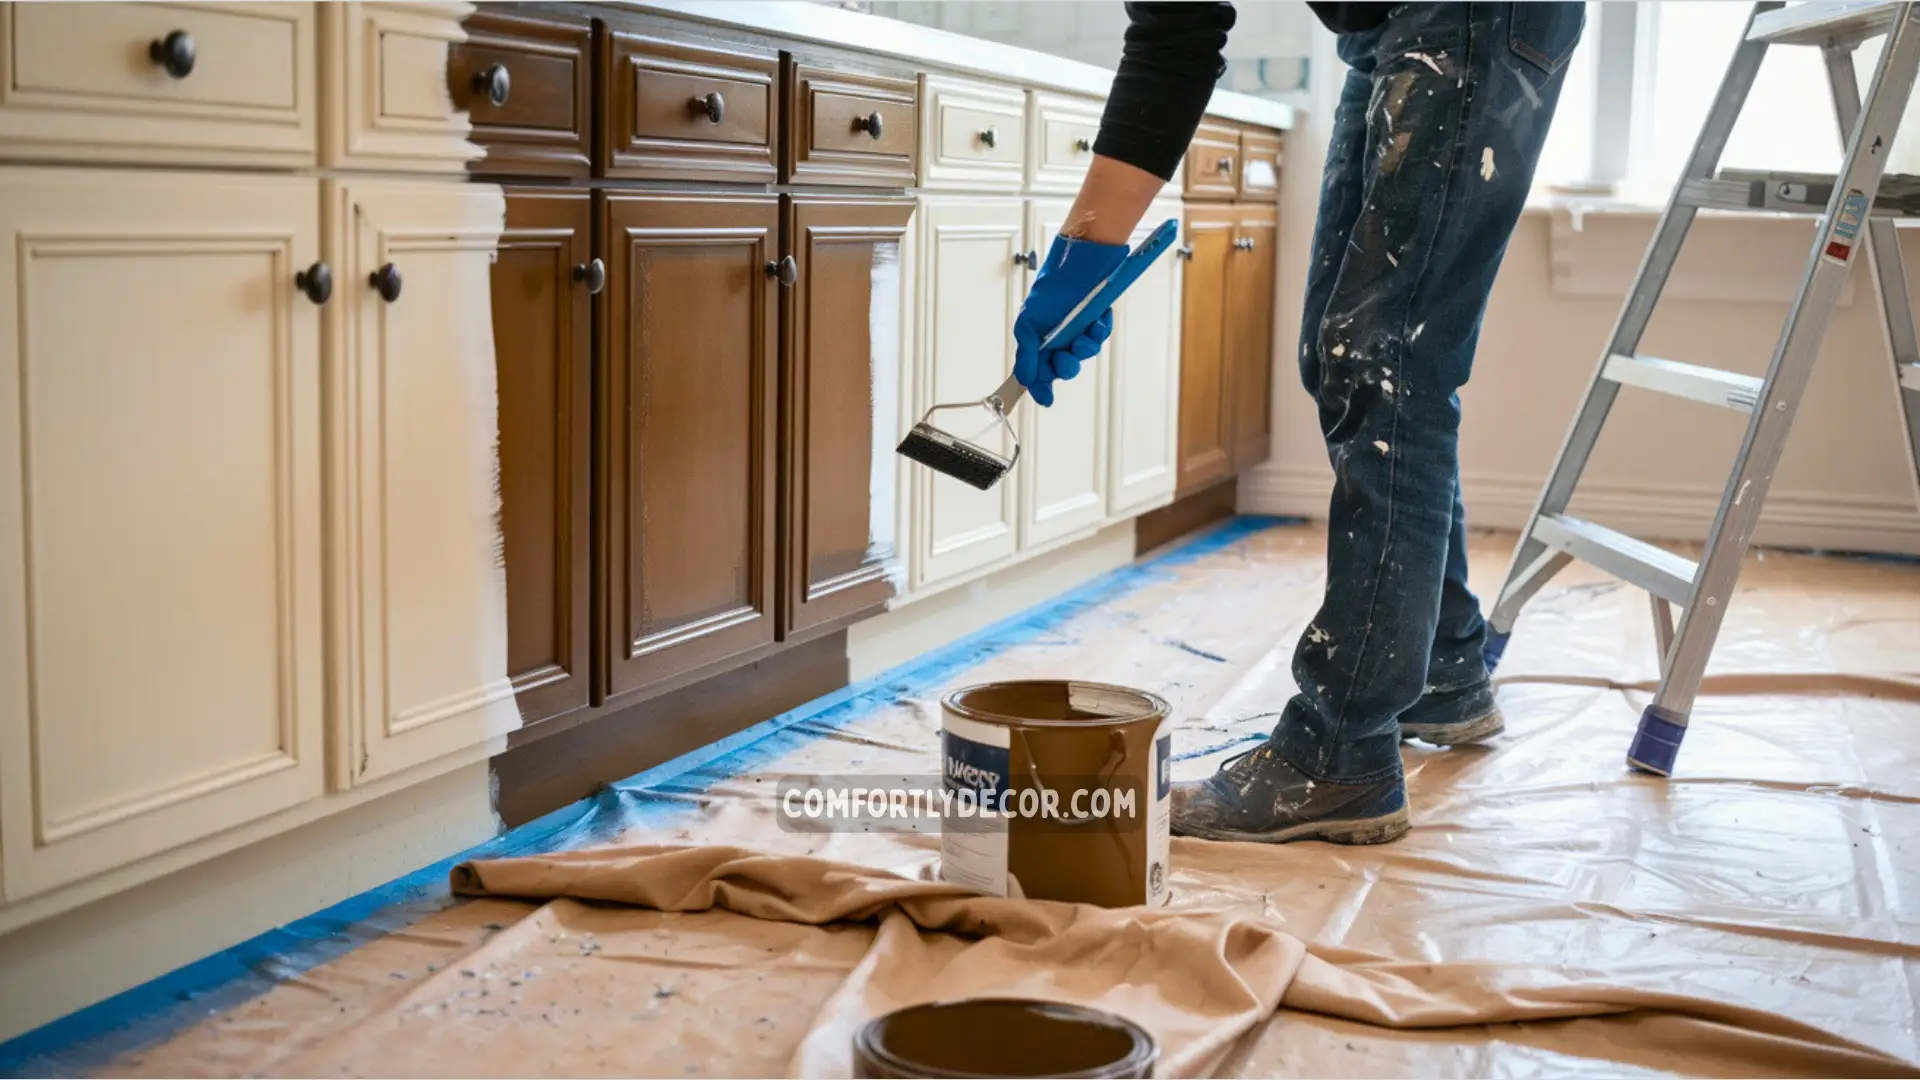
Step 1: Prep Prep Prep
Success starts here, folks. Don’t skimp on this step if you want that sleek, professional finish.
- Remove doors and hardware: Label everything you remove so reassembly isn’t a nightmare.
- Clean the cabinets: Degrease and scrub ’til they shine (or at least look paint-ready).
- Sand away: Lightly sand surfaces for better adhesion. Power sanders? Life-savers here.
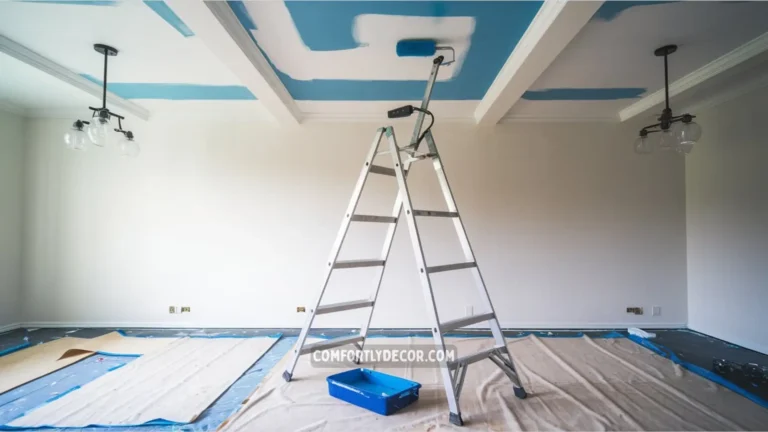
- Set up your workspace: Lay down drop cloths and free up a painting station. Keep pets far away unless you want furry cabinet doors.
Step 2: Safety First
Before you open any paint can, make sure your workspace is ventilated (fan on, windows open) and throw on some gloves and a dust mask.
Step 3: Prime Time
Prime and shine, friends. Apply thin, even coats of primer and give it time to dry (check the label for specifics). Trust me, this step is not optional unless you enjoy peeling paint in a few months.
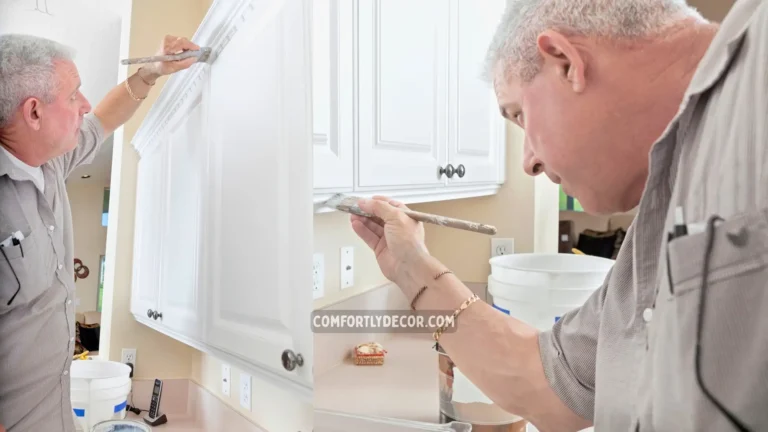
Step 4: Painting
You made it! Here’s where the magic happens.
- Choose your paint type: Acrylic latex is fast-drying and versatile, while oil-based is durable but slow.
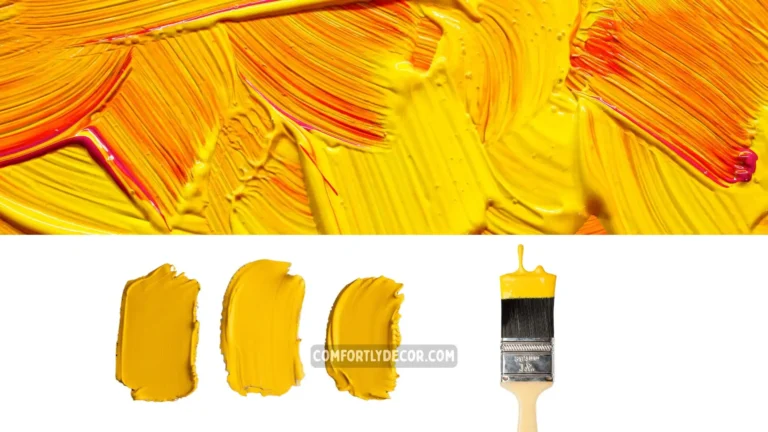
- Pick a color and finish: Light colors open up a space, while dark hues add sophistication. Semi-gloss finishes are easy to clean and ideal for kitchens.
- Apply thin coats: Go light to avoid drips and streaks. Two to three coats should do the trick.
Step 5: Reassemble and Admire
Once everything’s dry, reattach the hardware and doors carefully. Step back, admire your work, and pour yourself a celebratory drink. You deserve it!
Tips for a Professional-Looking Finish
Want to fool your friends into thinking you hired a pro? Here’s how to elevate your paint game.
- Sanding 101: Sand between coats for a buttery-smooth finish.
- Team Thin Coats: Two thin layers are better than one thick, gloopy coat.
- Work with the grain: This helps avoid unwanted streaks.
And one more thing? Patience. Impatience leaves behind messy brush marks.
FAQs
Finish Your Cabinets with Confidence
Painting kitchen cabinets is no joke, but the payoff is so worth it. Not only will your kitchen look like a million bucks, but the pride of saying, “Yep, I did that,” is priceless.
Are you ready to tackle this project? Hit the comments below and share your cabinet-painting adventures (and maybe a kitchen selfie or two). Now grab your supplies, and get ready to turn those cabinets into a masterpiece.
Vibe Up Your Space With Comfort & Color — your go-to destination for stylish home decor that blends comfort with color. Create cozy corners and vibrant vibes in every room and space at your home!